



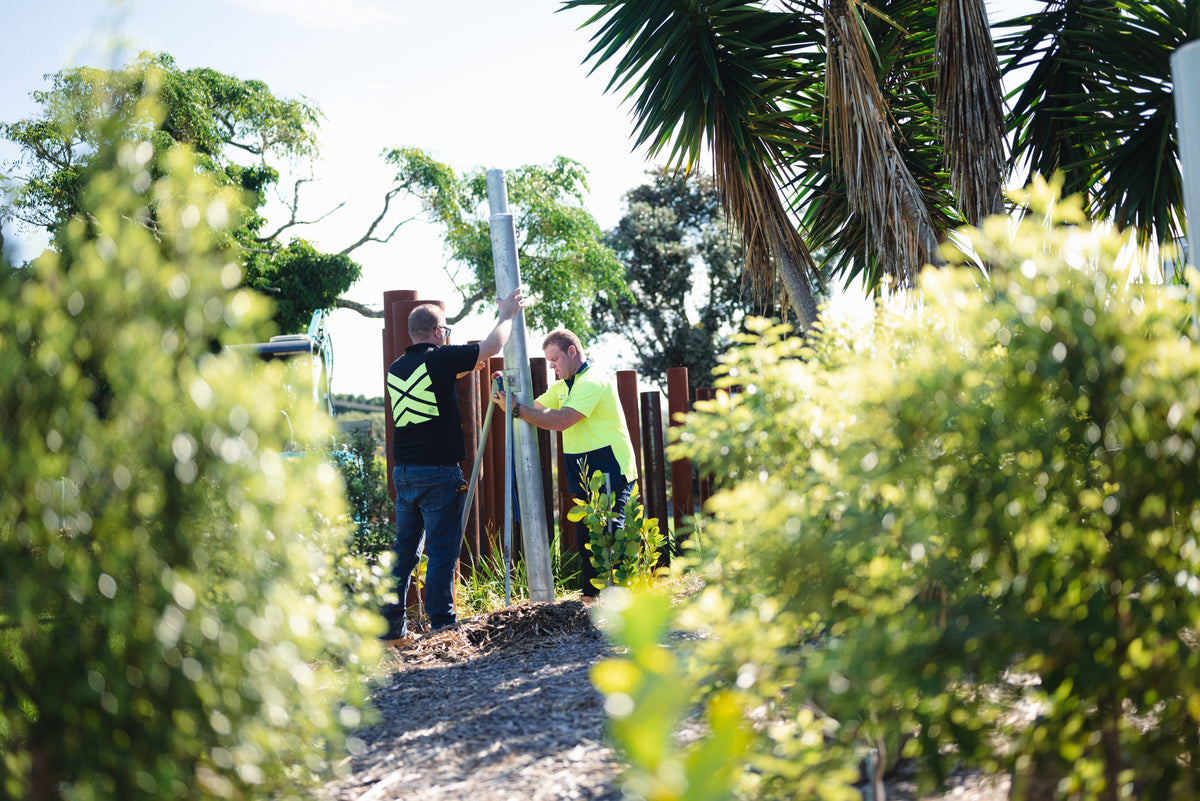
Setting your Shade Sail posts in concrete correctly is one of the most important parts of your installation. Your Shade Sail might be above your head, but much of the strength of the installation comes from what you've built below ground.
As a general guide, you should sett 1/2 of your posts above-ground height into the ground, and your concrete footing should also be at least 3 times the width of your post.
Once you've worked out those dimensions, the job is fairly straightforward. Dig your footing, position and brace your steel post, mix your concrete properly, fill the footing, and give it enough time to cure before putting your Shade Sail under tension.
Here's how to approach it.
How Deep Should Your Shade Sail Post Footing Be?
For a typical Shade Sail installation, use 1/2 of your above-ground post height as a general footing-depth guide with 1/3 depth being an absolute minimum, rather than a depth we'd recommend.
For example, if you want your post to finish 9 ft above ground:
|
Above-Ground Height |
Footing Depth |
|
1/2 recommended |
4 ft 6 in |
|
1/3 minimum |
3 ft |
Using our 1/2 recommendation, you'd therefore need approximately 13 ft 6 in of total post length to finish with 9 ft above ground.
For a few other common heights:
|
Post Height Above Ground |
1/2 Recommended |
|
6 ft |
3 ft |
|
8 ft |
4 ft |
|
9 ft |
4 ft 6 in |
|
10 ft |
5 ft |
|
12 ft |
6 ft |
For the width of your footing, use a minimum of 3 times the width of your post. So, if you're using an 8-inch-wide steel post, your footing should be at least 24 inches wide.
If you're still working out what posts you need, start with our Shade Sail Poles and Footings Explained guide before you begin digging.
Note: These are generic guidelines rather than an engineered footing specification. Your soil conditions, post height, Shade Sail size and shape, wind exposure, fixing positions, and tension can all affect what's required.

Why Does Your Shade Sail Need Such a Deep Footing?
A Shade Sail post isn't doing the same job as a fence post.
Once your Shade Sail is installed and tensioned, it's constantly pulling against its fixing points. Add wind to the equation and the forces transferred into your posts and footings can increase considerably.
Post height matters too. The higher your fixing point is above ground, the more leverage can be applied to your post.
That's why we generally recommend working toward the 1/2-height footing depth rather than designing your installation around the 1/3 minimum.
Read further on How much tension a Shade Sail exerts on its posts.
Step 1: Dig Your Footing
Once you know where your post needs to go, mark the center and excavate your footing. Depending on the size of your footing, ground conditions, and access to the site, you can dig it by hand with a spade or shovel, use a powered post hole auger, or use a small excavator for larger footings.
Keep the generic guide in mind:
Depth: 1/2 of your above-ground post height, with 1/3 the absolute minimum recommended.
Width: minimum 3 times your post width.
Try to keep the sides of your hole reasonably clean and avoid disturbing more surrounding soil than necessary.
Ground conditions can make a big difference. Clay, sand, loose fill, wet ground, and reclaimed soil can all behave differently.
Top Tip #1: Adding a 6" gravel base under each post and finishing the concrete base so that it slopes away from the posts are popular methods for protecting posts against rot from moisture contact.
Top Tip #2: Don't make your footing shallower simply because the digging gets difficult. If you've planned a 4 ft deep footing and digging becomes difficult at 3 ft, that doesn't suddenly make 3 ft deep enough.

Step 2: Position and Brace Your Post
For a permanent Shade Sail installation, we recommend using a properly sized structural steel post rather than timber, a standard fence post, or another lightweight support.
Position your post in the footing and check your required above-ground height.
We generally recommend installing dedicated Shade Sail posts with a slight lean away from your Shade Sail, often a minimum of 5 degrees where appropriate for your layout. It's best to use a Spirit Level here to check your post angle.
That means you don't want your post positioned perfectly vertical. Also, if your post already has an eye installed, ensure this is on the side of the post facing to the middle of the space the sail will be shading. Once you're happy with the position, brace it securely in both directions.
Don't rely on someone holding your post while the concrete is poured. Wet concrete is heavy, and it's surprisingly easy for a post to move.
Before mixing anything, check your:
- post position
- above-ground height
- lean and eye direction
- alignment with your other fixing points
It's also worth stepping back and looking at your post from a distance. A small positioning error can become much more noticeable at the top of a tall post.

Step 3: Work Out How Much Concrete You Need
Do this before you start mixing.
A deep Shade Sail footing can take considerably more concrete than you might expect.
If you're using bagged concrete, check the manufacturer's stated yield per bag and calculate the approximate volume of your footing.
Use an online Concrete Calculator that can help you estimate how much you may require.
Allow a little extra. A hand-dug hole is rarely a perfect cylinder, and running out of concrete partway through your footing isn't ideal.
Step 4: Mix Your Concrete
For your Shade Sail footing, we recommend mixing your concrete properly before placing it into the hole, following the instructions for the concrete product you're using.
Some specialized fast-setting post products are designed to be poured into a hole dry before adding water. Don't assume that method applies to every bag of concrete.
Follow the instructions for the product you've purchased.
Mixing Concrete by Hand
If you're only mixing a manageable quantity, you can mix concrete in a wheelbarrow or suitable mixing tub. Add your water according to the concrete manufacturer's instructions and mix thoroughly until you've got an even, workable consistency.
QUIKRETE has a useful step-by-step guide here:
How to Mix Concrete by Hand – QUIKRETE
Don't keep adding water just because it makes your concrete easier to shovel. Too much water can negatively affect the finished concrete.
Mixing Concrete in a Concrete Mixer
If you've got several bags to mix, a concrete mixer will make the job considerably easier. It can also help you keep your batches more consistent when you're filling a larger footing.
QUIKRETE explains the machine-mixing process here:
How to Mix Concrete in a Concrete Mixer – QUIKRETE
Whichever method you use, follow the water quantity and mixing instructions supplied with your concrete. The wrong water ratio will negatively affect the strength of your finished concrete.
Step 5: Pour Your Concrete
With your post securely braced, start placing your mixed concrete into the footing.
Work around your post rather than continually dumping concrete against one side. This helps reduce the chance of pushing your post out of position.
As you fill your footing, carefully consolidate the concrete around your post so you don't leave large voids.
Keep checking your post as you go.
If it moves, correct it straight away and strengthen your post braces rather than waiting until your concrete starts to set.

Step 6: Finish the Top of Your Footing
Once you've filled your footing, you have two options for how you finish the concrete around your post.
If you don't want the concrete footing to be visible, finish the concrete slightly below the surrounding ground level. Once your concrete has cured, you can cover the remaining depth with soil, so the footing is hidden and the ground has a cleaner finished appearance.
If your concrete footing will remain exposed, bring the concrete up to your required finished level and shape the surface so it slopes slightly away from your steel post. This helps rainwater drain away rather than creating a depression around your post where water can collect.

Step 7: Let Your Concrete Cure
Don't rush this part.
Concrete can feel hard well before it has developed enough strength for you to start applying substantial loads. Follow the concrete manufacturer's instructions for curing and loading times. If you are still uncertain, you can always let it cure for longer than instructed.
Once you install and tension your Shade Sail, that load is transferred through your posts and into your new concrete footings.
Get Your Shade Sail Posts Right From the Start
When setting your Shade Sail posts in concrete, remember to use properly sized structural steel posts, dig your full footing, brace your posts securely, mix your concrete correctly, and give it enough time to cure before installing your Shade Sail.
We've been working with Shade Sails for nearly 30 years, and getting your support structure right remains one of the most important parts of a successful installation.
Once your posts and mounting points are installed, you are then ready for your next step: Measuring.
Disclaimer:
The information in this article is provided as general guidance only and should not be considered engineering or site-specific structural advice. Every Shade Sail installation is different and size, shape, tension, post height, wind exposure, soil conditions, and other site factors can affect footing requirements. Check local requirements and have your final specification confirmed by an engineer where required.












Share:
Mounting Hardware Size Guide for Shade Sails
Can You Install a Shade Sail Without Posts?