How to Easily Install a Shade Sail Without Posts
So, you’re staring at that glorious new shade sail, envisioning a perfectly shaded oasis in your backyard. But there’s one tiny hiccup—you have no posts to hang it from. Fear not, my shade-loving friend! Installing a shade sail without posts isn’t just possible; it’s easier than you think. Whether you’re avoiding the hassle of digging or simply want to get creative with your outdoor space, we’ve got you covered.
Why Go Post-less?
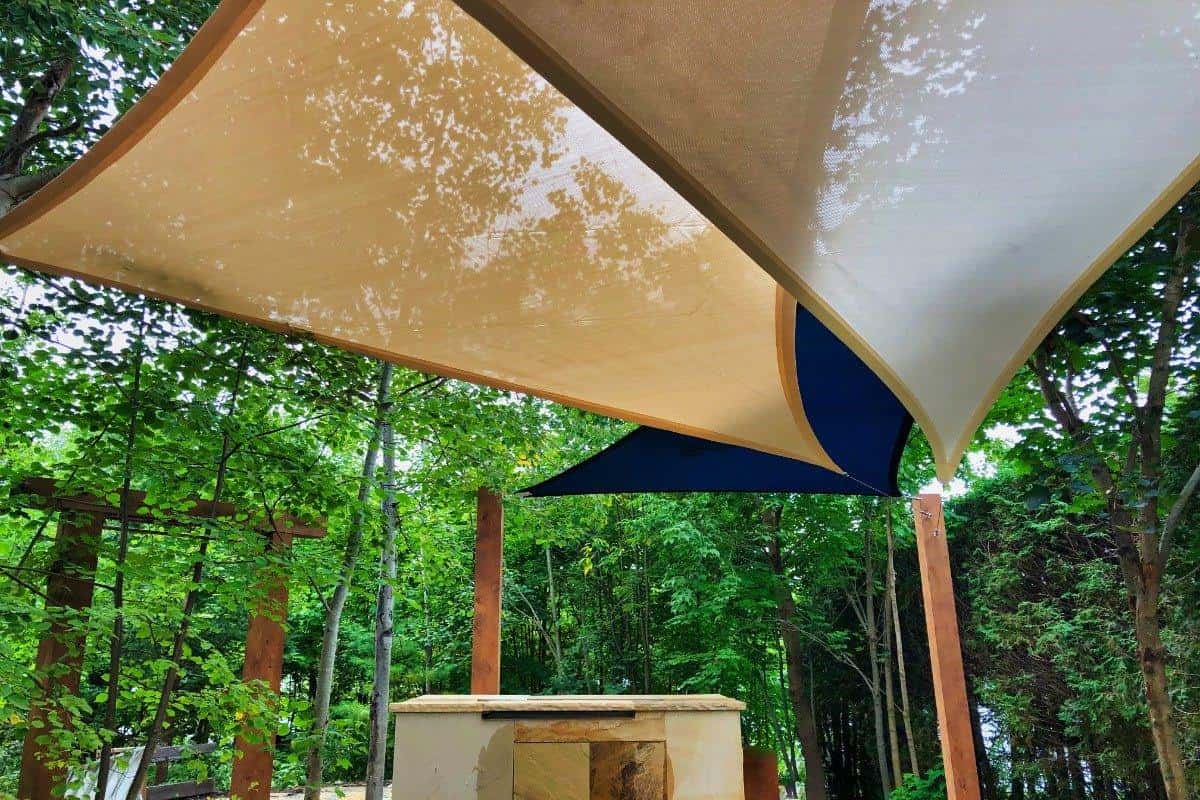
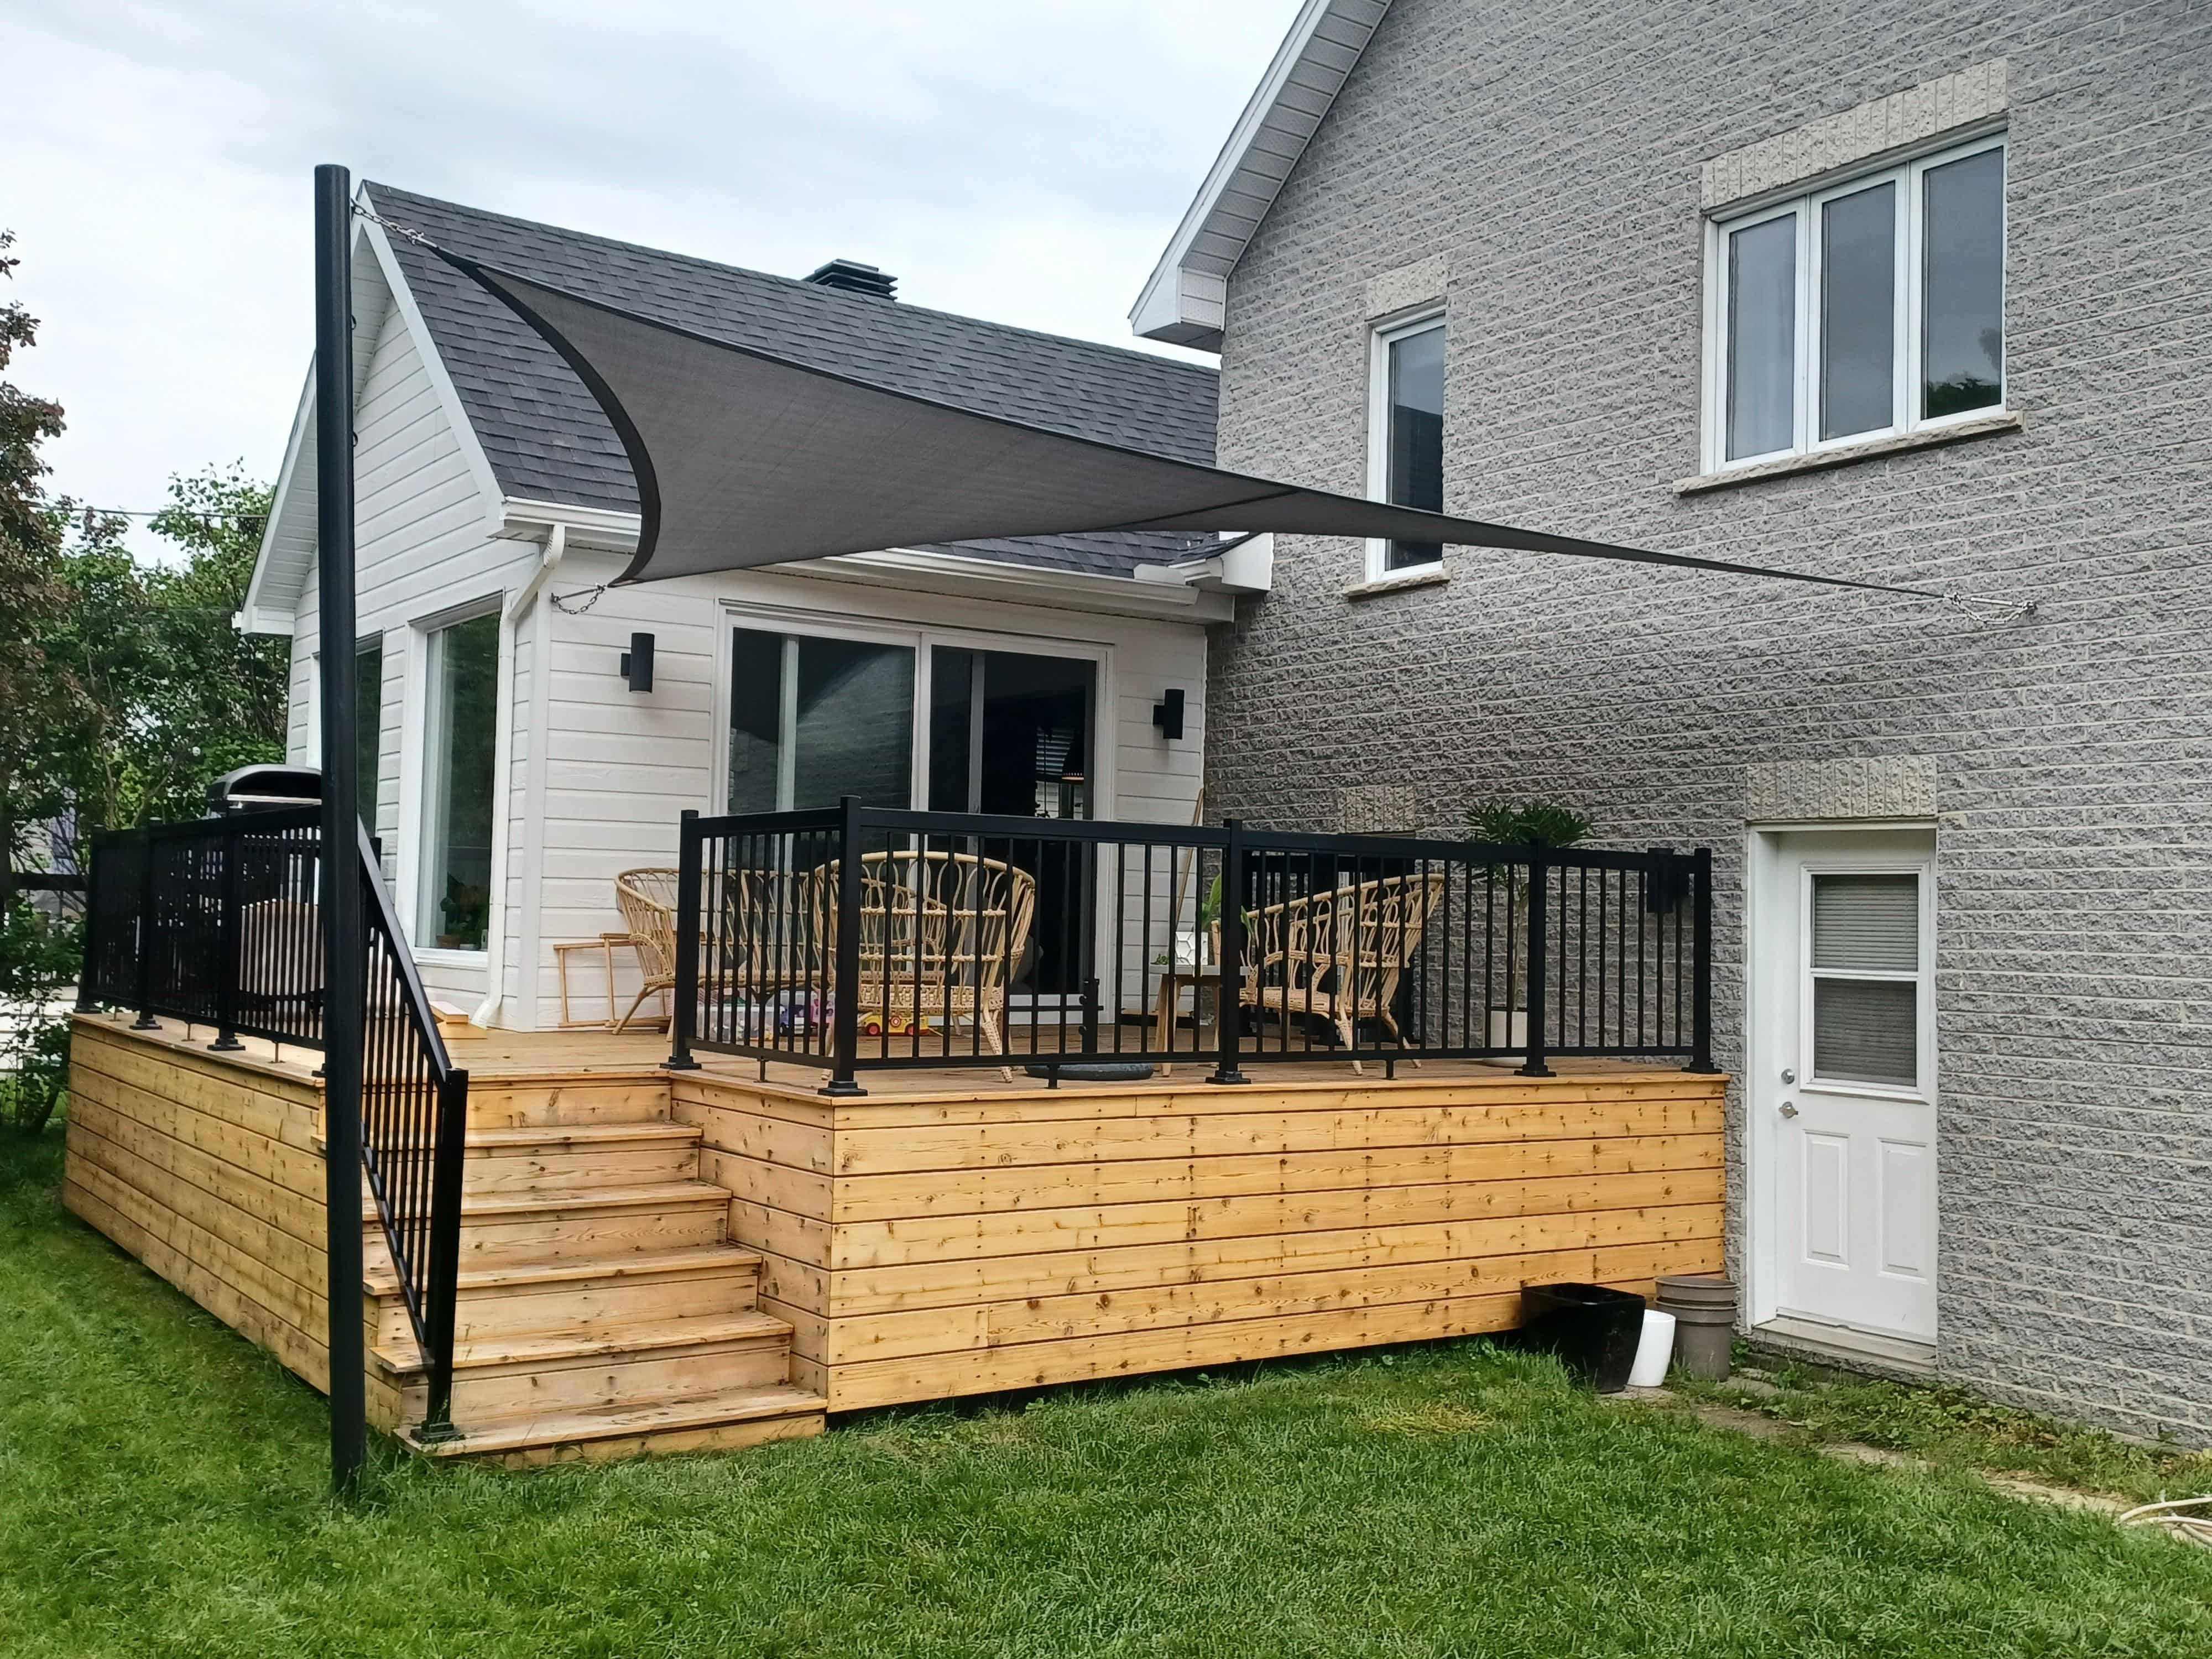
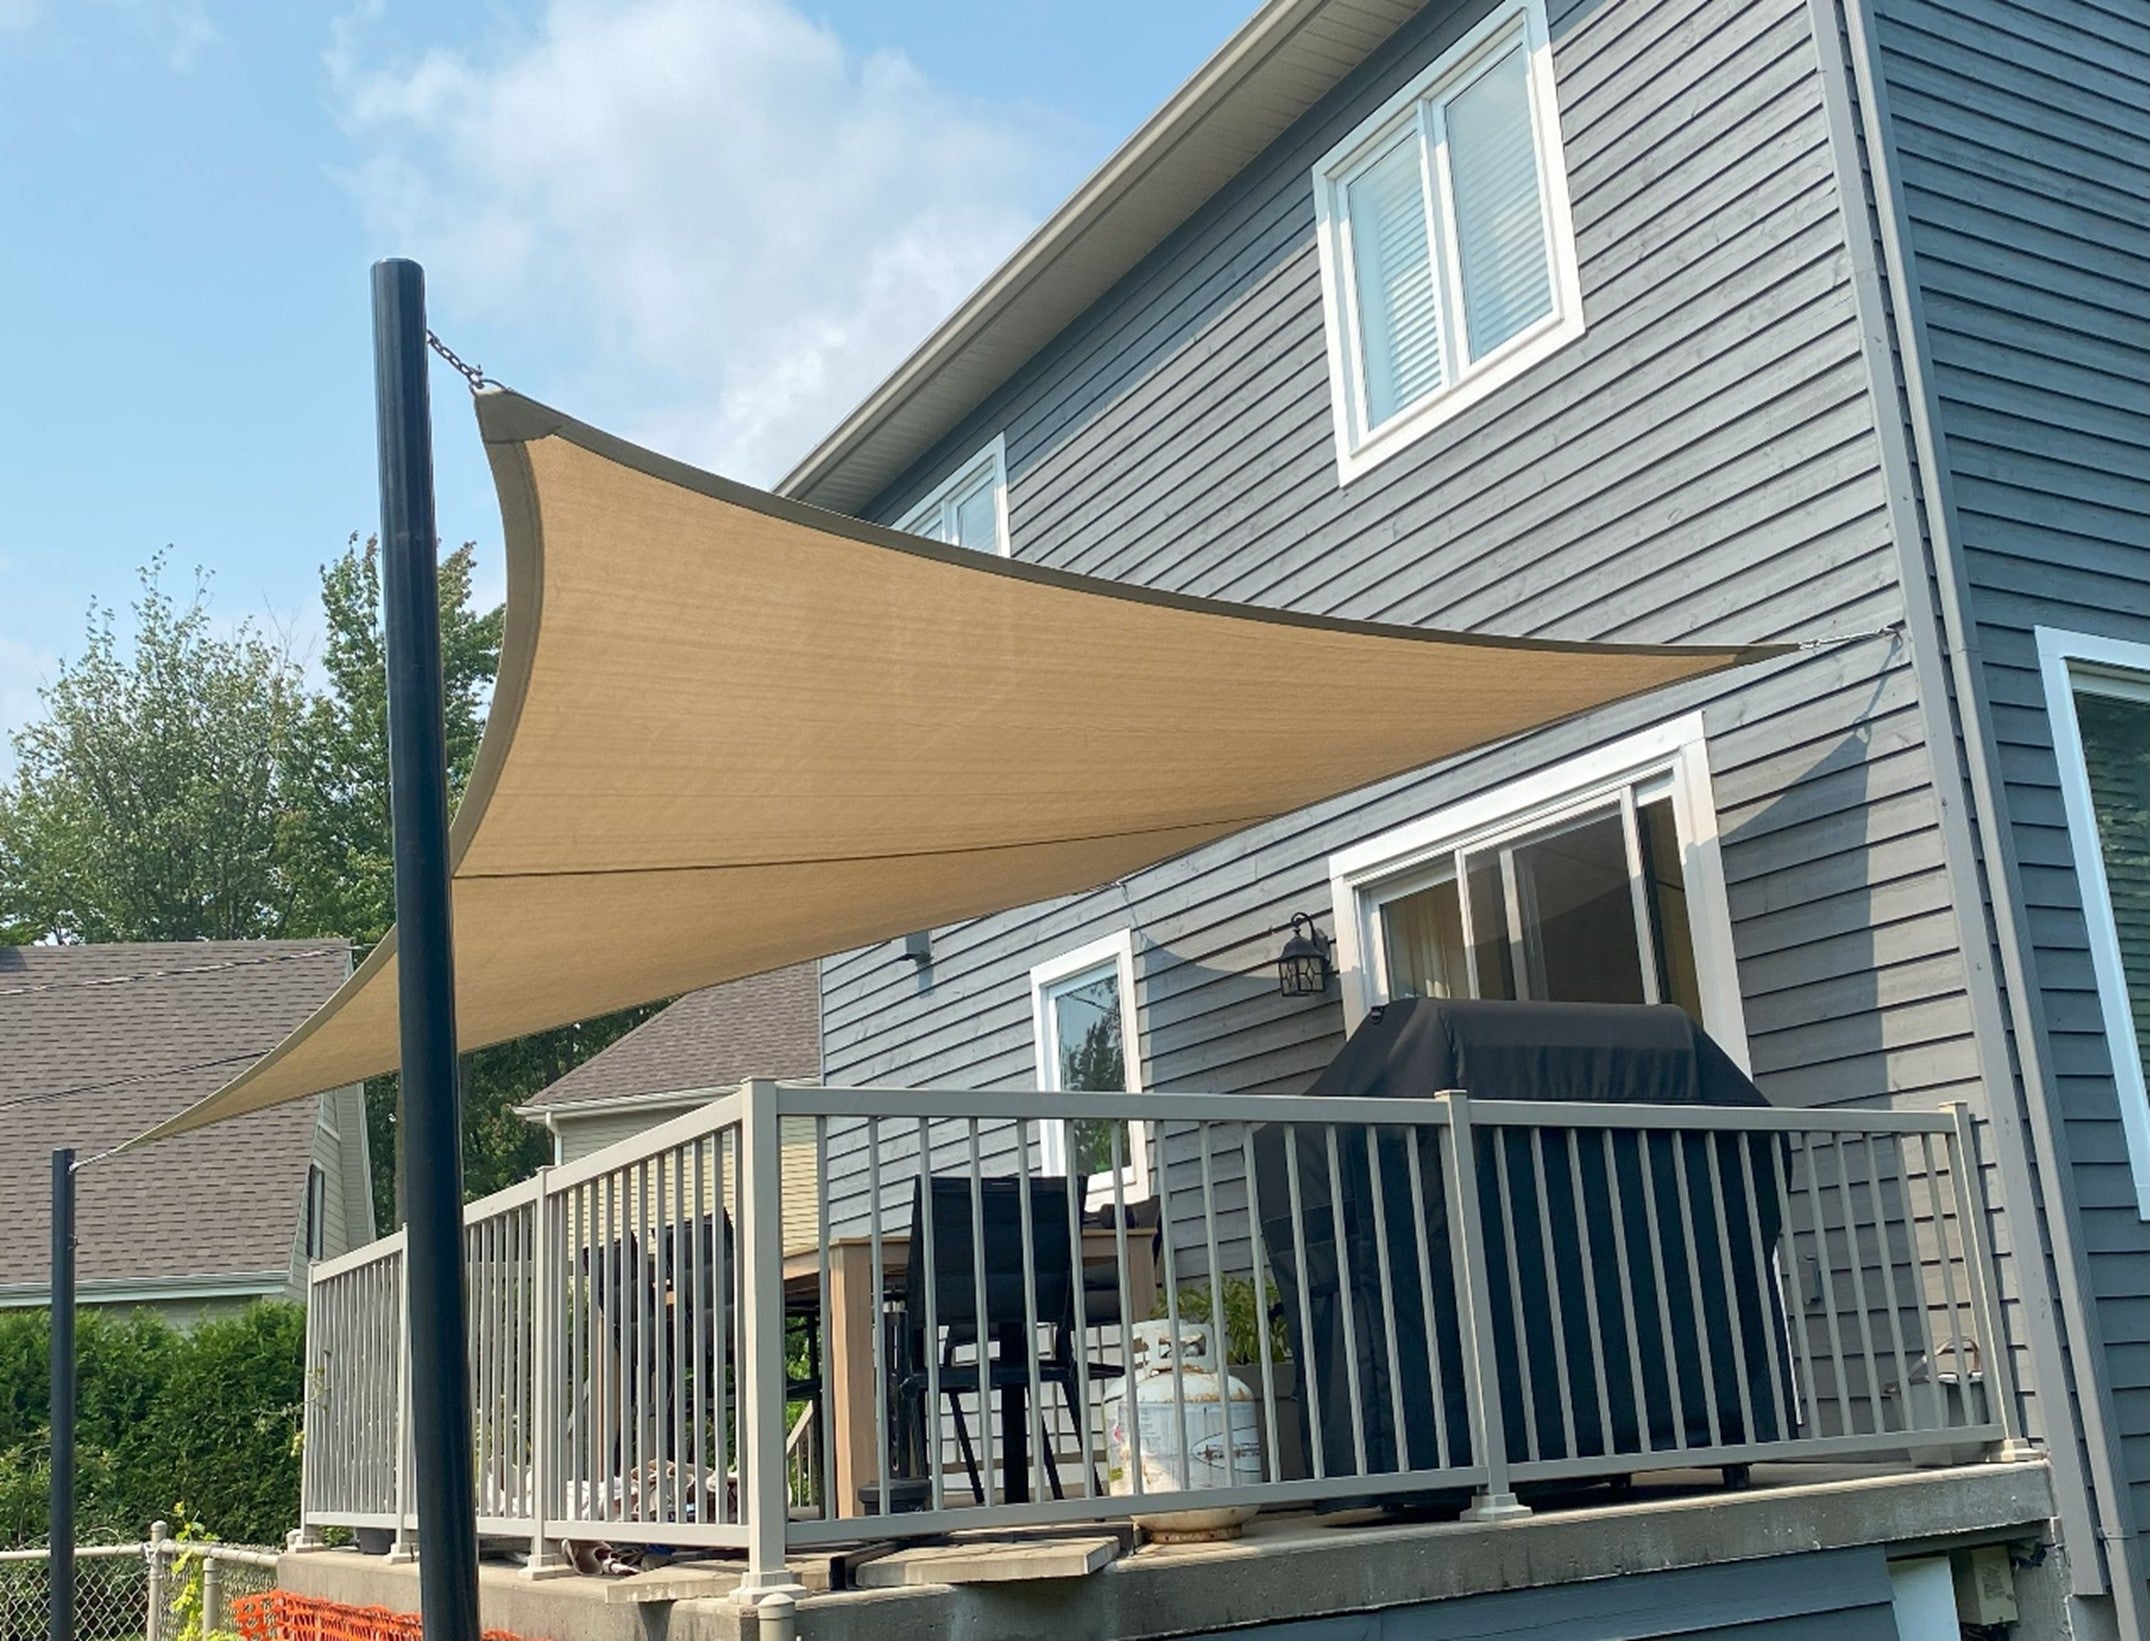
Why bother with posts when you can install a shade sail using existing structures? Think of your house, garage, or even that sturdy old tree that’s been watching over your garden for years. Going post-less not only saves you time but also adds a sleek, modern look to your space. Plus, you can finally say goodbye to those awkwardly placed poles that only ever seemed to be in the way.
Ready to get started? Of course, you are—let’s dive in.
Step 1: Pick Your Mounting Points
The first step to install a shade sail without posts is identifying the best mounting points. These can be walls, eaves, fascia boards, or even mature trees. The key here is to ensure your points are solid enough to withstand the tension of a fully installed sail. Need some help figuring that out? Check out our guide on varying heights for mount points.
Step 2: Measure Twice, Cut Once
Just like your high school woodshop teacher used to say, measure twice, cut once—except in this case, you’re not cutting anything (thankfully). Grab your measuring tape and check the distances between your mounting points. Pro tip: add an extra 10% to your sail’s dimensions to account for tension. Trust us; you’ll want that extra room when it comes to tensioning.
For more tips on getting the tension just right, our ultimate guide to tensioning shade sails has everything you need to know.
Step 3: Install the Hardware
Time to break out the drill and some sturdy mounting hardware. You’ll need pad eyes, turnbuckles, and D-shackles—all available on our website, of course. Don’t skimp on quality here; a secure fit is crucial for both safety and durability. Once installed, make sure everything is tightly secured. A loose fitting today can lead to a sagging sail tomorrow.
Step 4: Attach the Shade Sail
Now, the moment you’ve been waiting for: attaching your sail! Start with the corner that has the highest elevation and work your way around. This will help with rain runoff and prevent pooling—because the last thing you want is a mini swimming pool hanging above your patio. Speaking of which, if you’re wondering whether you can leave your shade sail up in the rain, here’s the surprising truth.
Step 5: Tension, Adjust, Admire
Finally, it’s time to tension your shade sail. Use your turnbuckles to get the fabric taut but not overly tight—remember, there’s a sweet spot. Adjust each corner until your sail is wrinkle-free and sitting pretty. Stand back, take a moment to admire your work, and maybe snap a pic for Instagram. After all, you just installed a shade sail without posts like a pro!
Why Choose ShadeSpace?
Not to toot our own horn (okay, maybe just a little), but ShadeSpace has been in the game for over 20 years, crafting the world’s best shade sails. Whether you’re looking for a custom-made sail or one of our ready-made options, we’ve got the perfect solution to keep you cool and stylish. Plus, with our user-friendly website, you can design your own shade sail, no matter the shape or size. Ready to transform your outdoor space? Explore our range now.
Conclusion
There you have it—a step-by-step guide on how to install a shade sail without posts. It’s easier than you thought, right? So, what are you waiting for? Get out there, pick your mounting points, and turn your backyard into the ultimate shaded sanctuary. And if you ever need a little help along the way, remember that ShadeSpace is just a click away.
Don’t forget to explore our How-To articles and Video Tutorials for more tips and tricks!


Share:
7 Genius Ways to Perfectly Position Your Shade Sails
How to Clean Shade Sails: A No-Nonsense Guide to Keep Them Gleaming