Compare our fabrics
Quick visual comparison — sail, swatch, and microscopic close-up of each.


Can't find your size?
Design your own custom shade sail with our easy configurator.
Create Your Custom Sail →Right Angle Triangle Shade Sail
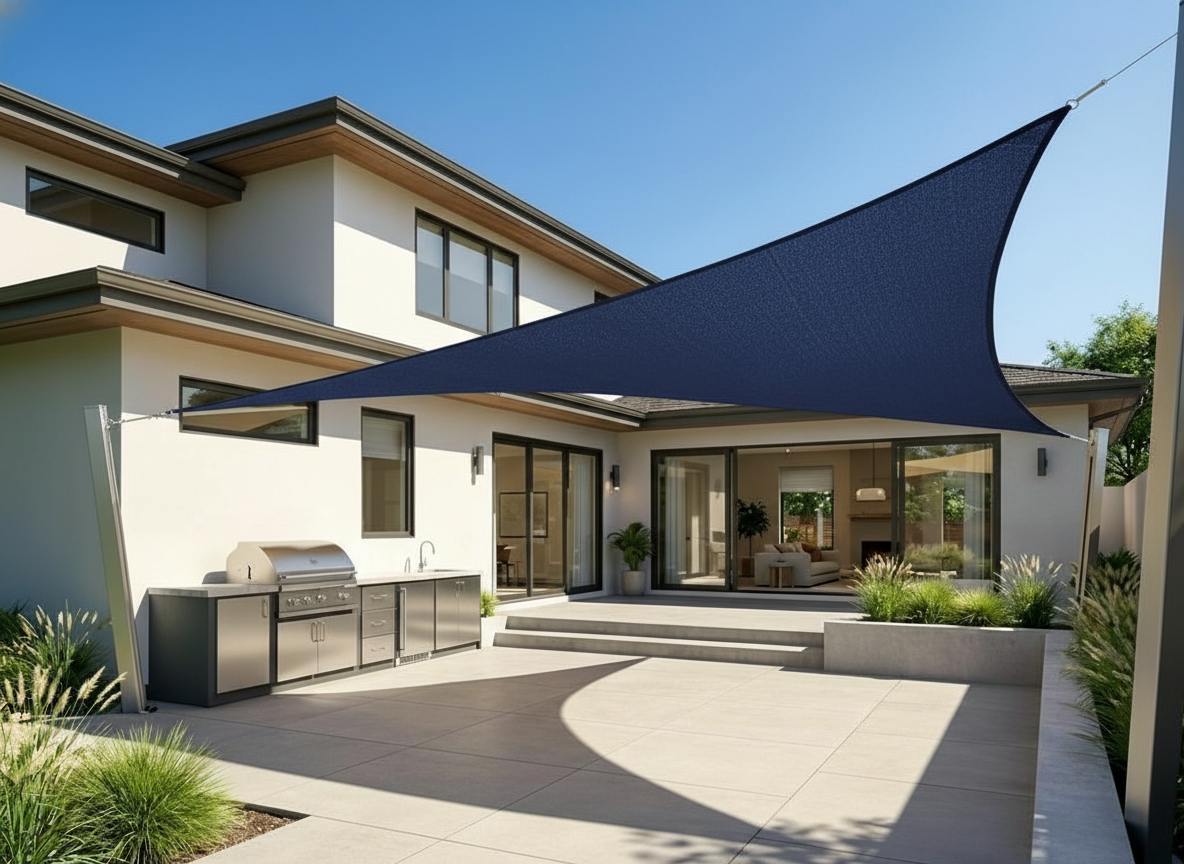
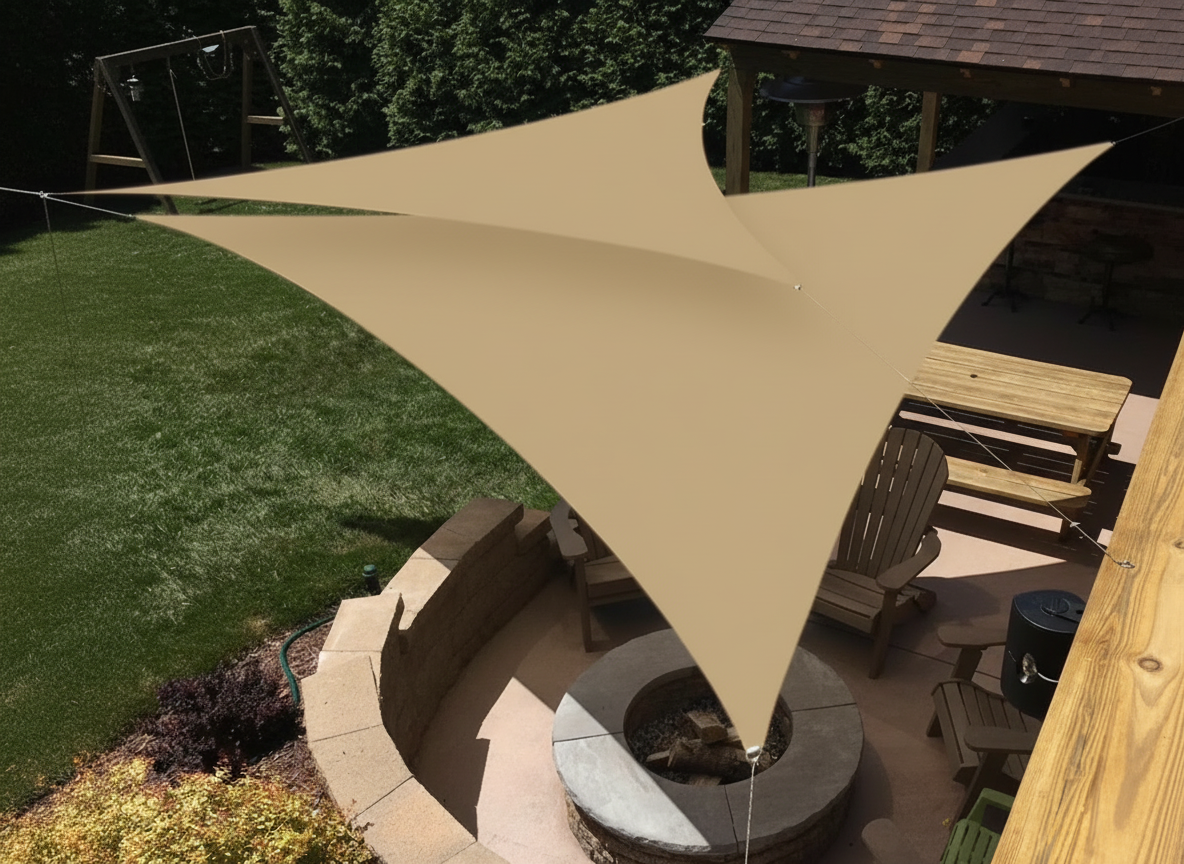
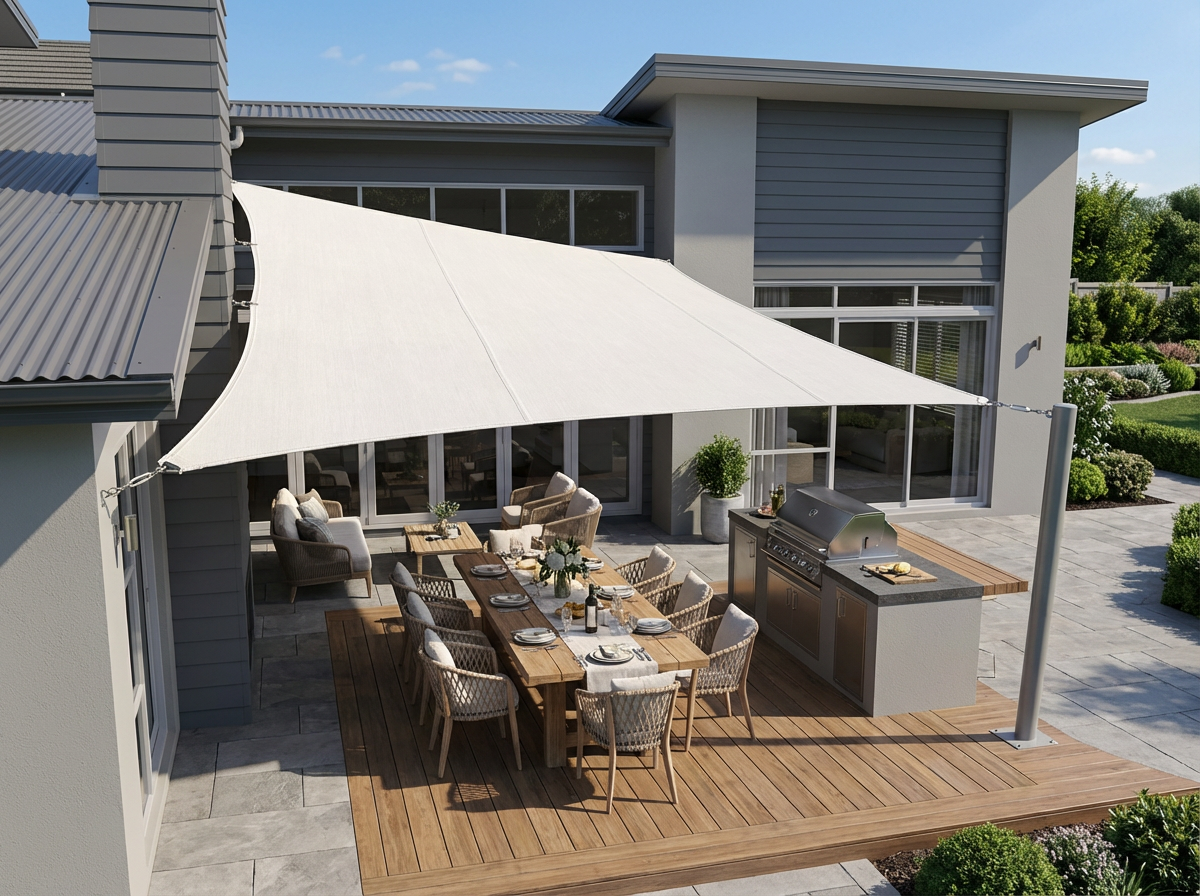
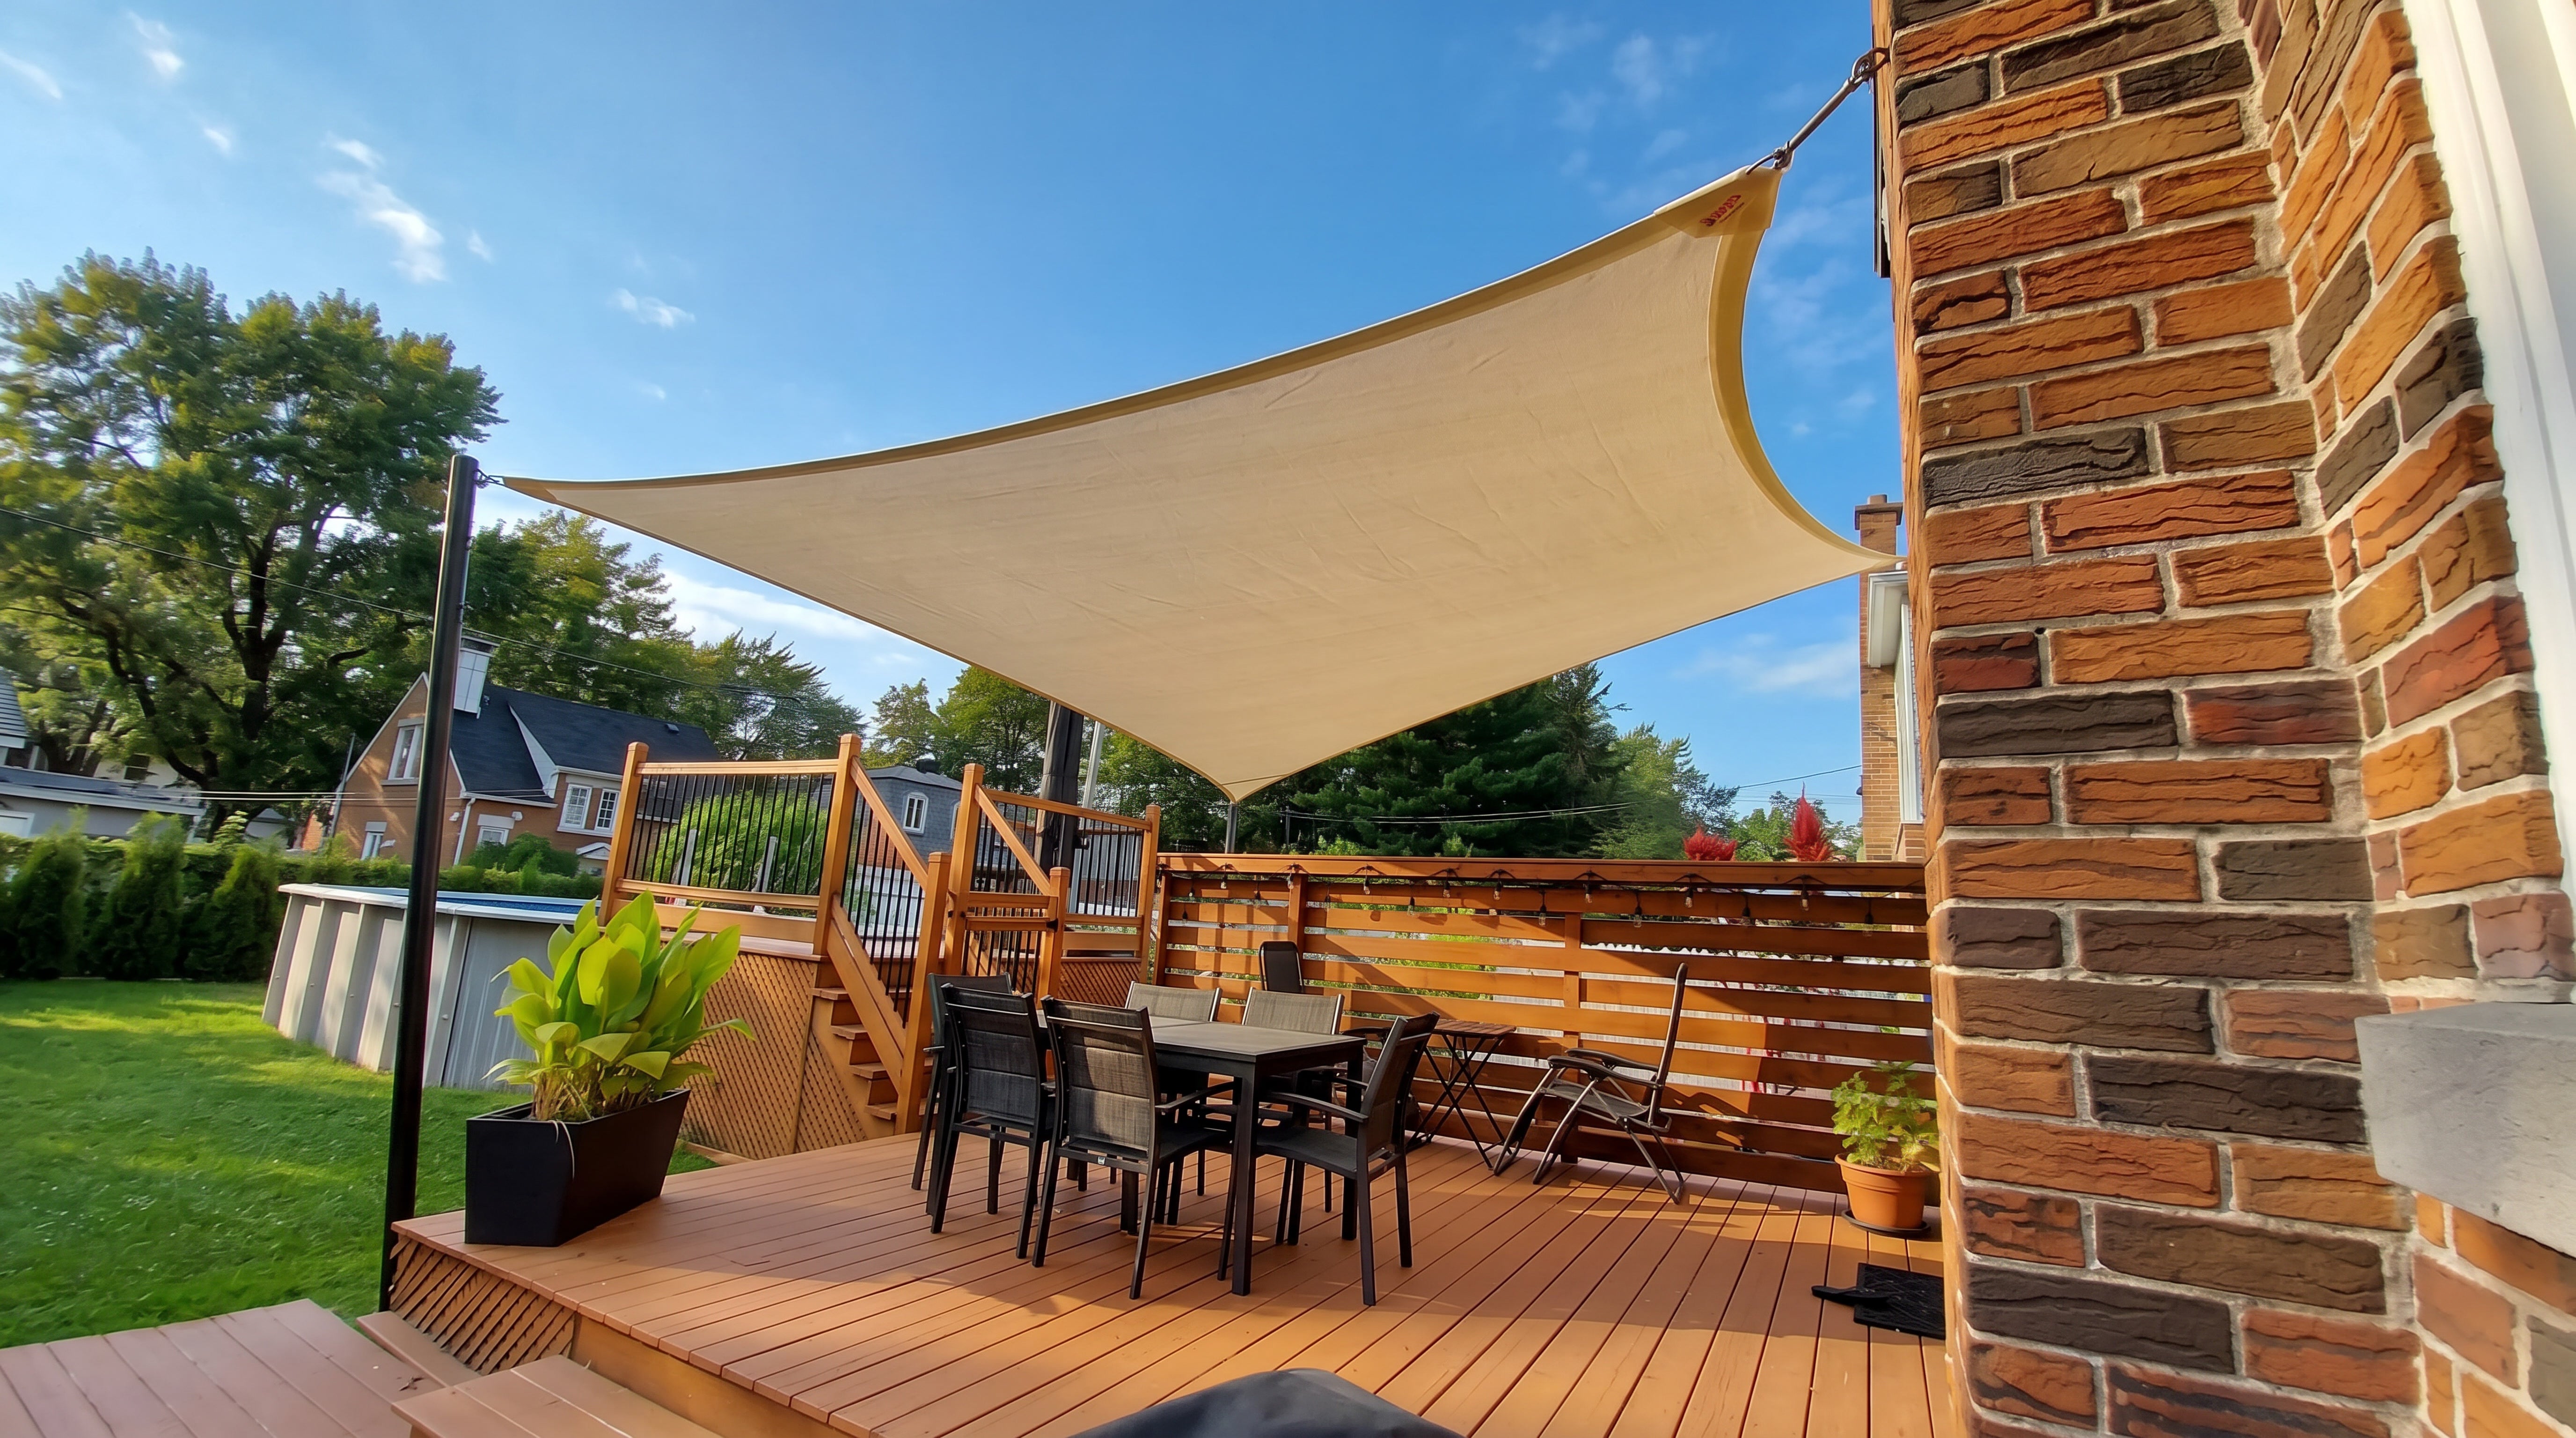
A high-performing shade sail designed for tight spaces, corner installations, walkways, and modern outdoor areas. Engineered for strength, UV protection, and architectural style, this shape delivers reliable shade where other sails won’t fit - perfect for homes, businesses, and compact outdoor spaces.
Accessories
Our Right Angle Triangle Shade Sail is engineered for homeowners and designers who need a shape that works where others don’t. The fixed 90-degree corner allows the sail to fit comfortably into corners, narrow strips, and challenging areas, while the long side provides excellent coverage and stretch for tensioning.
Every ShadeSpace sail is cut with precision to ensure long-lasting tension and minimal sagging. We use premium outdoor-grade fabrics that offer superior UV protection, fade resistance, and weather performance. Reinforced stainless steel fixings ensure your sail stays secure through the seasons.
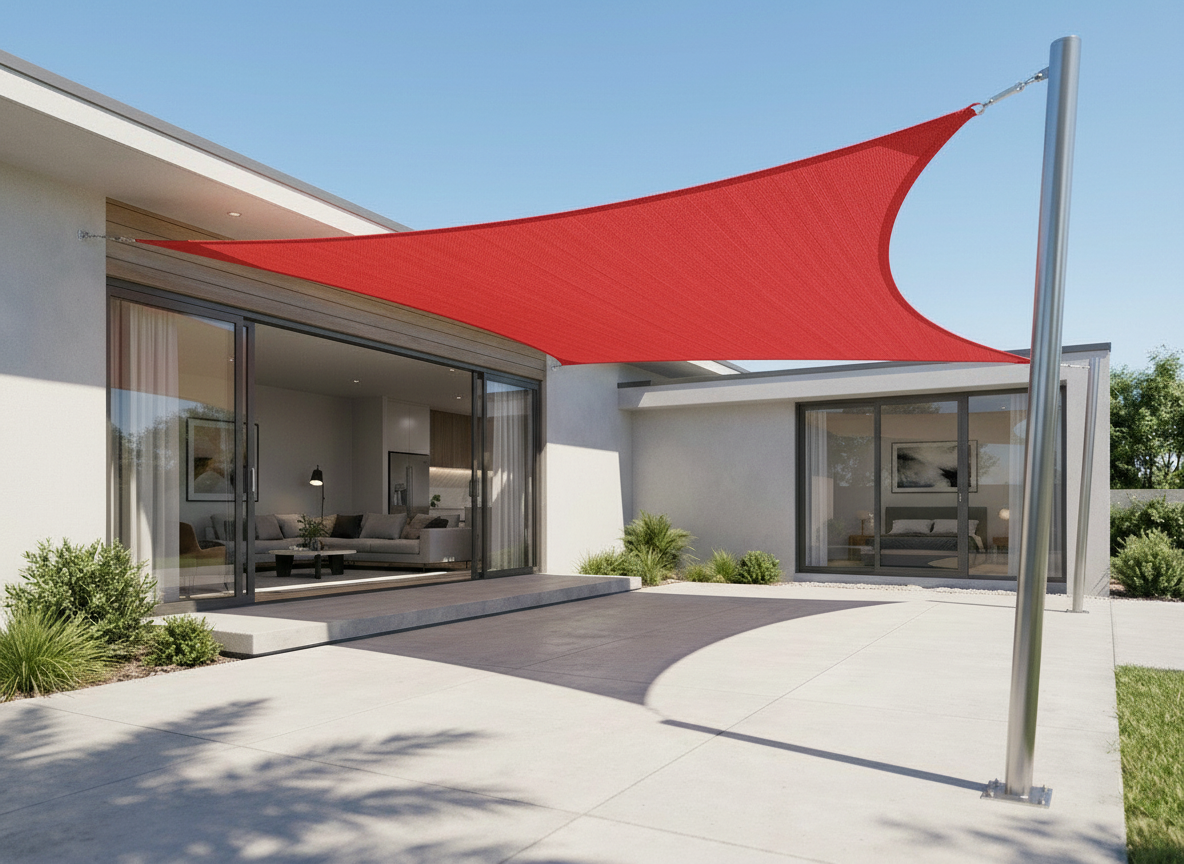
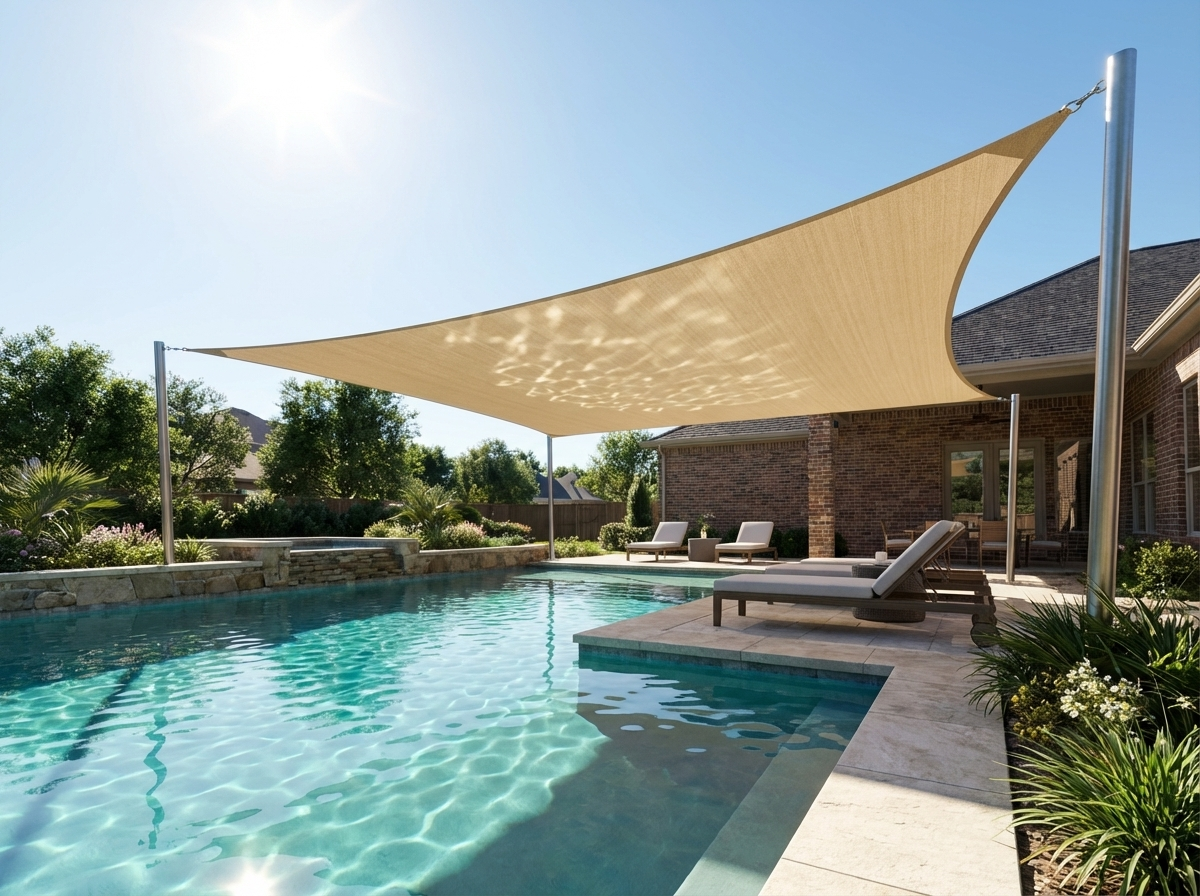
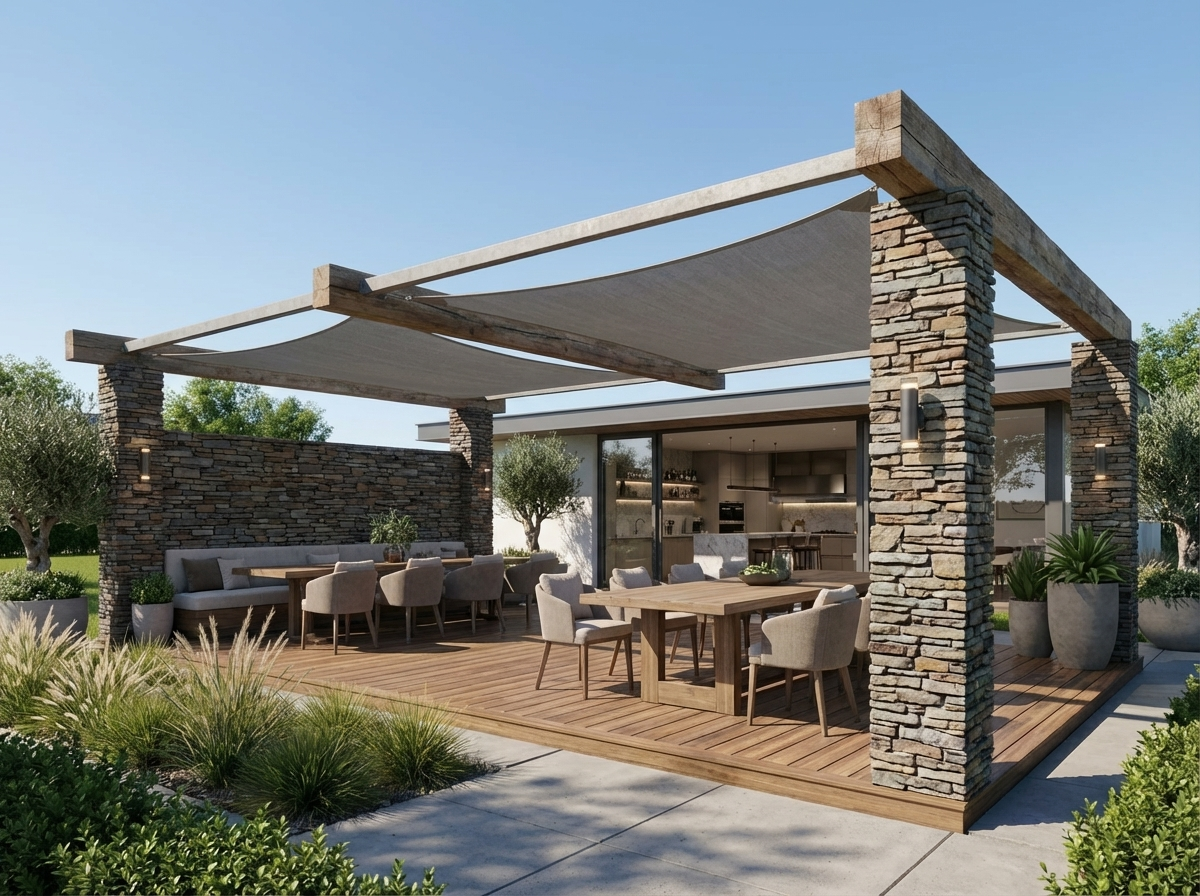
This sail isn’t just practical — it’s a great choice for anyone wanting to introduce strong architectural lines into their outdoor design. Whether you prefer a functional setup or a statement piece, the Right Angle Triangle Shape offers exceptional flexibility and performance.
- Shape: Right Angle Triangle (90° fixed corner)
- Fabric Options: Shadetec 320, Extrablock 330, or Monotec 370
- UV Protection (varies by fabric):
- Shadetec 320: Blocks up to ~93% UVR; Shade factor up to ~85%
- Extrablock 330: Blocks up to ~95% UVR; Shade factor up to ~90%
- Monotec 370: Premium heavy-duty fabric with high tensile strength; excellent for large spans or high-wind areas - Edges: Twin-stitched, reinforced perimeter webbing. Standard ShadeSpace construction methods ensure long-term tension stability and edge integrity.
- Corners / Fixings: Reinforced corners with marine-grade stainless steel D-rings, compatible with posts, wall plates, fascias, or mixed anchor points.
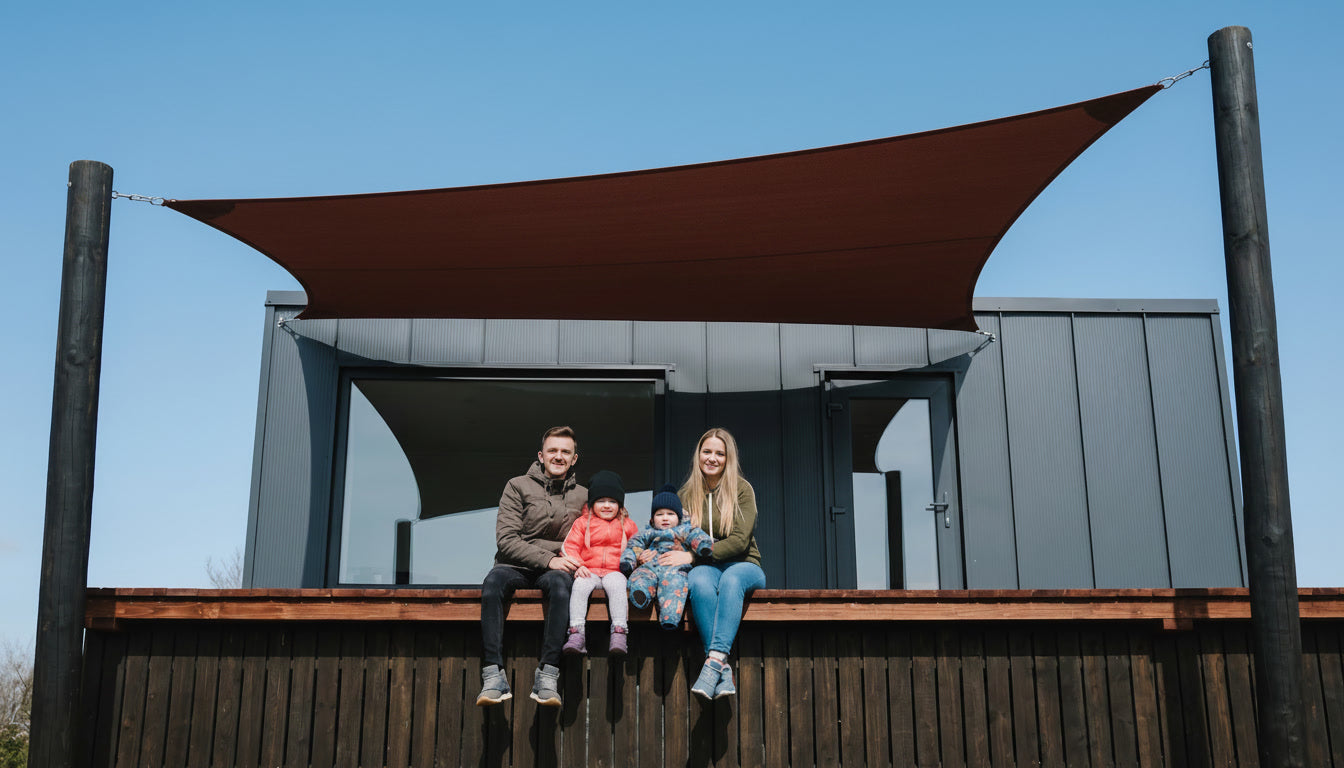
- Wind & Weather Performance: High-tension design suitable for permanent or seasonal installation; Monotec 370 option gives maximum stability for larger sails or more exposed installations.
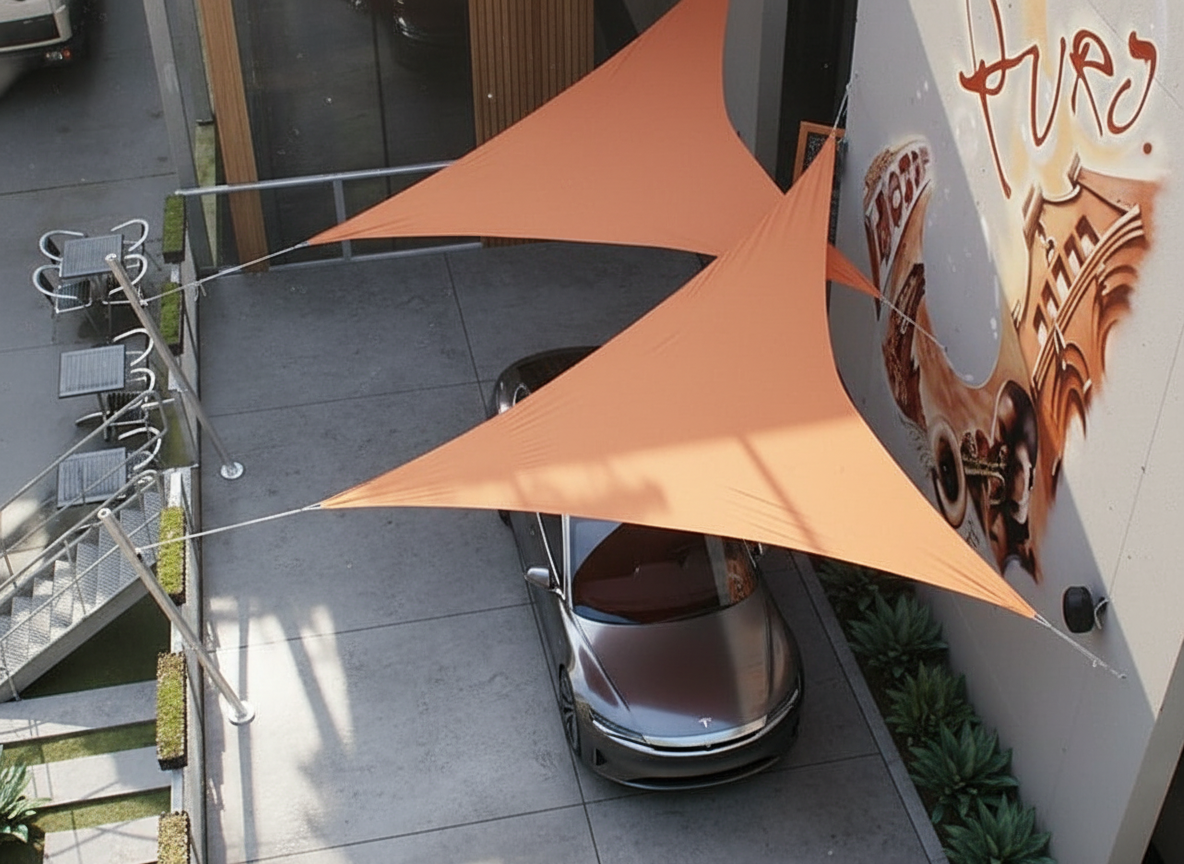
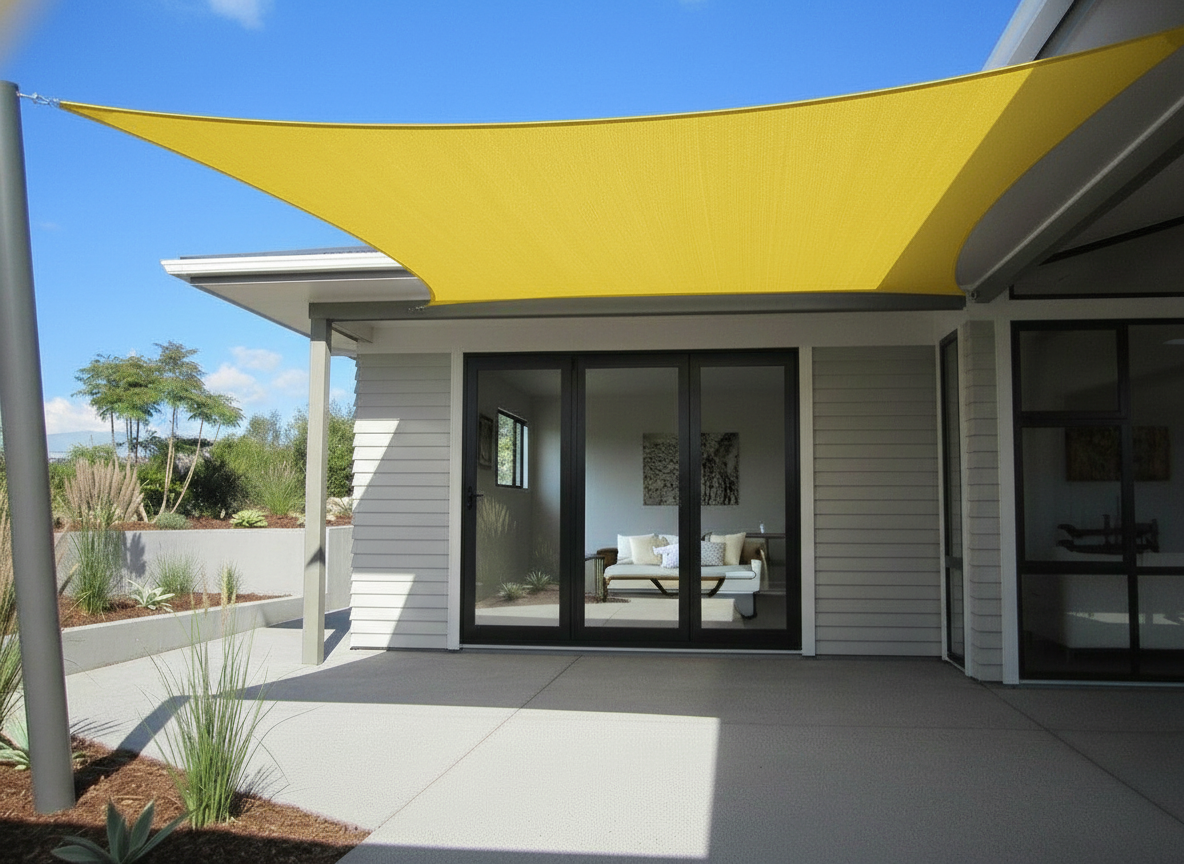
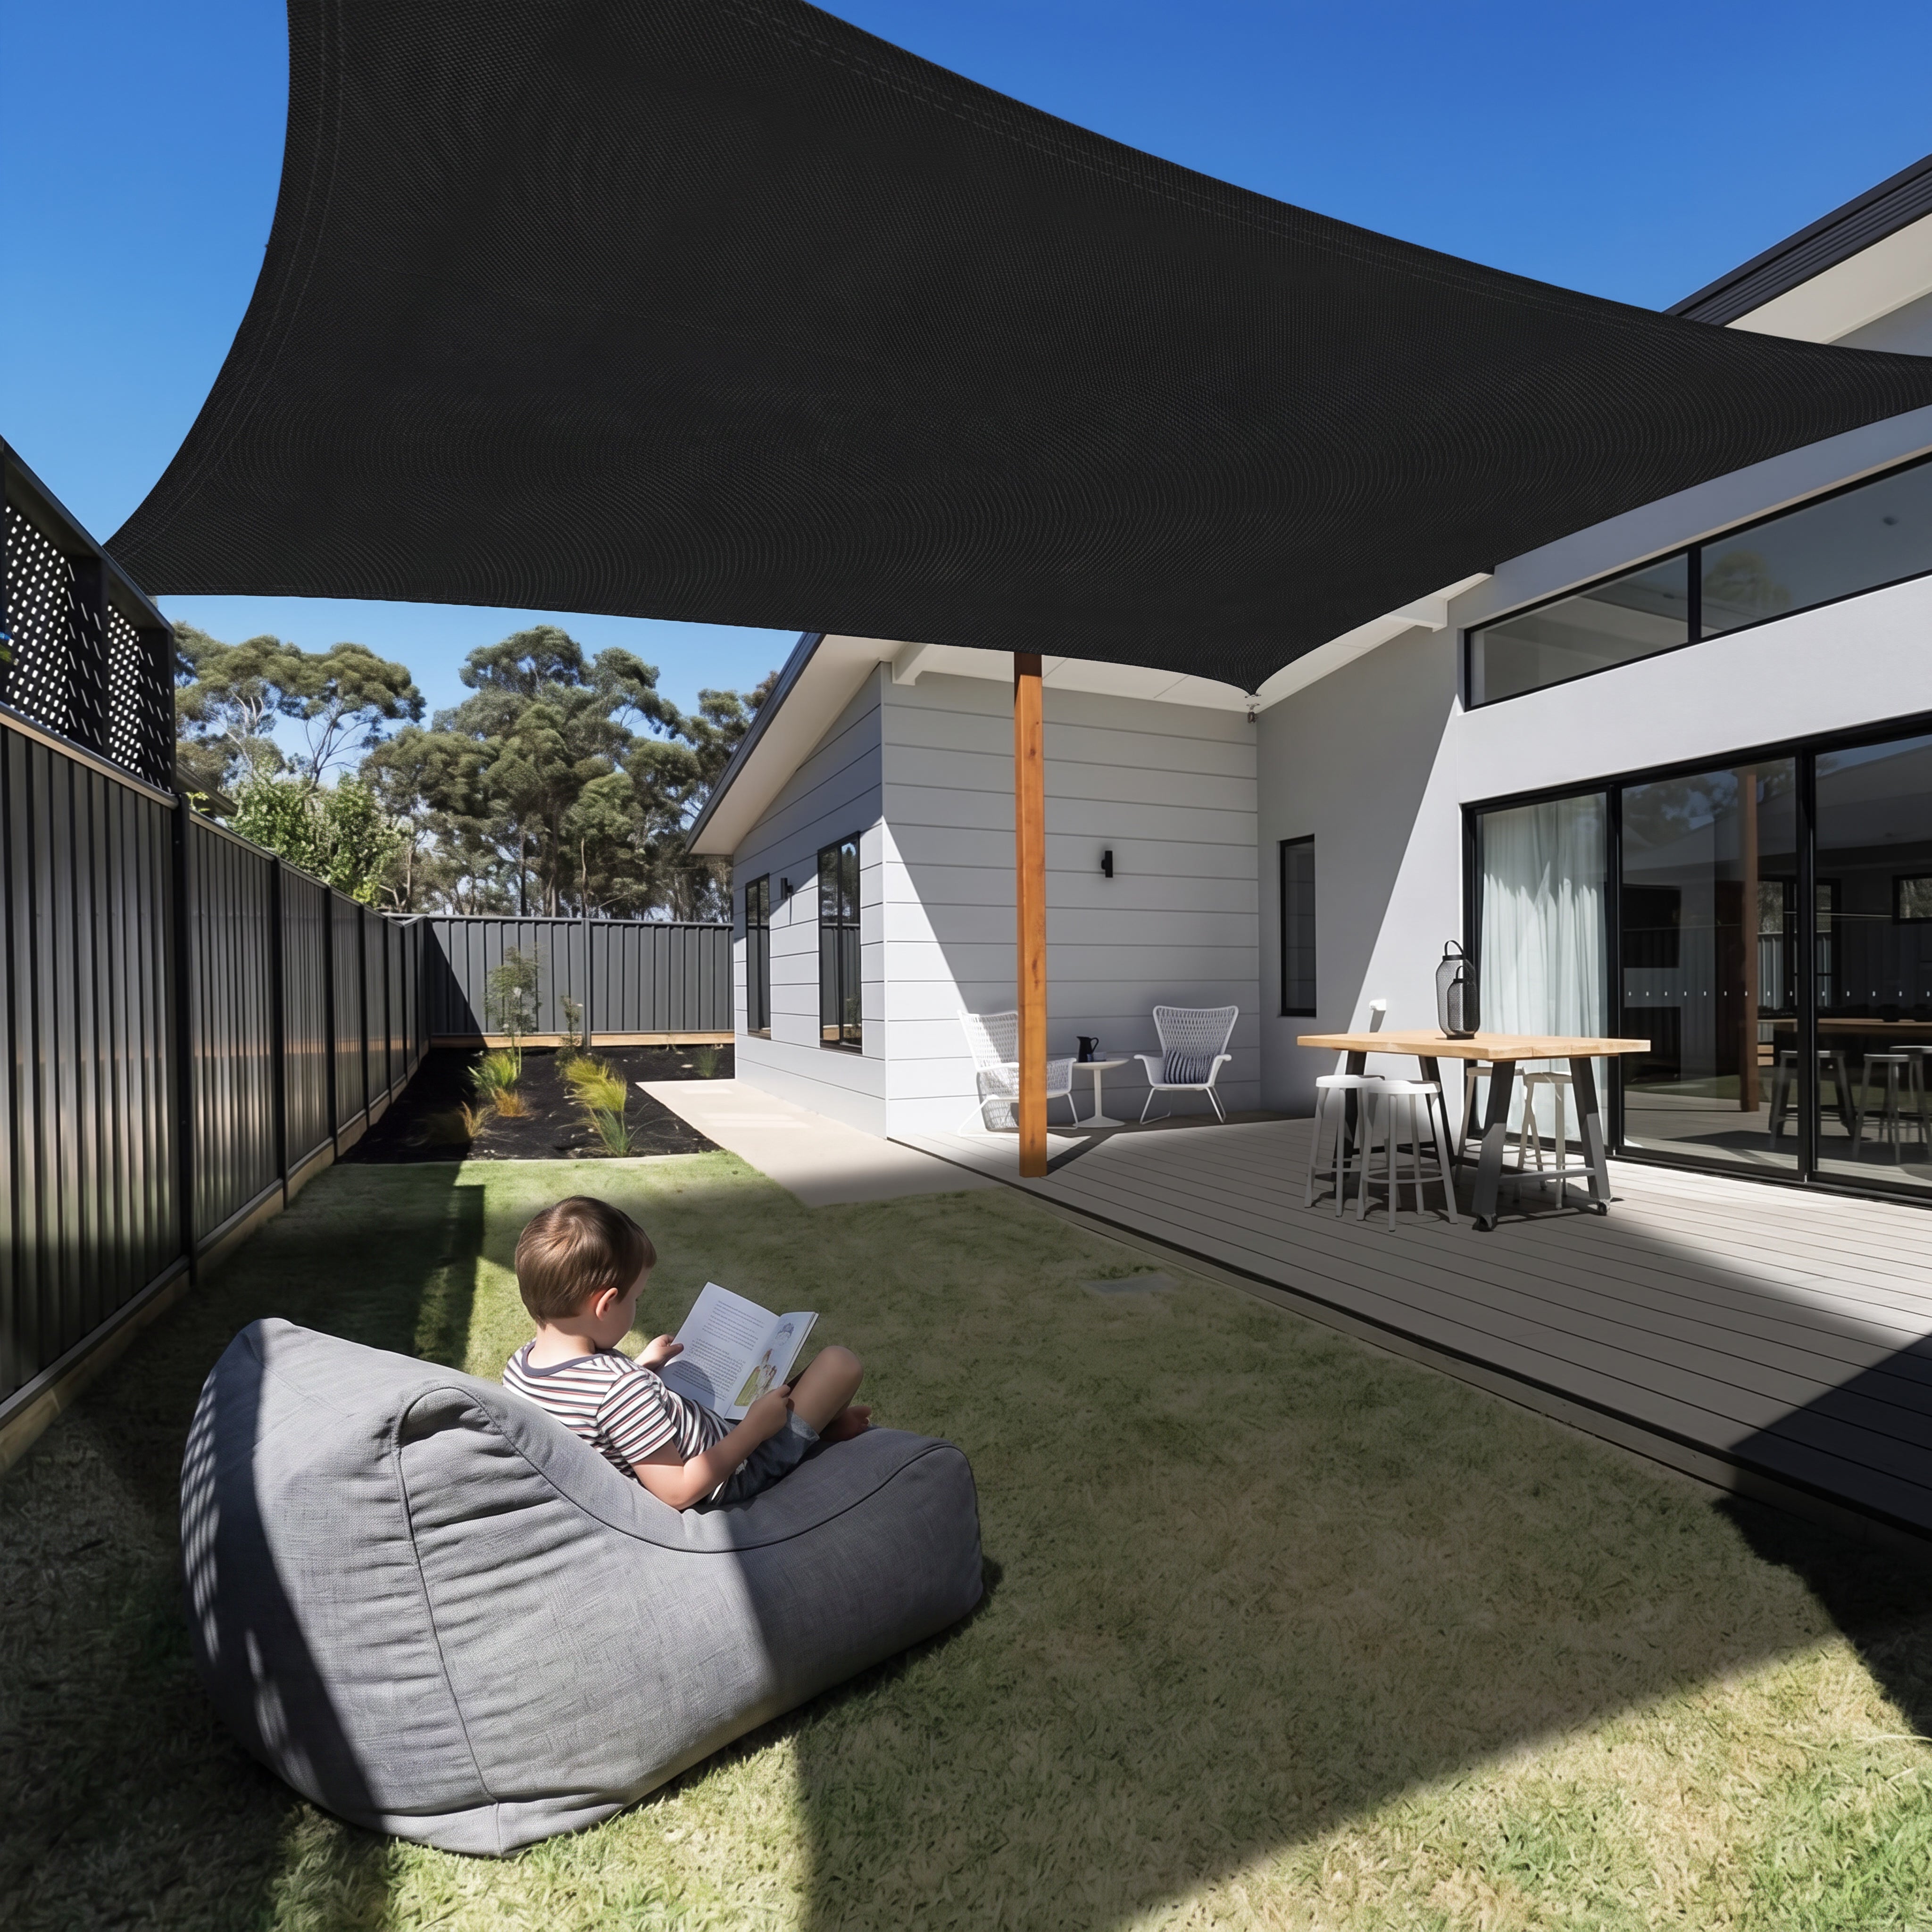
- Installation Compatibility: Compatible with posts, building walls, fascia mounts, or mixed anchor configurations - ideal for corners, narrow walkways, carport edges, courtyards, or architectural installs.
- Warranty:
- Shadetec 320: 10yr Long-term fabric warranty (as per ShadeSpace standards)
- Extrablock 330: 10yr Fabric warranty (as per ShadeSpace standards)
- Monotec 370: Premium-grade fabric with extended durability and 15yr warranty suited to heavy-duty or commercial applications - Customisation: Available in a wide range of colours and sizes. Fabric choice allows buyers to tailor performance vs. cost vs. durability depending on use case (residential, commercial, coastal, high-wind, large span, compact install, etc.).
Installation Guide
Step 1: Choose the Right Location.
Before installation, select an appropriate location that offers sturdy anchor points and provides the coverage you need. Consider:
• Sun Exposure: Ensure the sail provides shade where it’s most needed.
• Anchor Points: Identify strong structures like walls, posts to serve as your sail’s support.
Step 2: Gather Tools and Materials
Ensure you have everything needed for a smooth installation:
• Shade Sail in your preferred size and shape.
• Fixings and Hardware such as turnbuckles, D-shackles, eye bolts, and pad eyes.
• Posts (if no existing anchor points are available).
• Tools like a drill, wrench, measuring tape, and ladder.
Step 3: Prepare the Area.
Clear the designated space to ensure an easy and safe installation. Remove any obstacles, furniture, or debris and confirm the area is accessible for securing anchor points.
Step 4: Install Anchor Points
Strong, secure anchor points are essential for a durable installation. Here’s how to set them up:
Using Existing Structures
• Walls or Beams: Drill holes and attach eye bolts or pad eyes into a solid surface like timber , steel or concrete . Brick masonary is not normaly reccomended. Ensure the fixtures are firmly secured to handle tension.
Installing Posts
• Placement: If posts are needed, position them to align with the shade sail’s attachment points.
• Setting Posts: Dig holes one-third the length of the posts and fill with concrete for stability. Allow the concrete to cure fully before attaching the sail.
Step 5: Attach the Shade Sail
With anchor points in place, it’s time to secure the shade sail:
1. Start with One Corner: Attach one corner of the sail to an anchor point using a D-shackle or turnbuckle.
2. Continue Around the Sail: Repeat the process for the remaining corners, connecting each to its anchor point.
3. Secure Tightness: Gradually tighten turnbuckles to ensure the sail is taut but not over-stressed.
Step 6: Check Fixings for Security
After securing the sail, inspect all connections to ensure they are tight and stable:
• Tighten turnbuckles to eliminate slack.
• Check for any loose bolts or fittings.
Step 7: Perform Final Adjustments
Make any necessary adjustments to ensure the sail is evenly tensioned:
• Alignment: Ensure the sail is evenly stretched between anchor points.
• Stability: Verify that all fixings are secure and capable of withstanding wind and weather.
Step 8: Maintain Your Shade Sail
Regular maintenance keeps your shade sail in top condition:
• Clean Periodically: Use a mild detergent and water to remove dirt and debris.
• Inspect Fixings: Check for signs of wear or rust and replace damaged components.
• Re-tension When Needed: Over time, the sail may stretch slightly, so tighten the fixings as necessary.
Can't find your size?
Design your own custom shade sail with our easy configurator.
Create Your Custom Sail →