7 Genius Ways to Perfectly Position Your Shade Sails
Let’s face it—shade sails aren’t just another pretty accessory for your backyard. They’re a game-changer, a sun-blocking superhero that can transform any outdoor area from “meh” to “marvelous” faster than you can say, “Where’s my SPF 50?” But if you’re here, you already know that. What you might not know, however, is how to position shade sails to get the best out of them.
1. Understand Your Sun’s Path
First things first, unless you’re living on Mars, the sun in Australia can be, well, unforgiving. Understanding the path of the sun across your space is crucial in deciding where and how to position your shade sails. Morning sun, afternoon sun, or that blazing midday sun, you need to know where the sun is when you most want to block it. Our top tip? Use an app like SunCalc to map out the sun’s trajectory throughout the day. This ensures you place your shade sails where they’ll provide the most coverage when you need it.

2. Anchor Points—The Higher, the Better
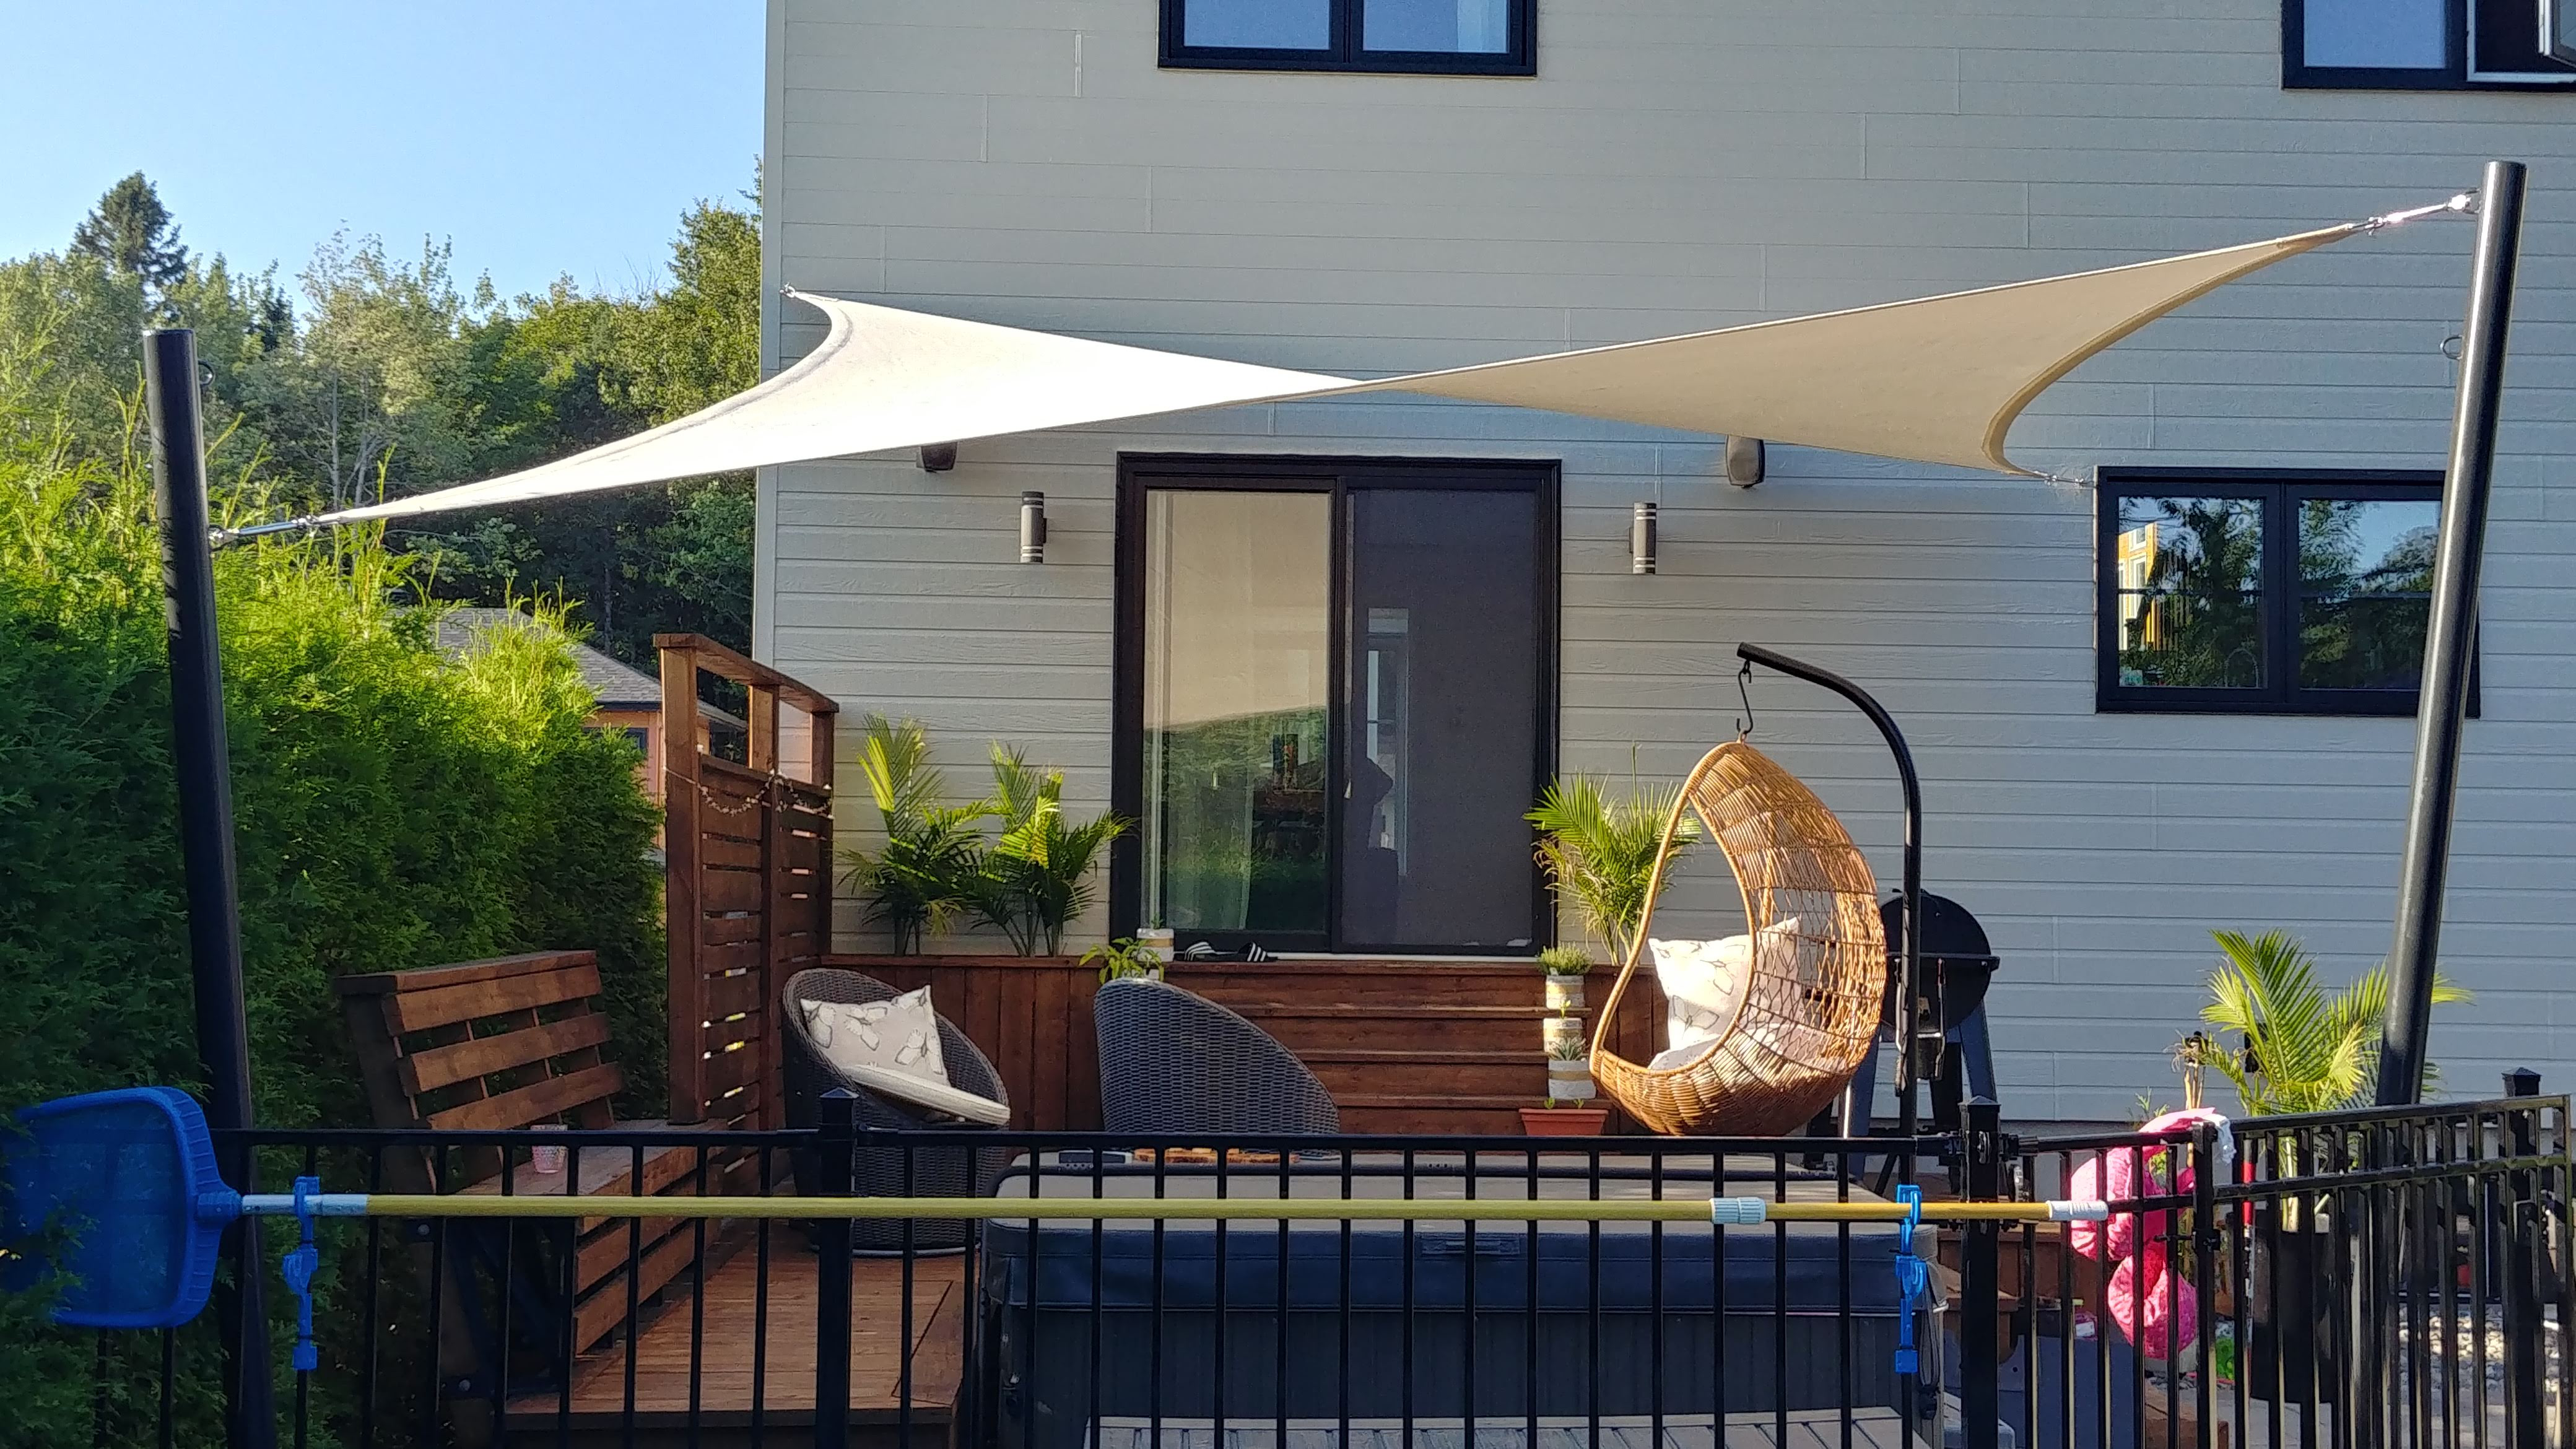
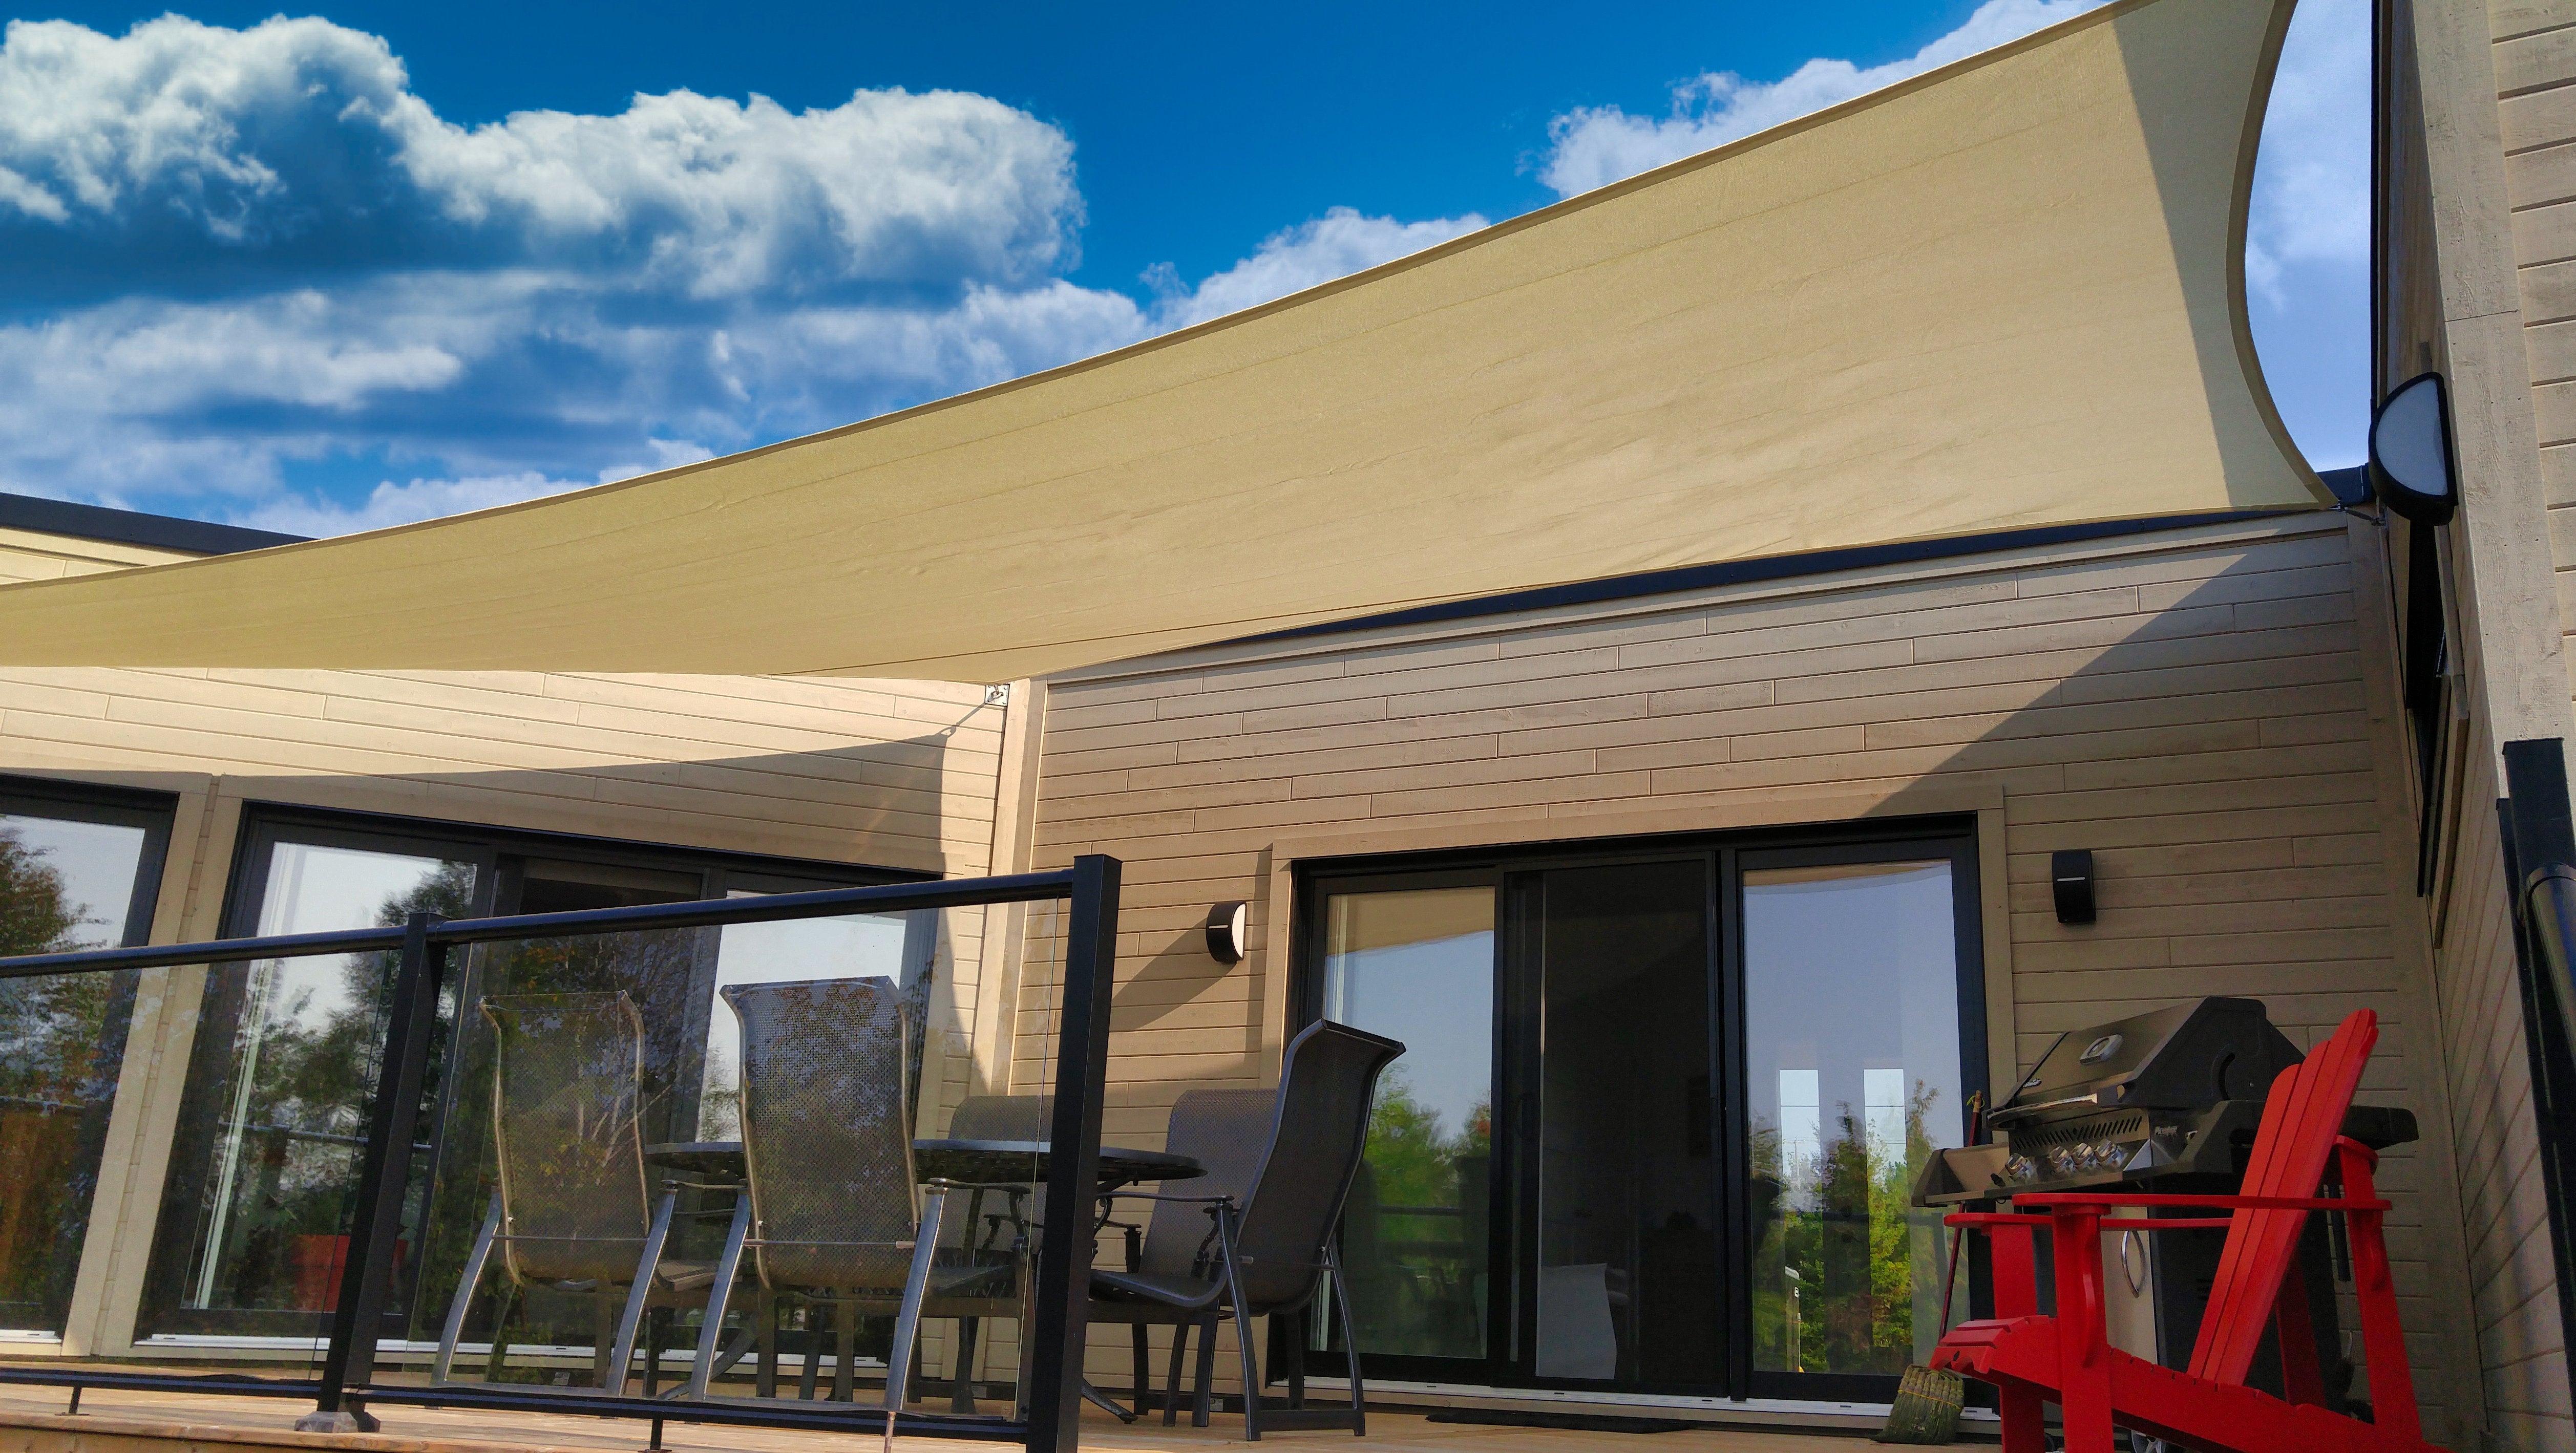
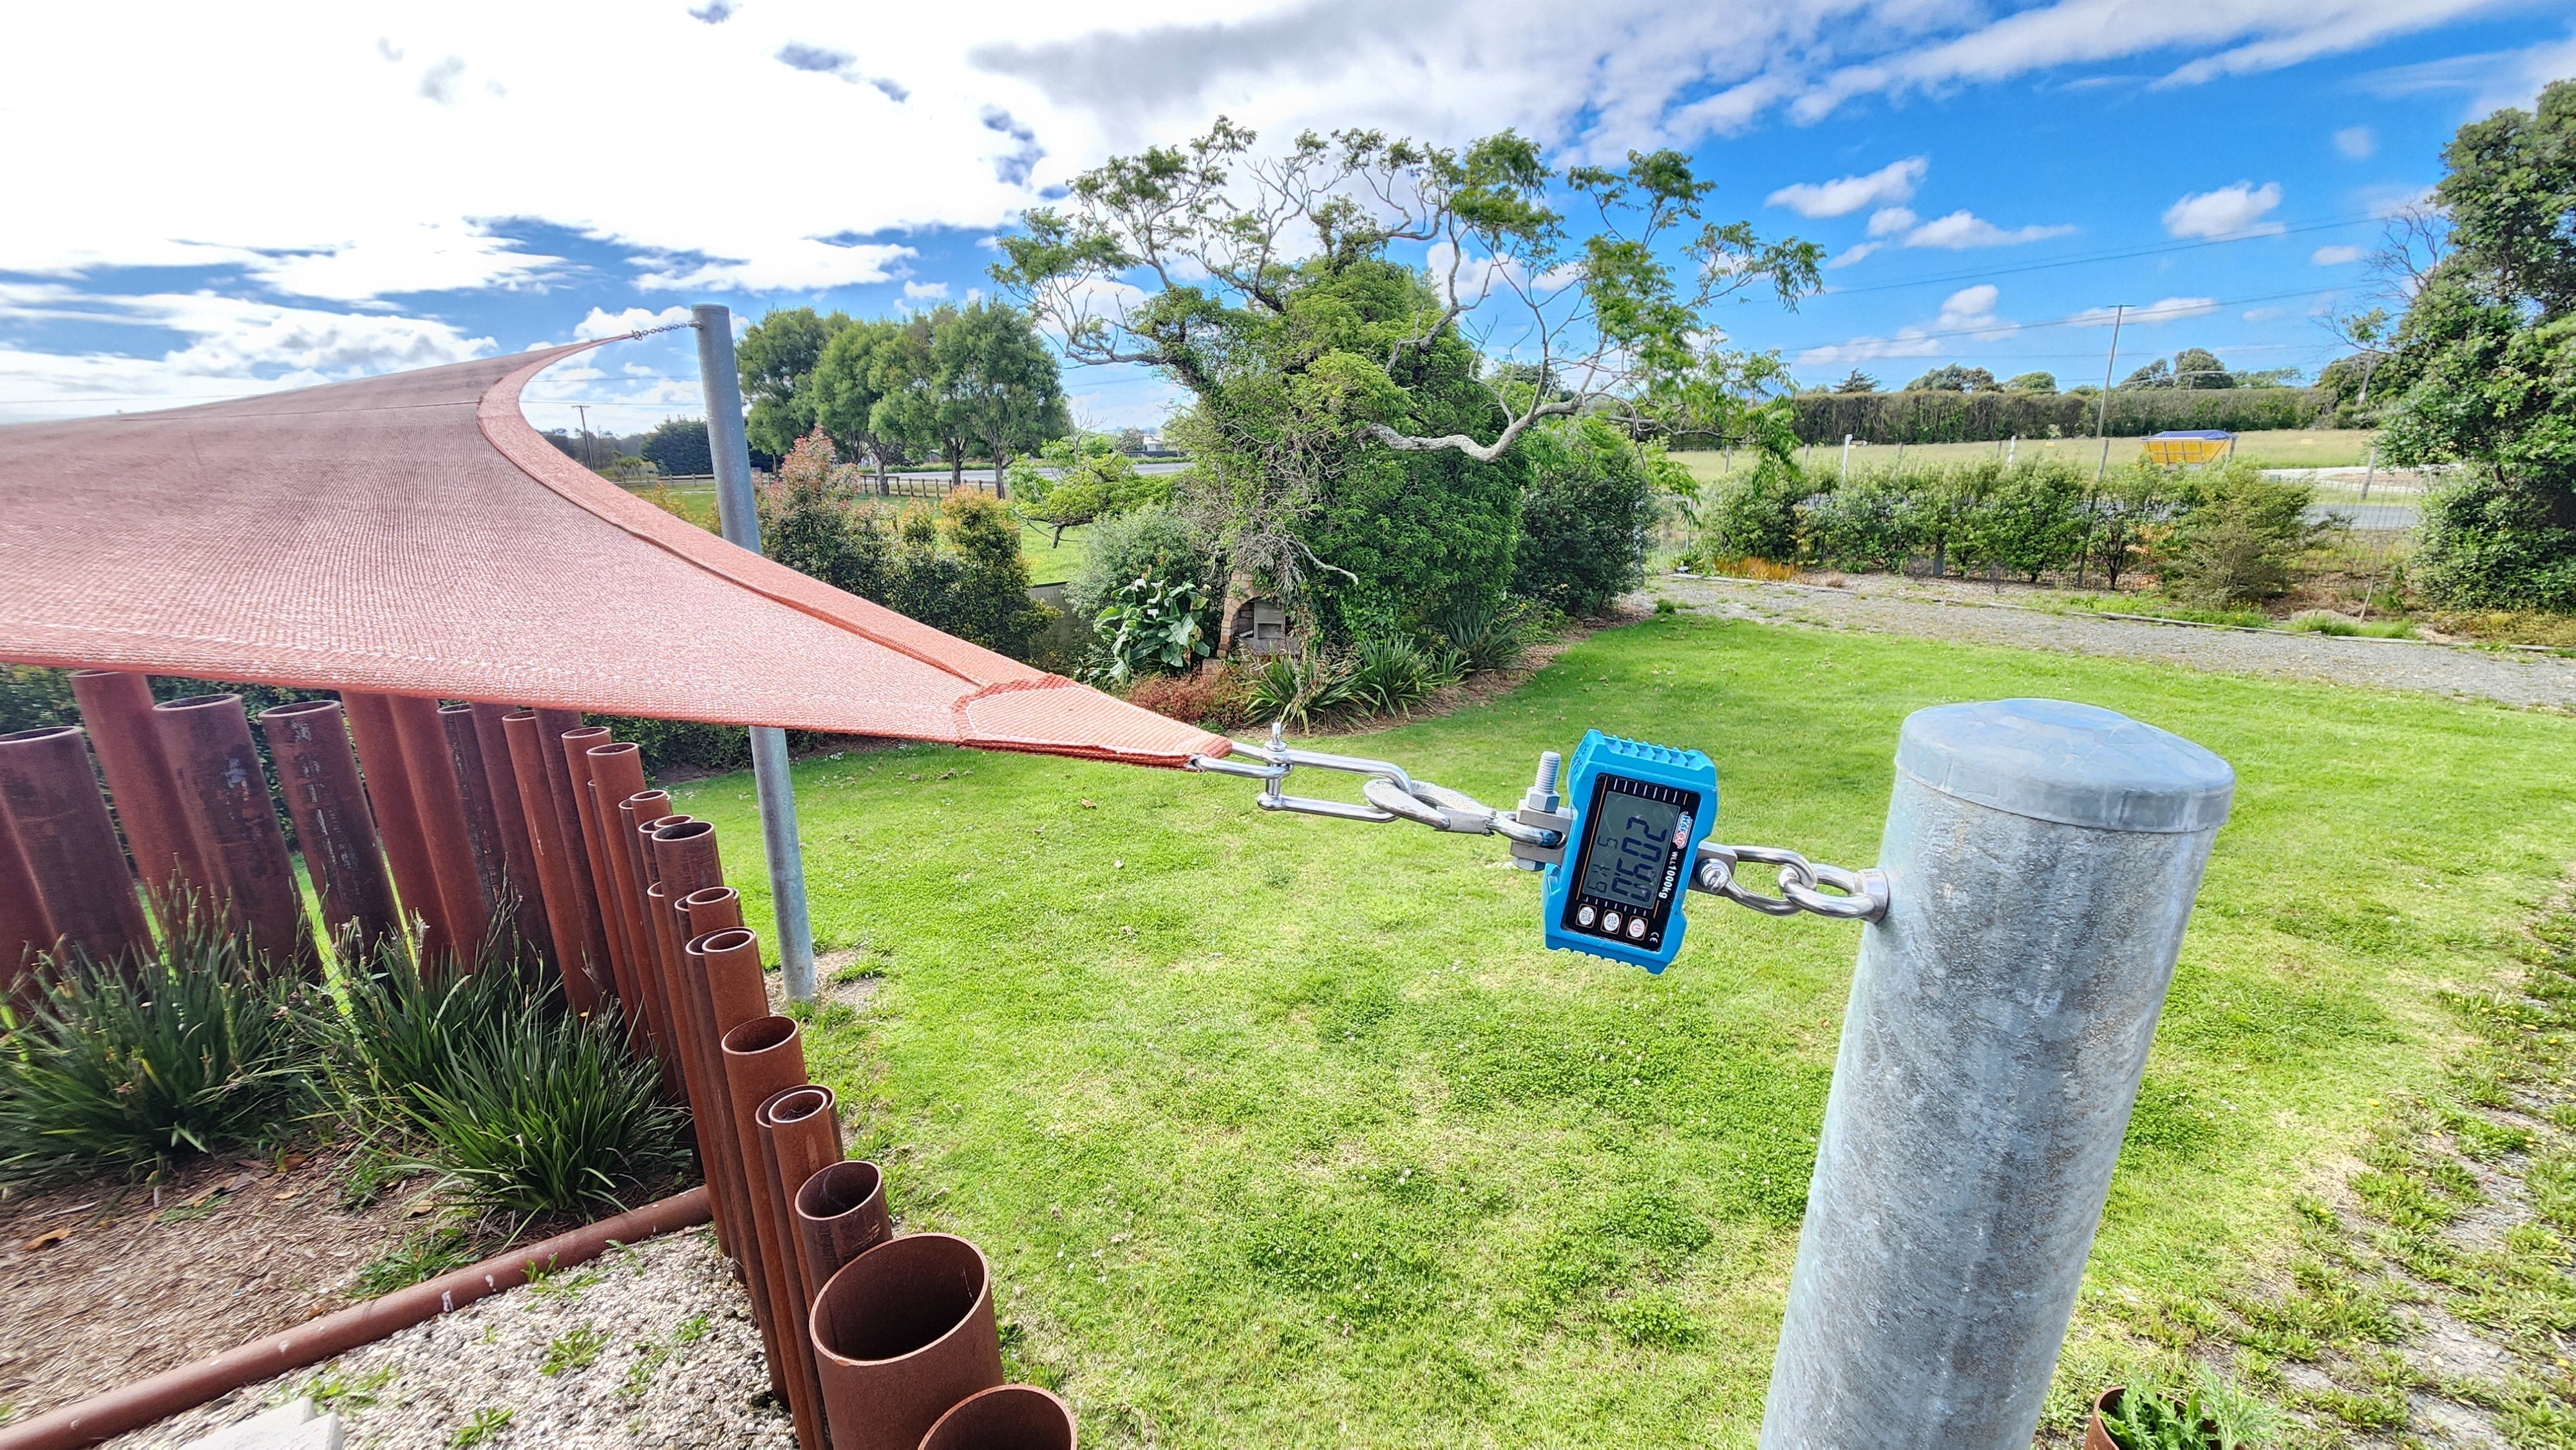
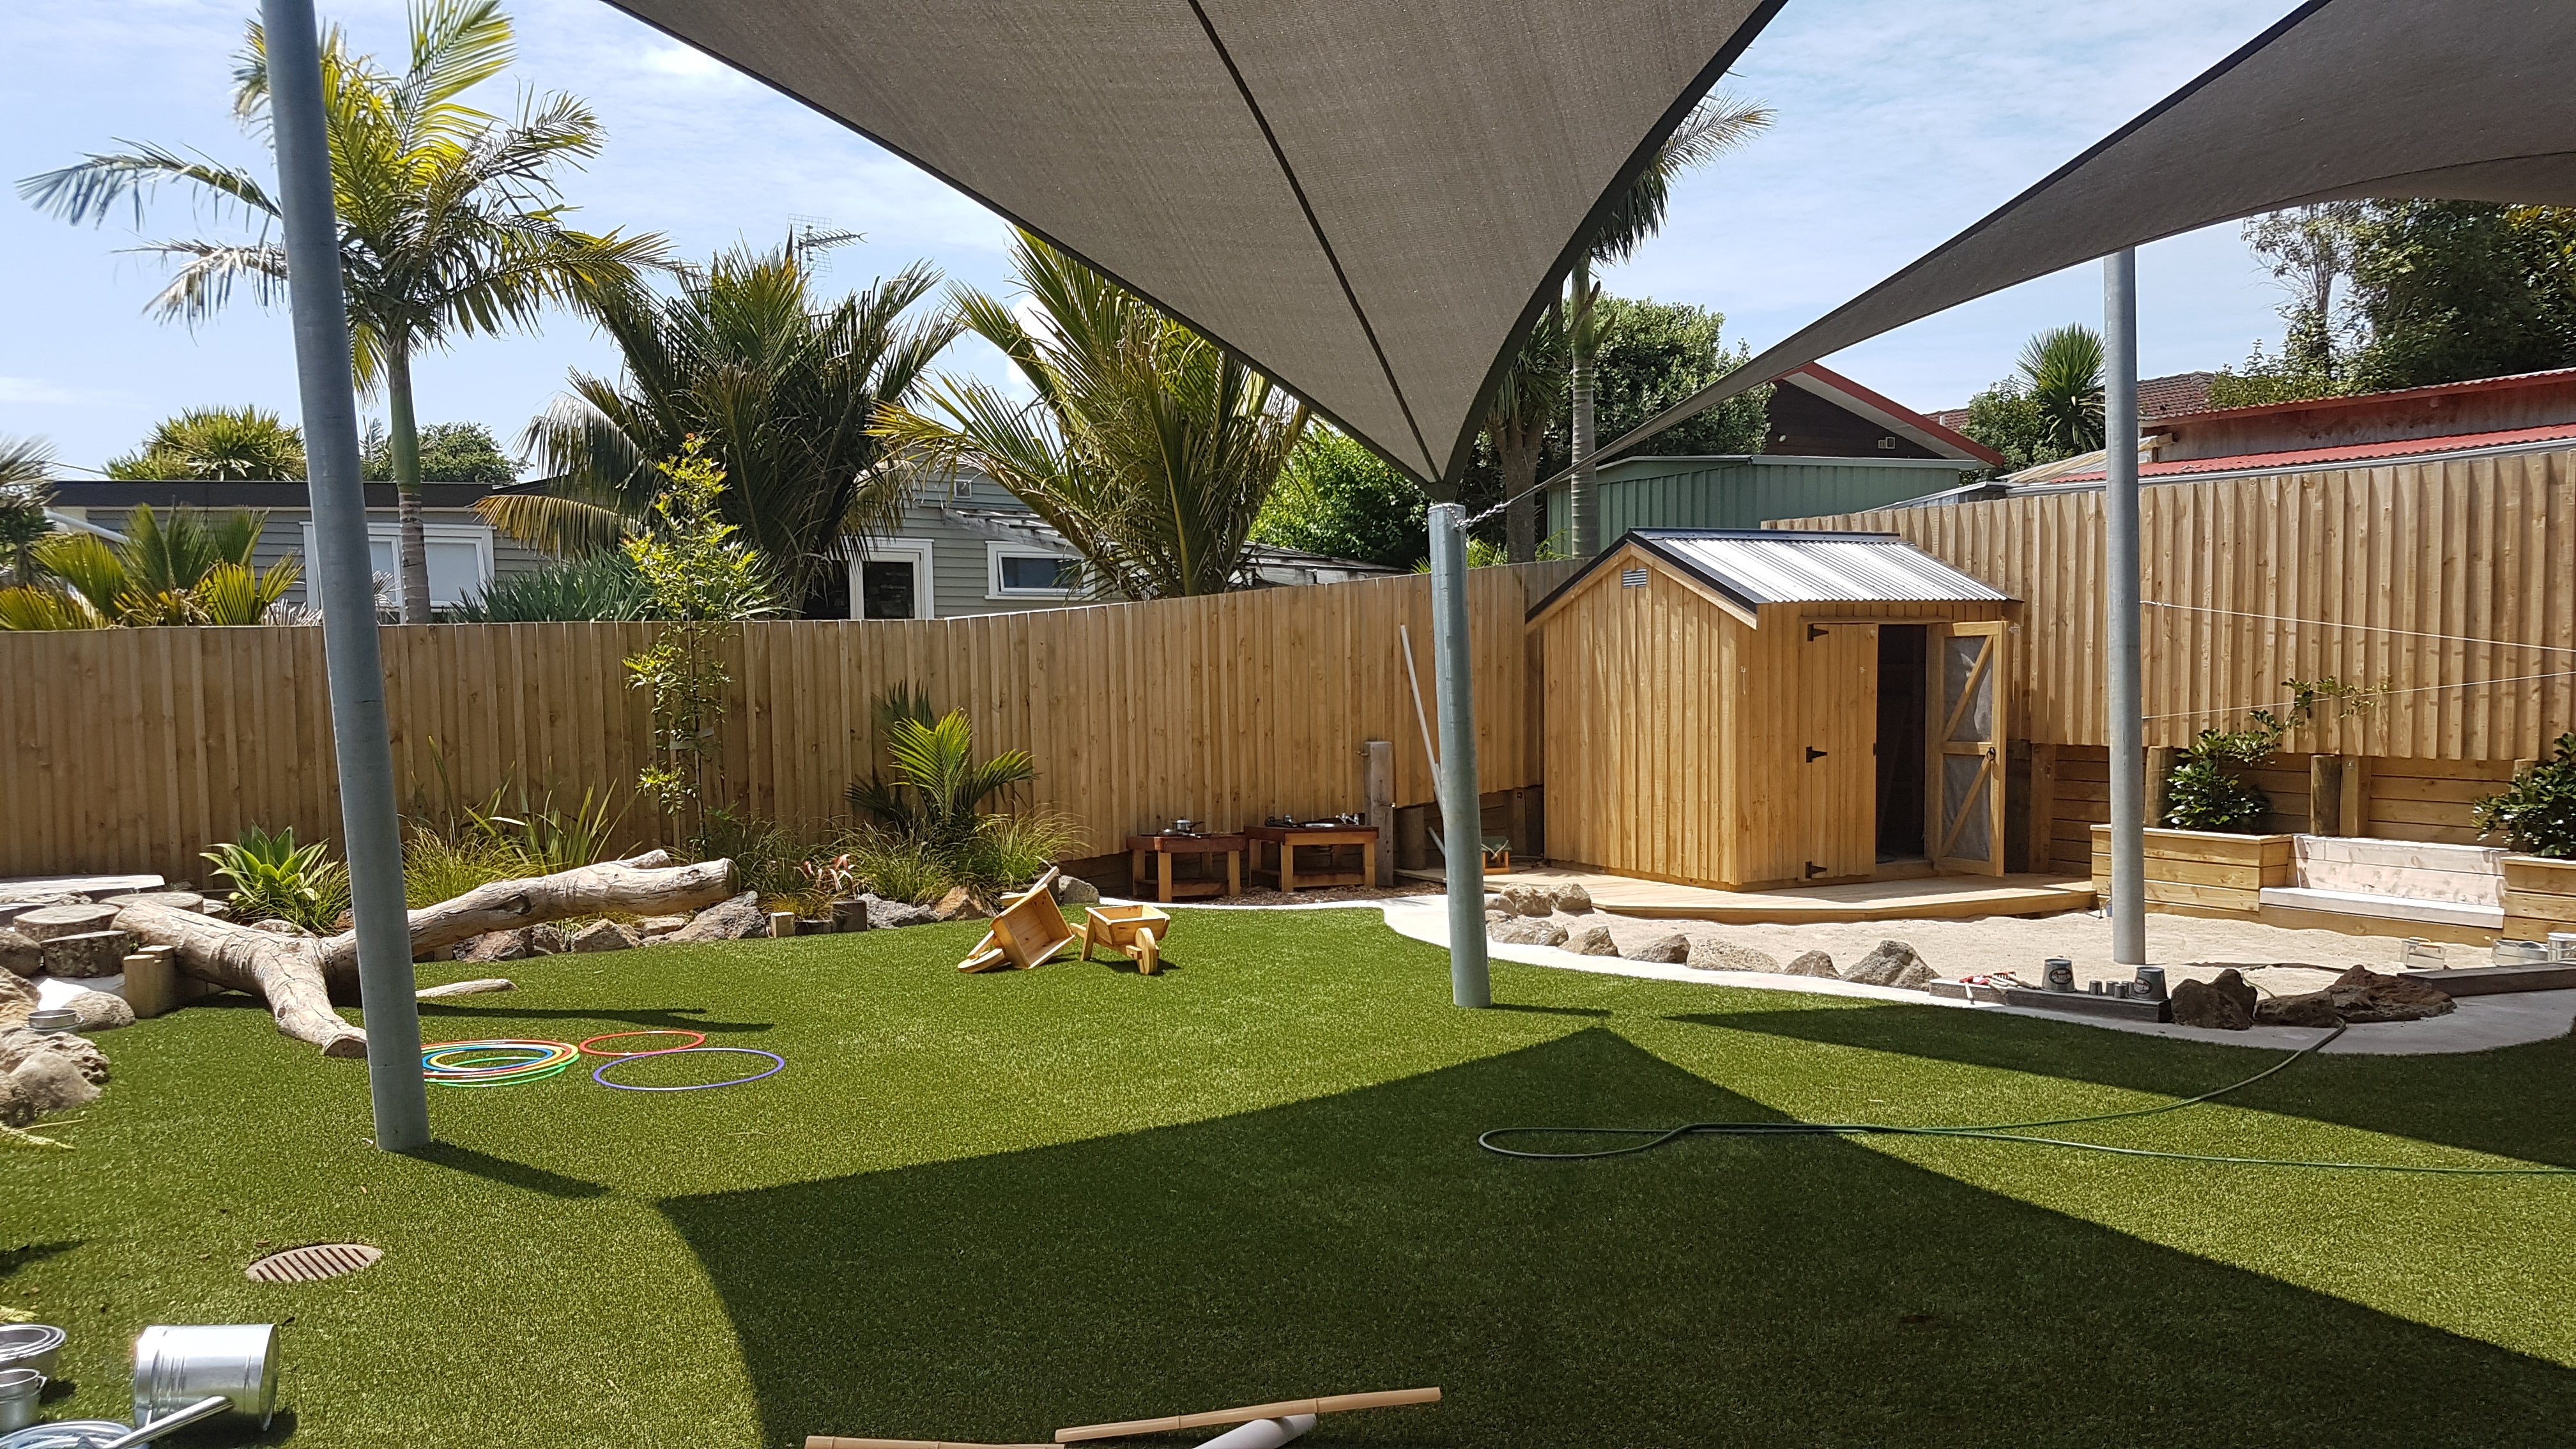
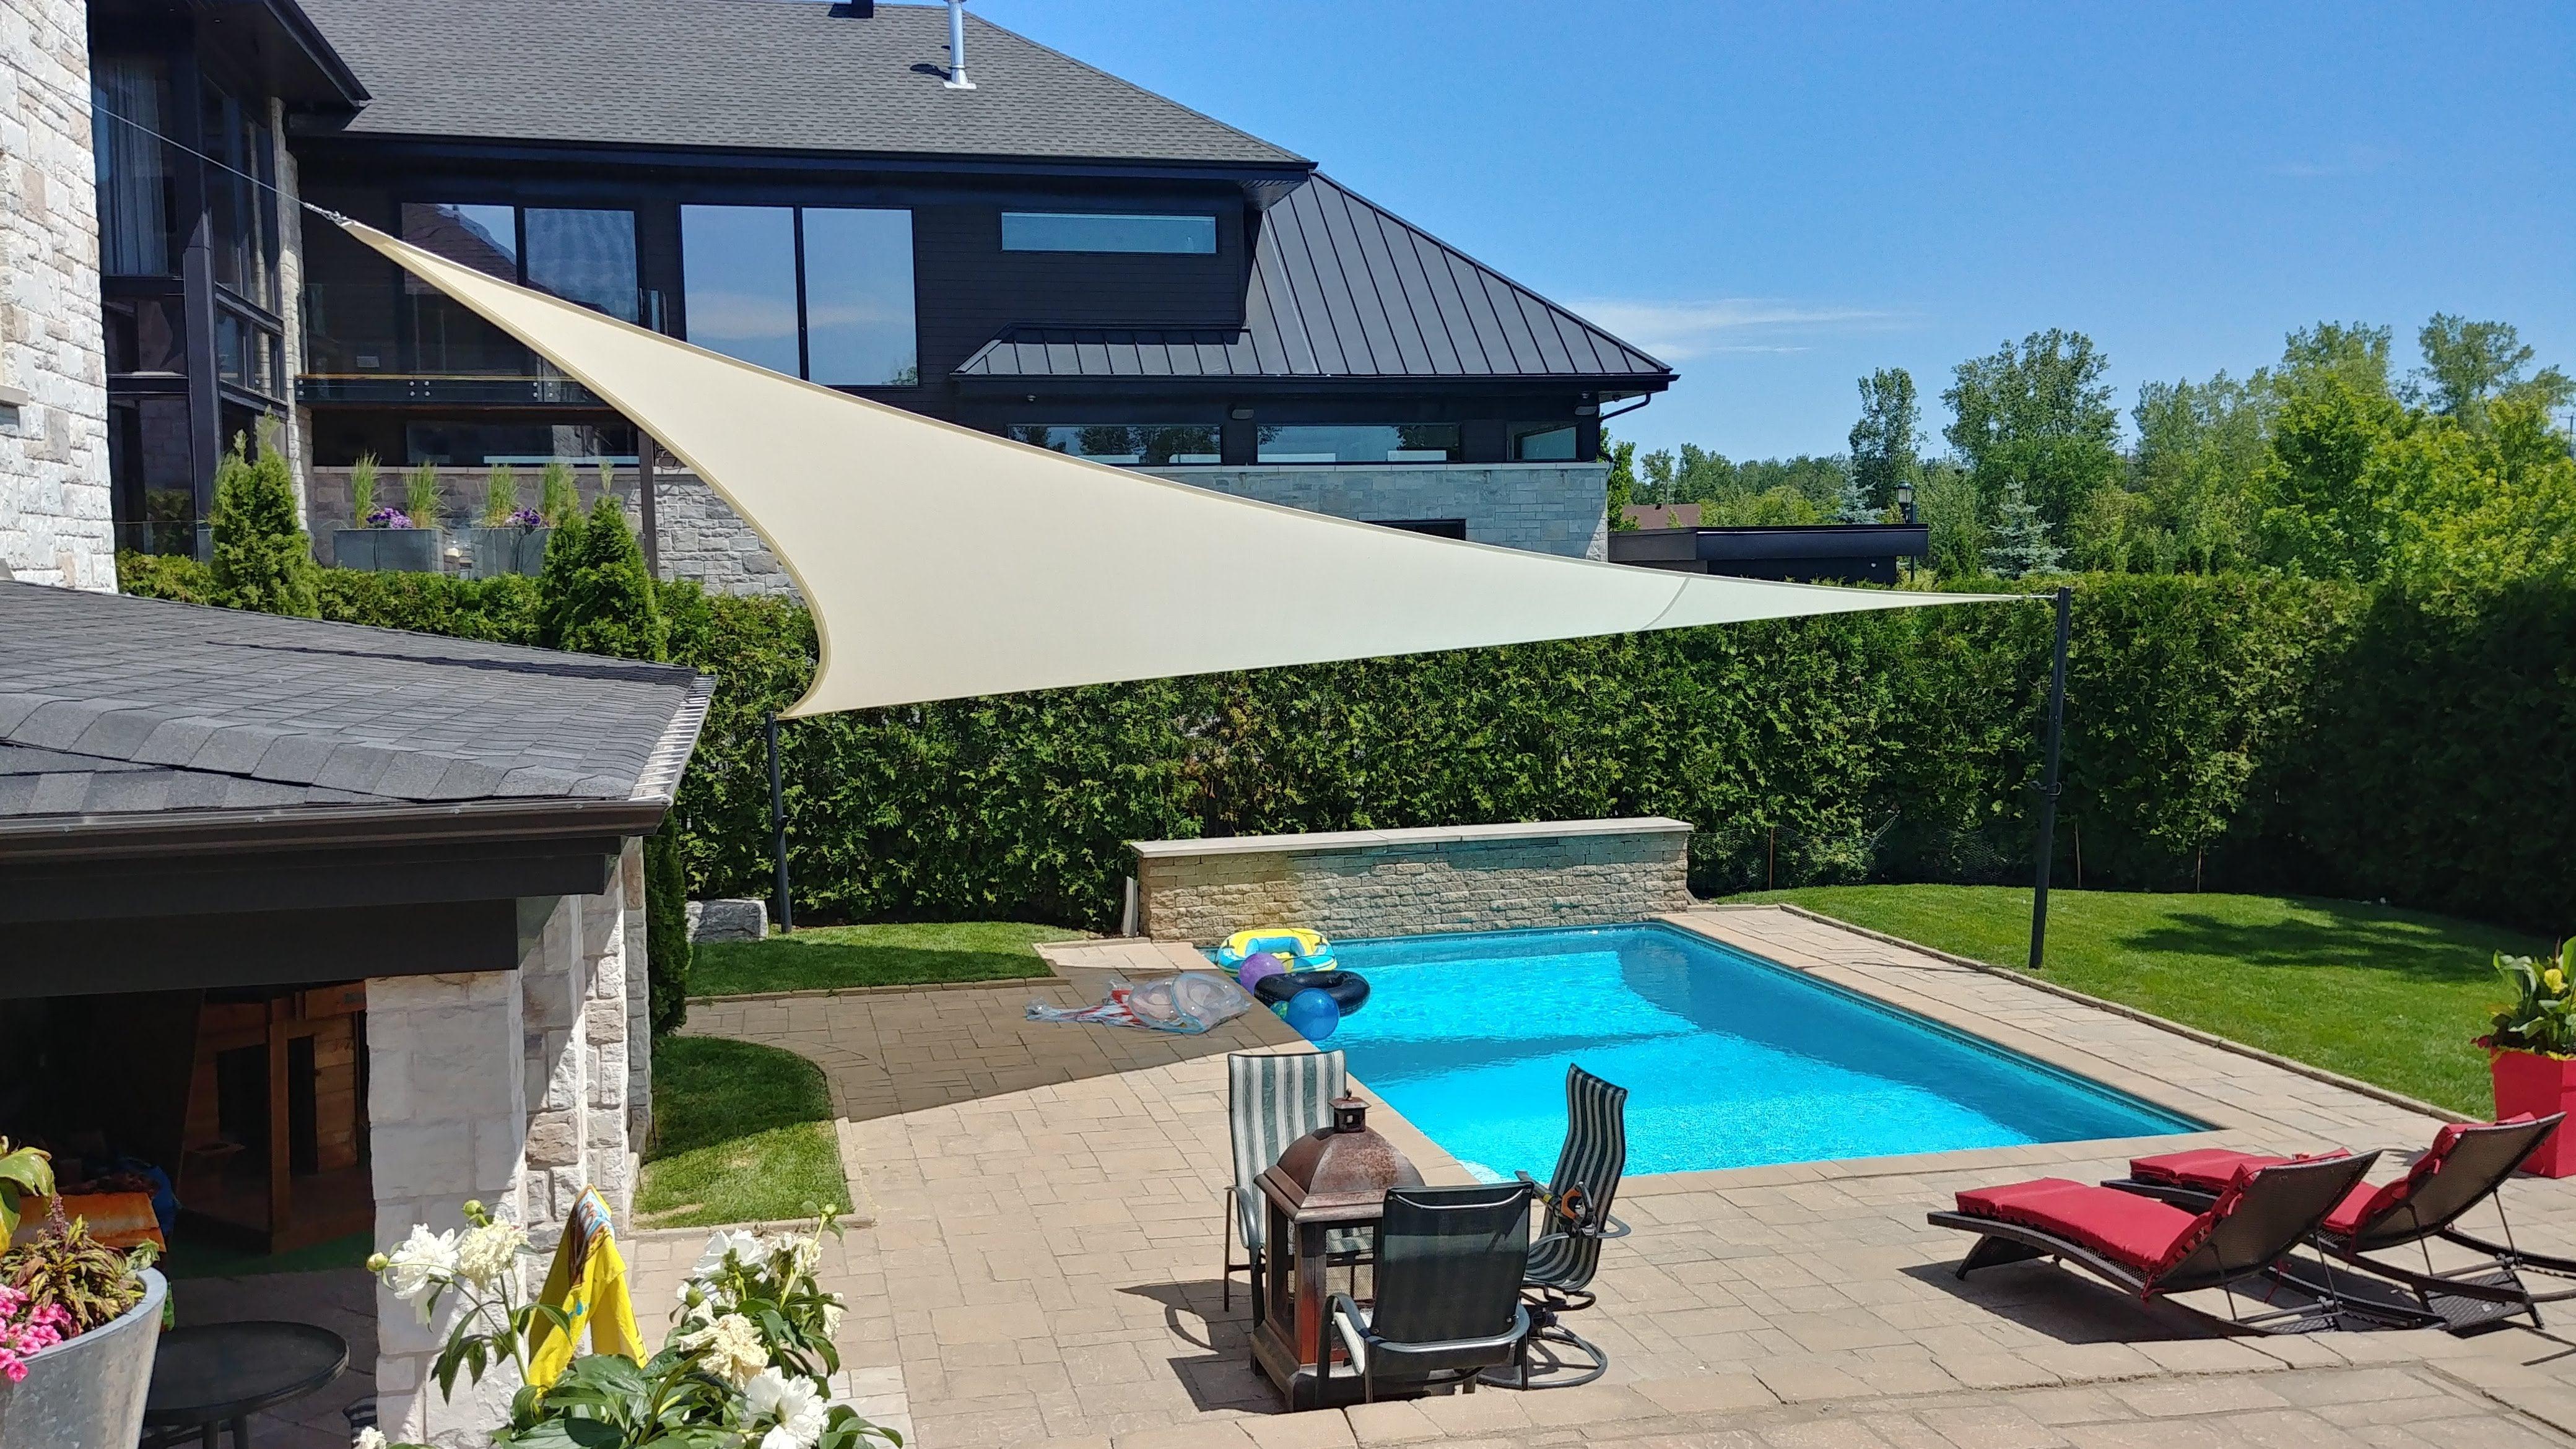
Sure, it’s easy to think you can slap up a few poles and call it a day, but not so fast! Varying the heights of your anchor points will give your shade sails a more dynamic look and improve their functionality. For example, raising one corner higher than the others allows water to run off more efficiently, ensuring your sails last longer and maintain their sleek, tight appearance. Need more convincing? Check out our article on The Importance of Varying Heights for Shade Sail Mount Points.
3. Consider Wind and Weather Conditions
Australia isn’t exactly known for mild weather, so positioning your shade sails with the wind in mind is critical. If you’ve ever had a backyard BBQ where the sails started flapping like crazy, you’ll know what we mean. Position your shade sails at an angle to allow wind to pass over them, reducing the stress on the material and your anchor points. Trust us, your sails will thank you.
4. Use Existing Structures
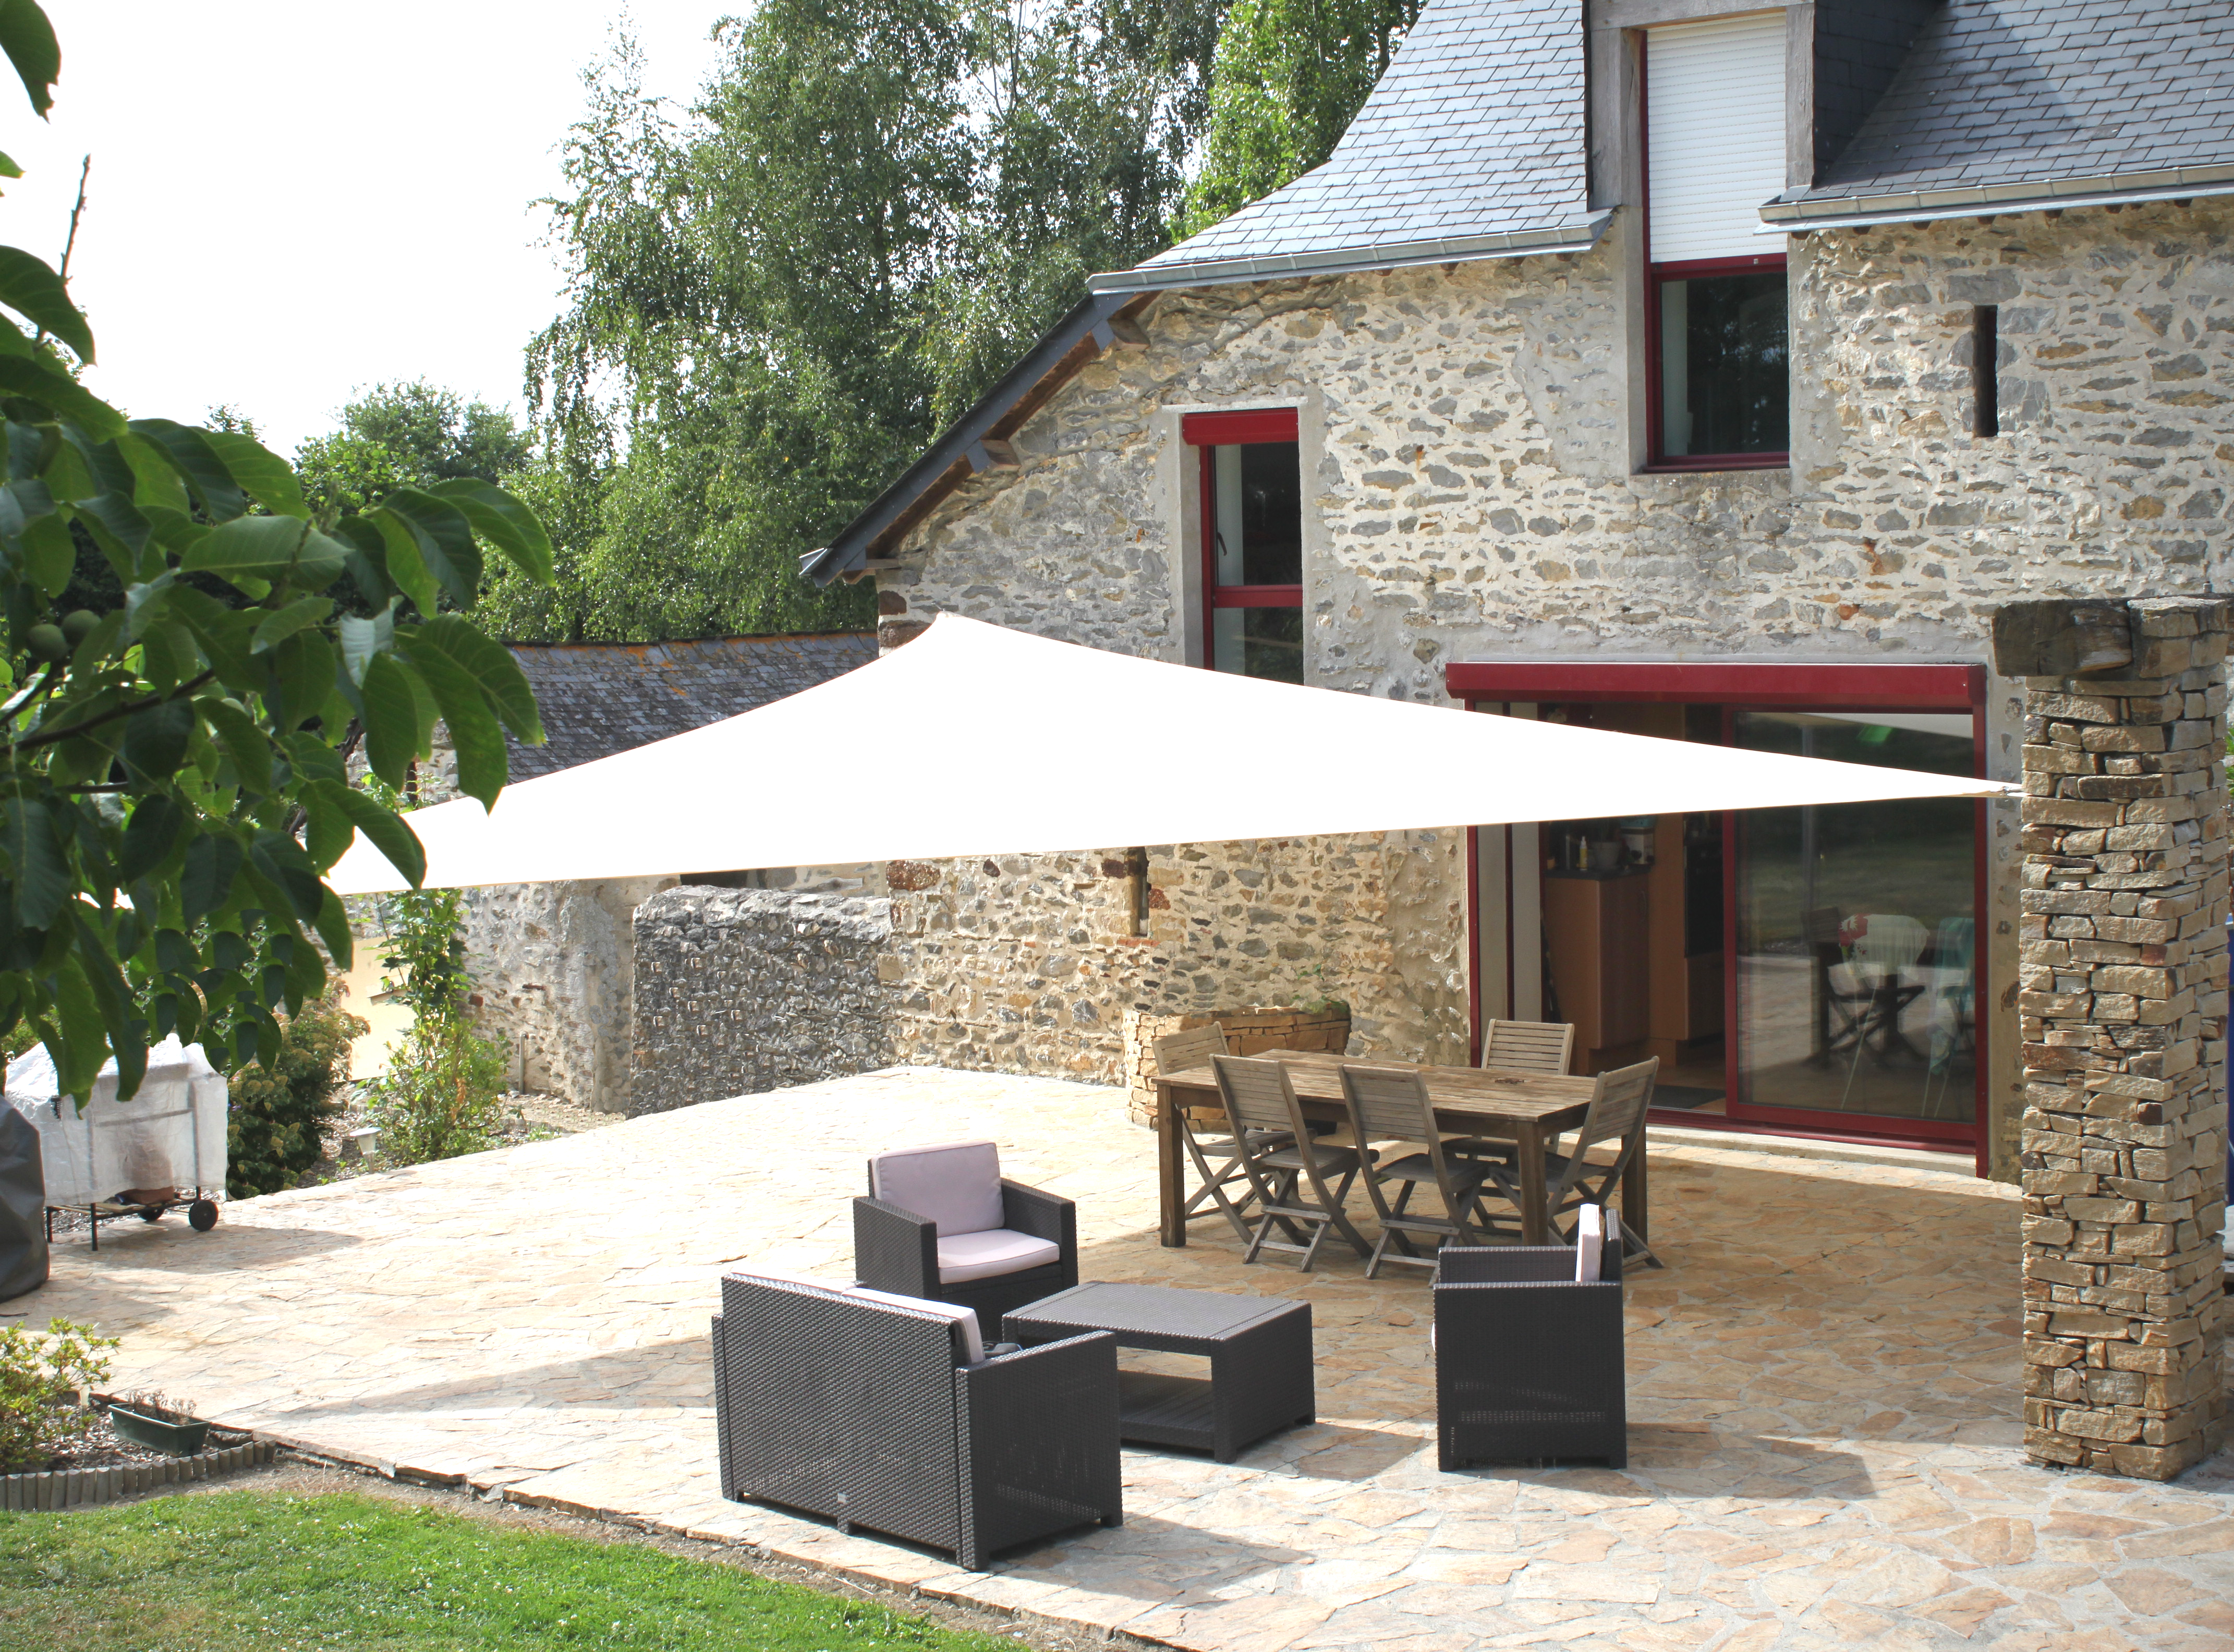
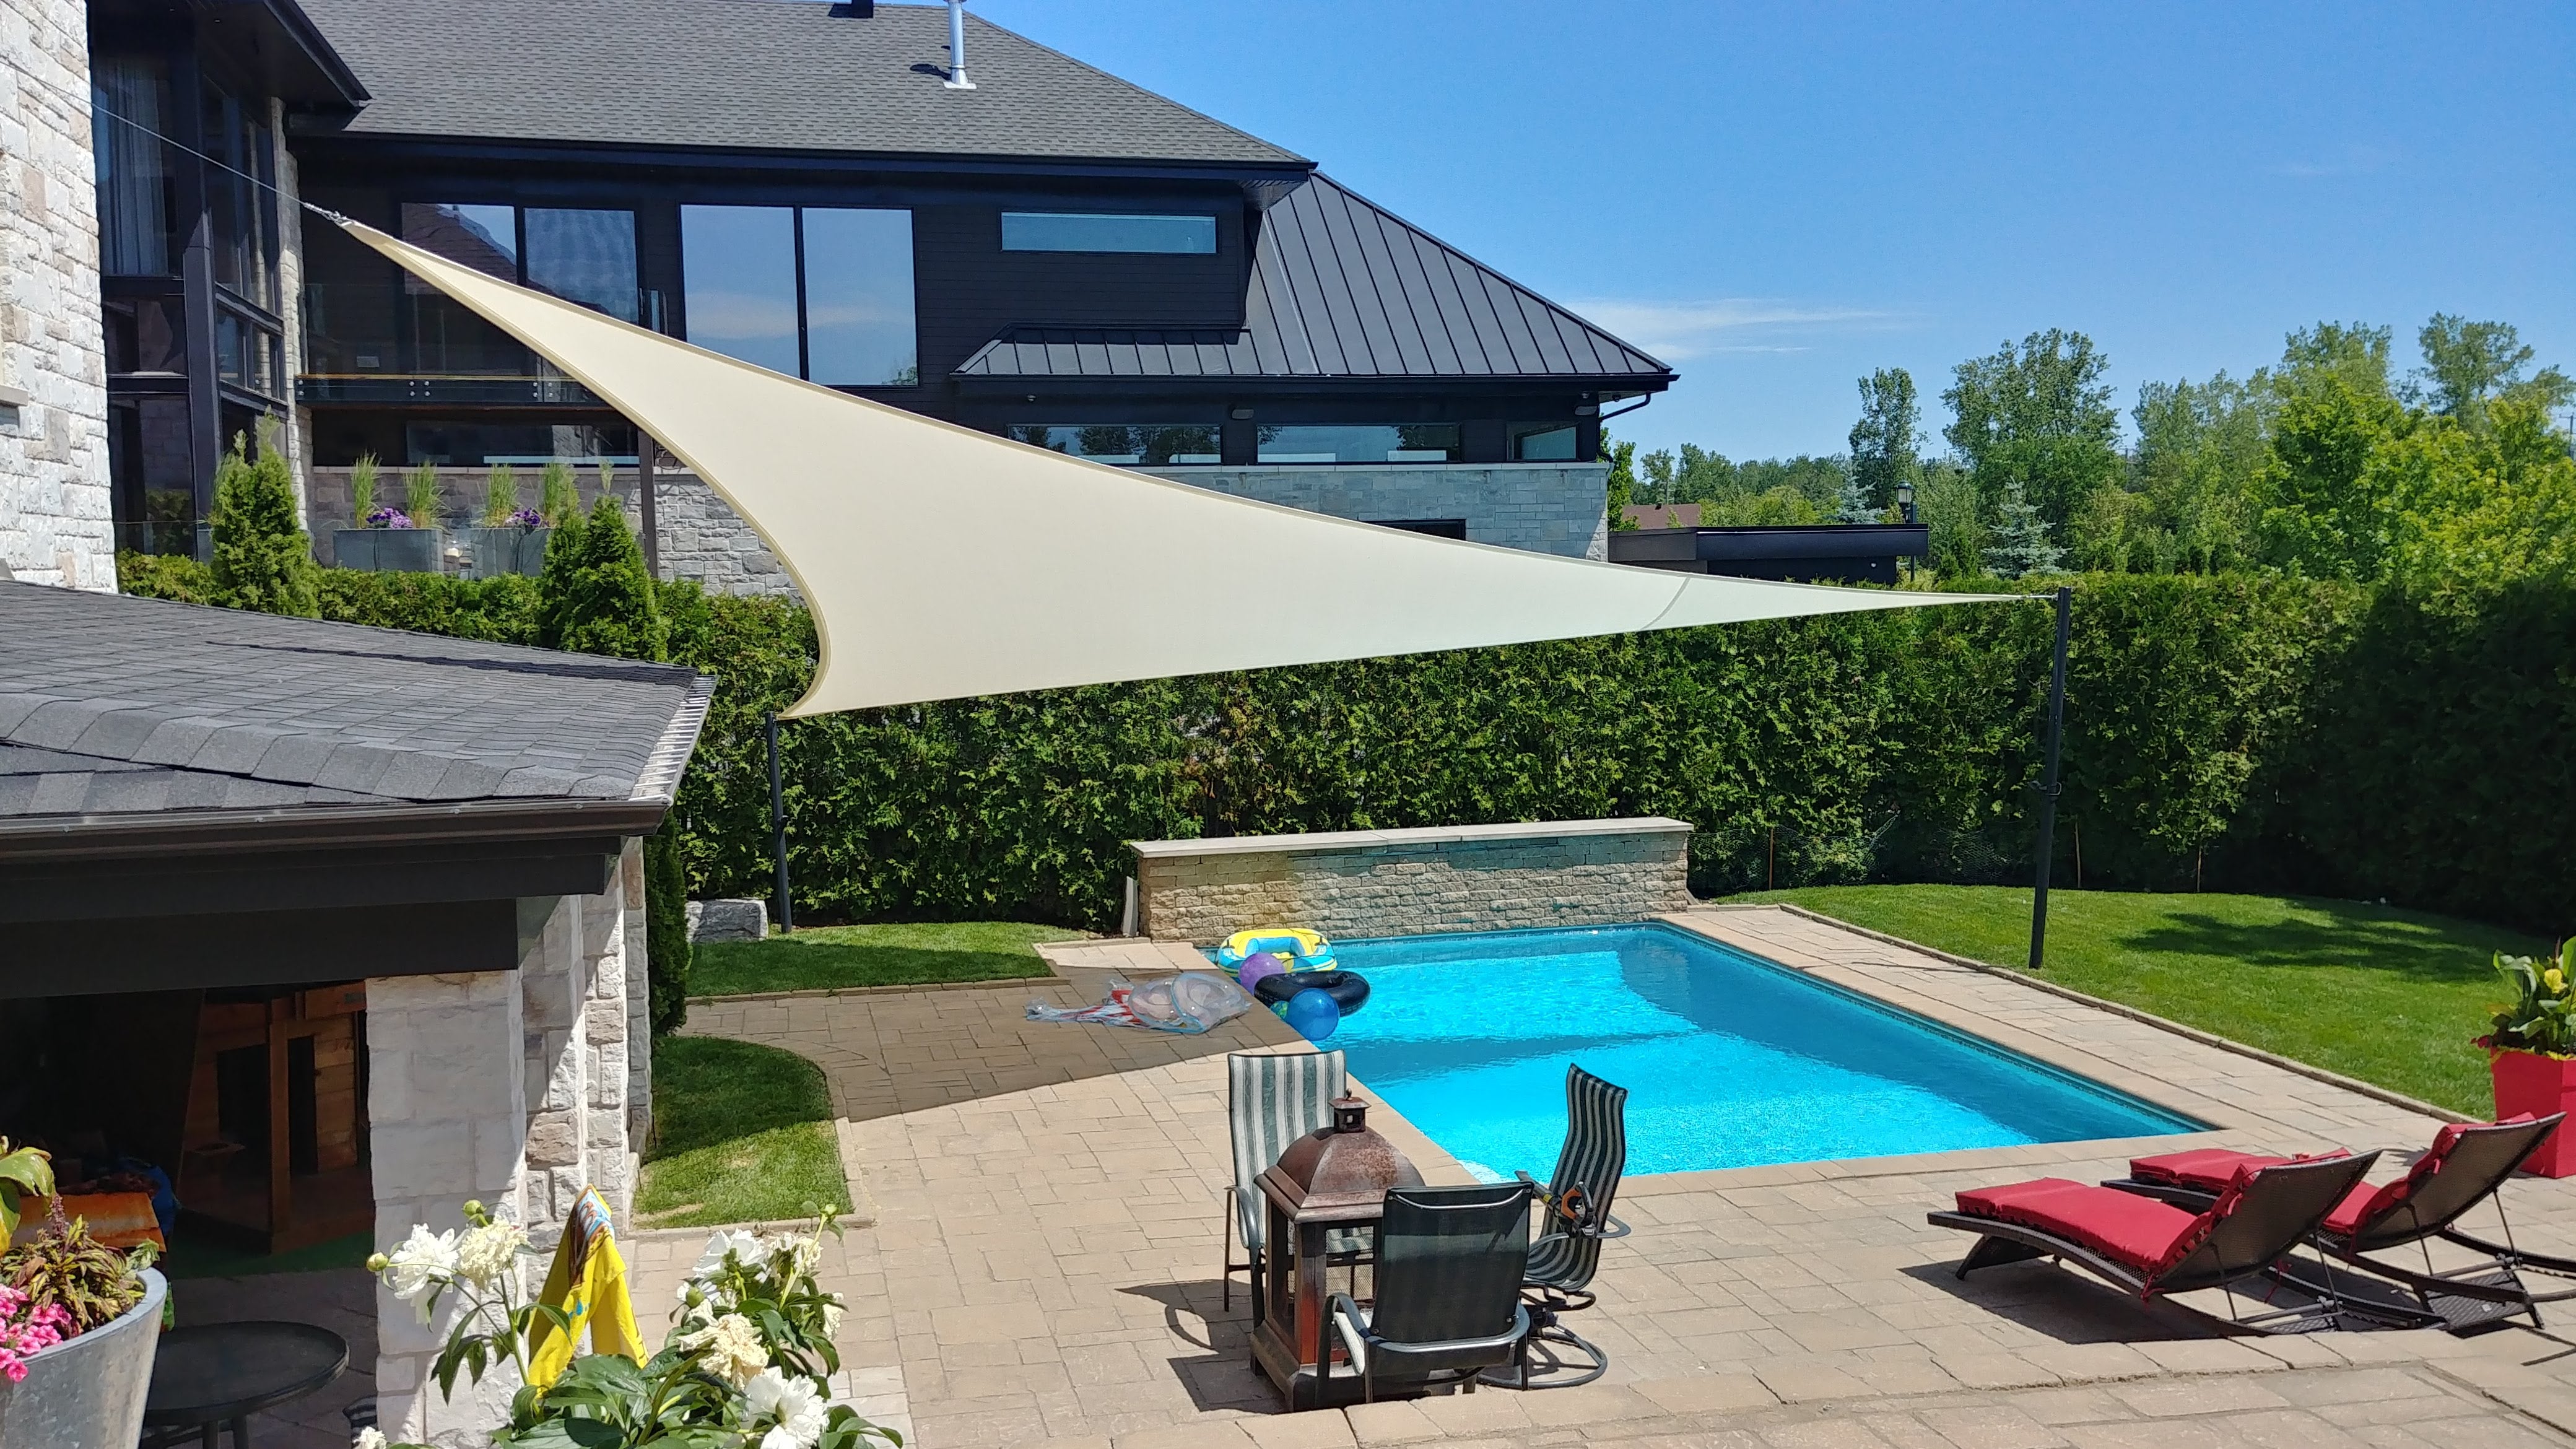
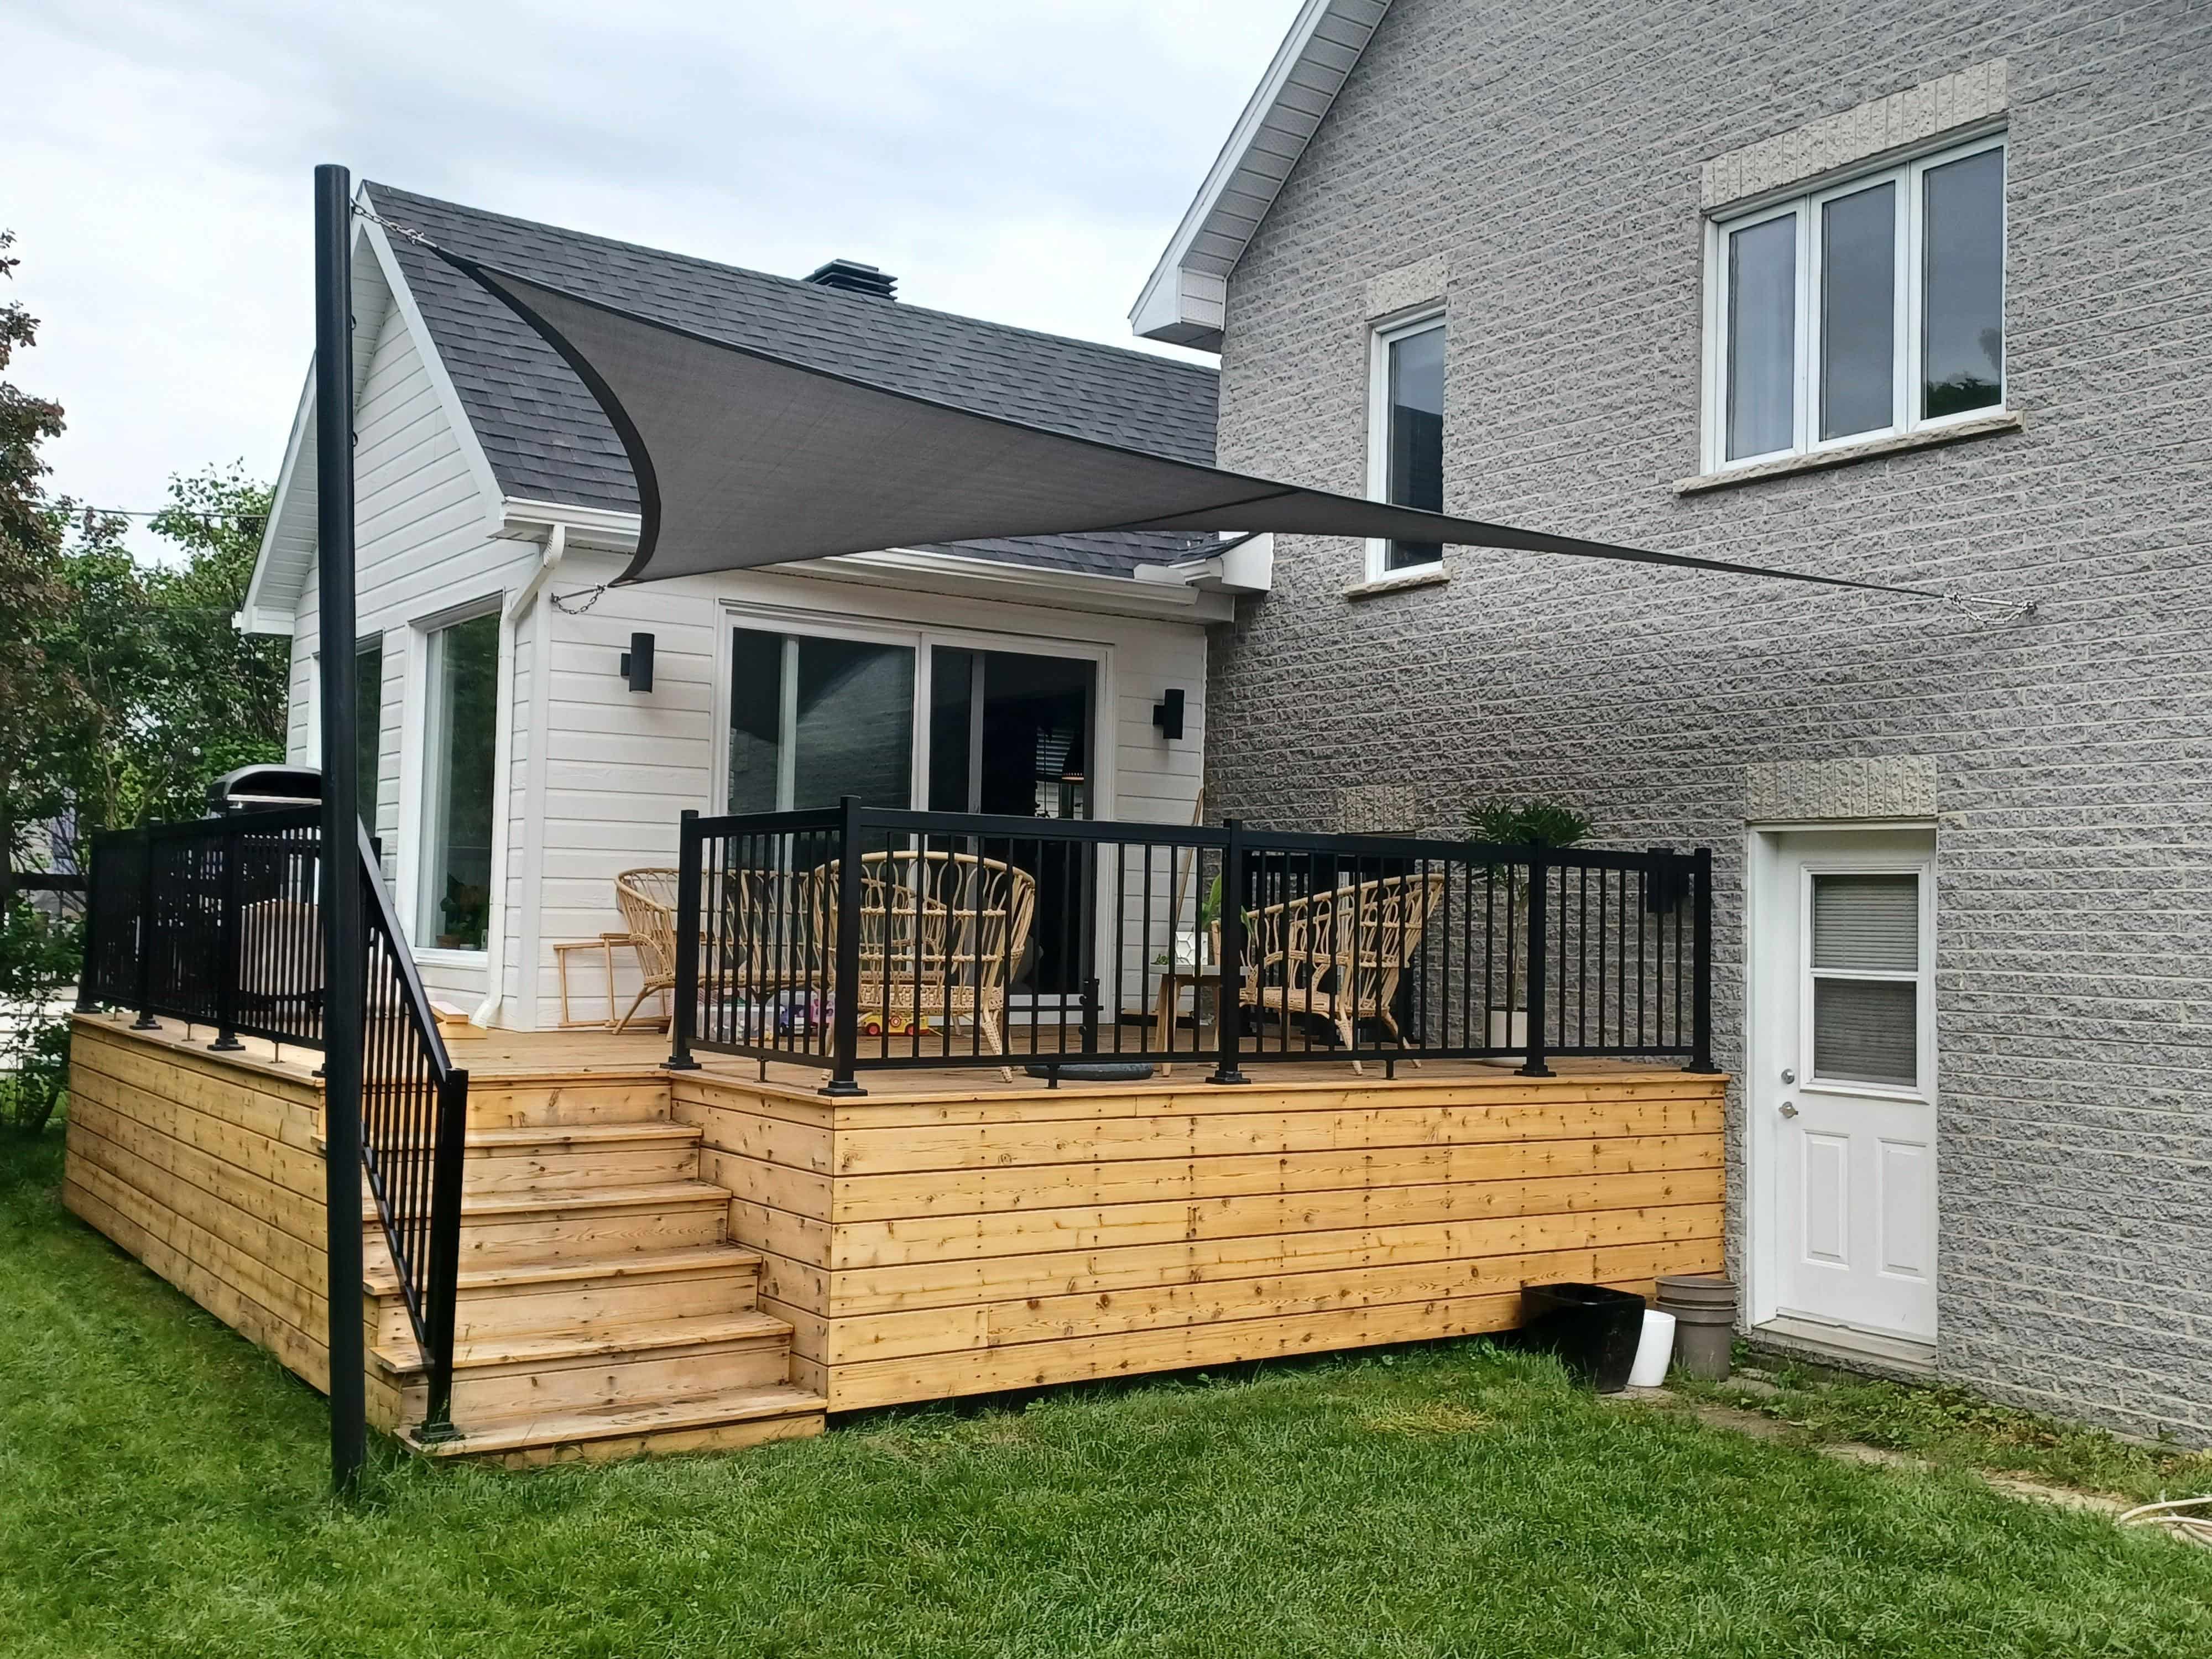
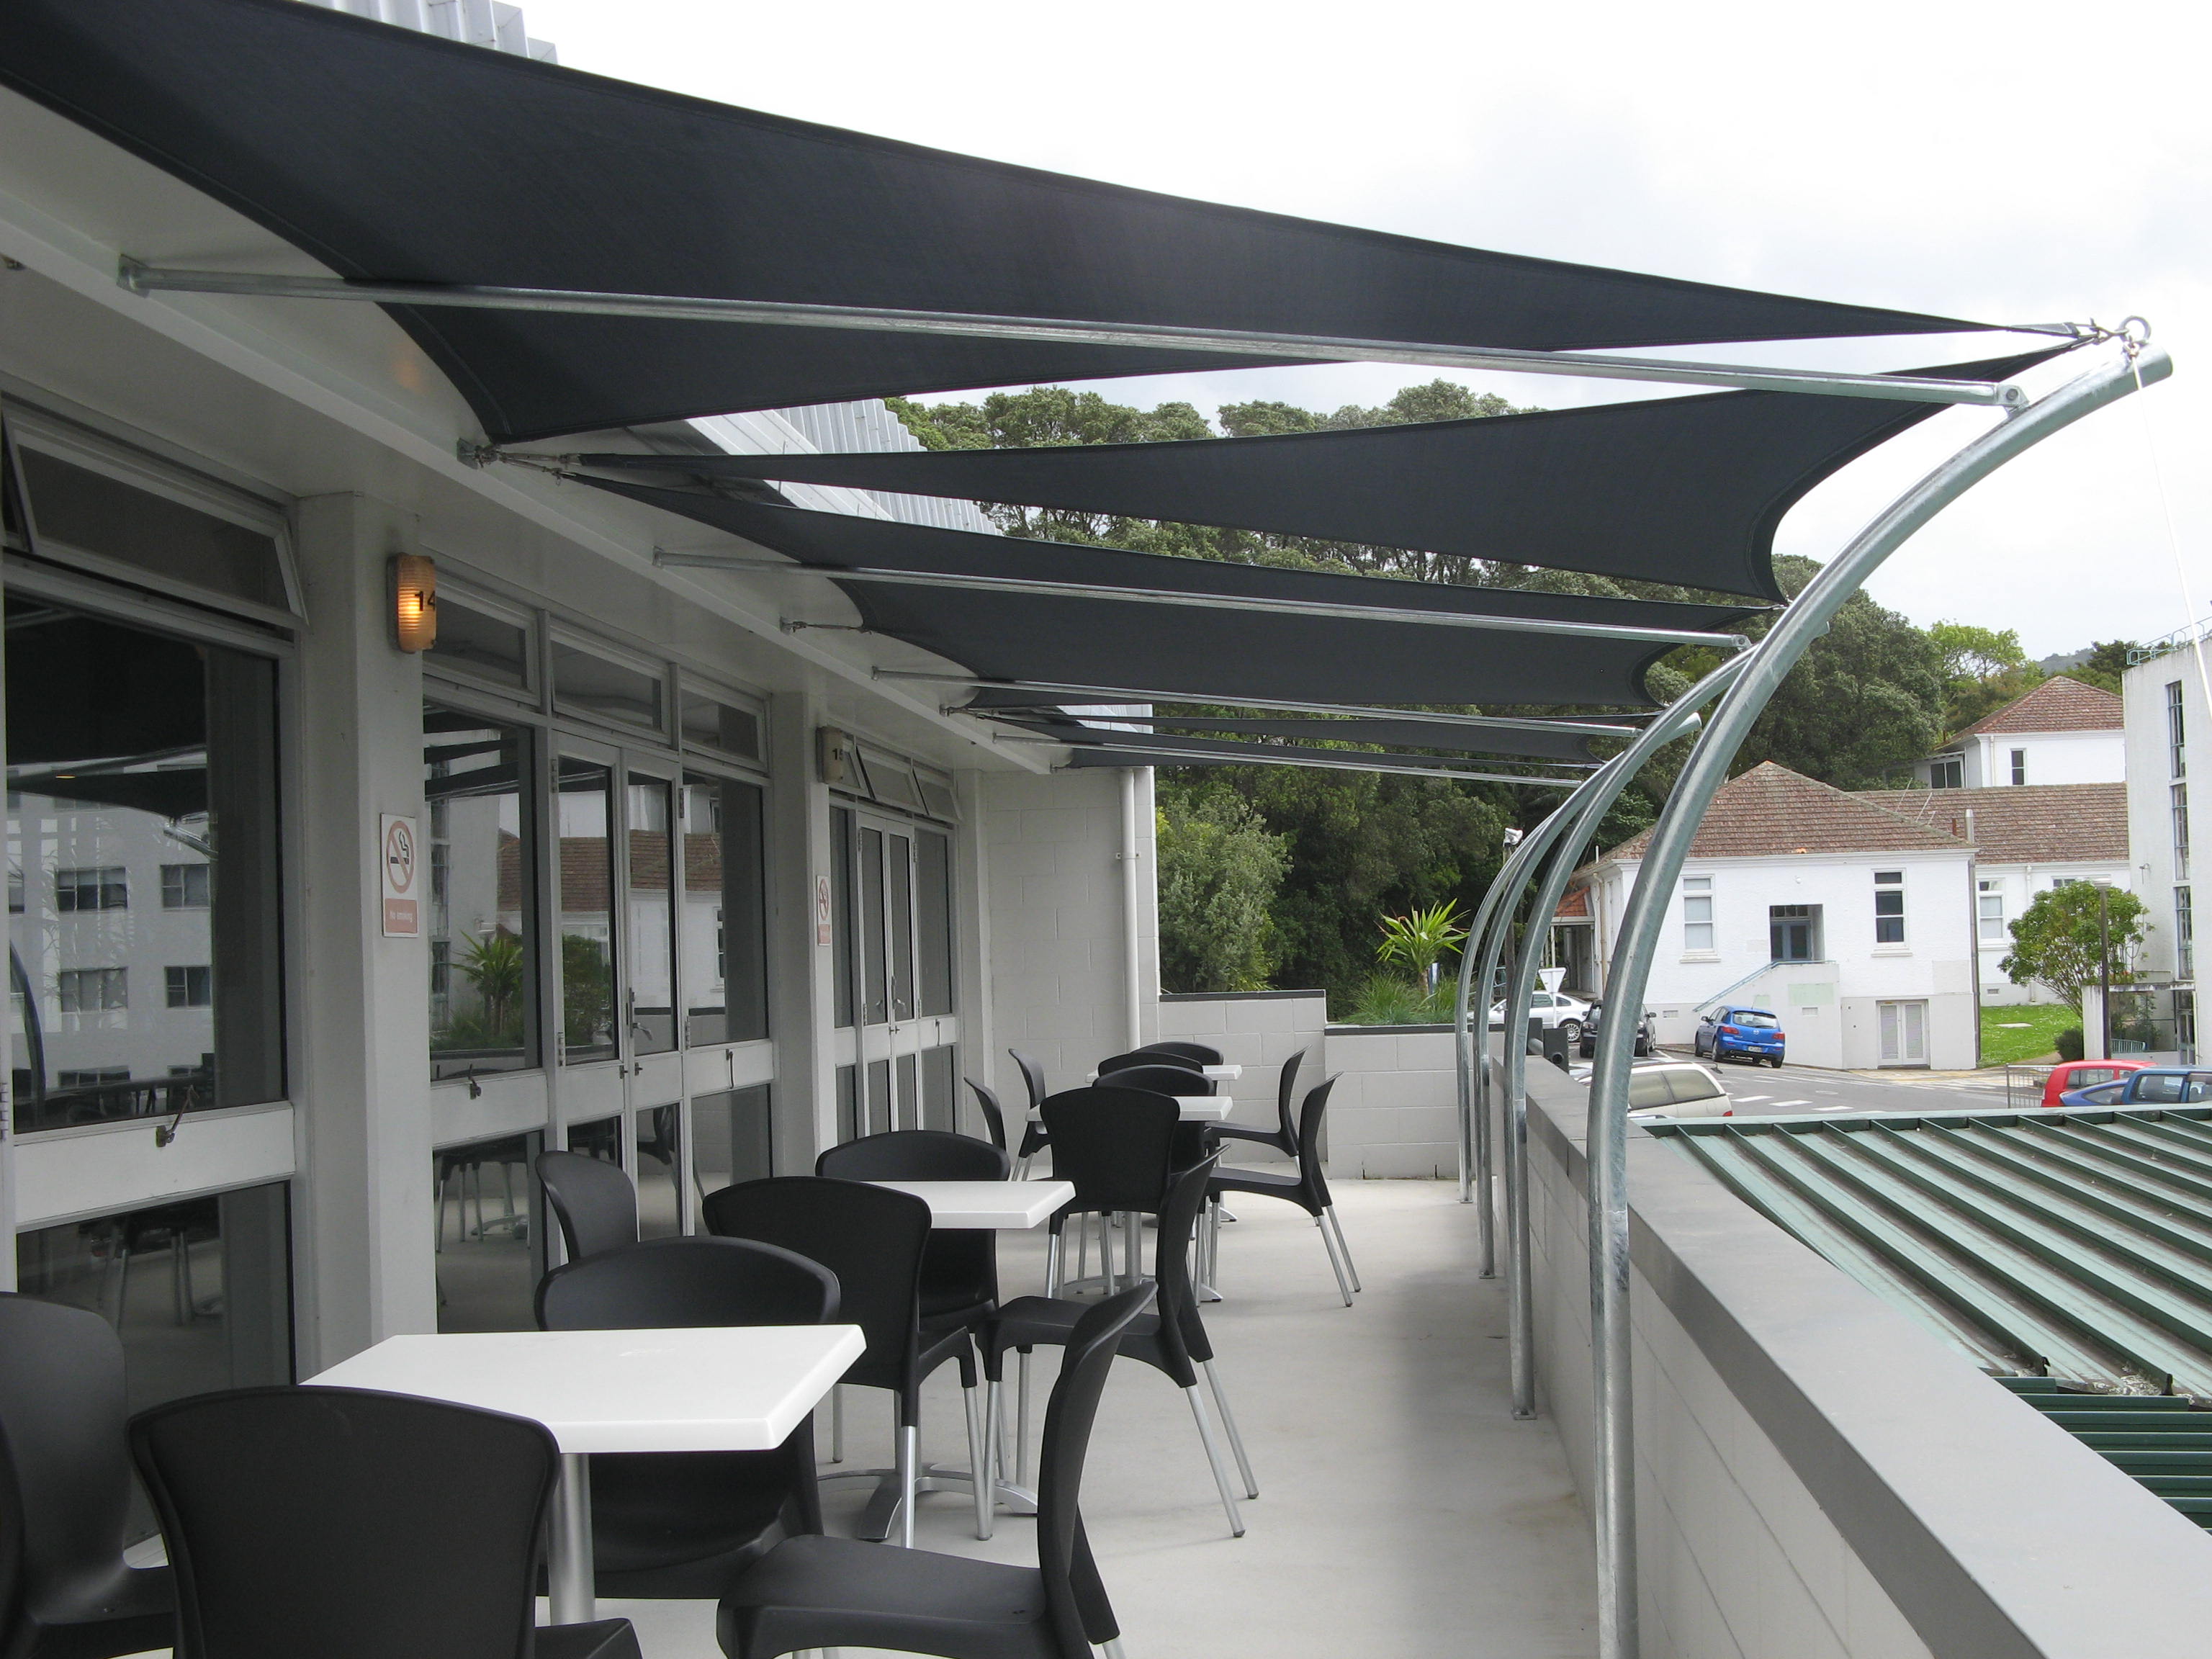
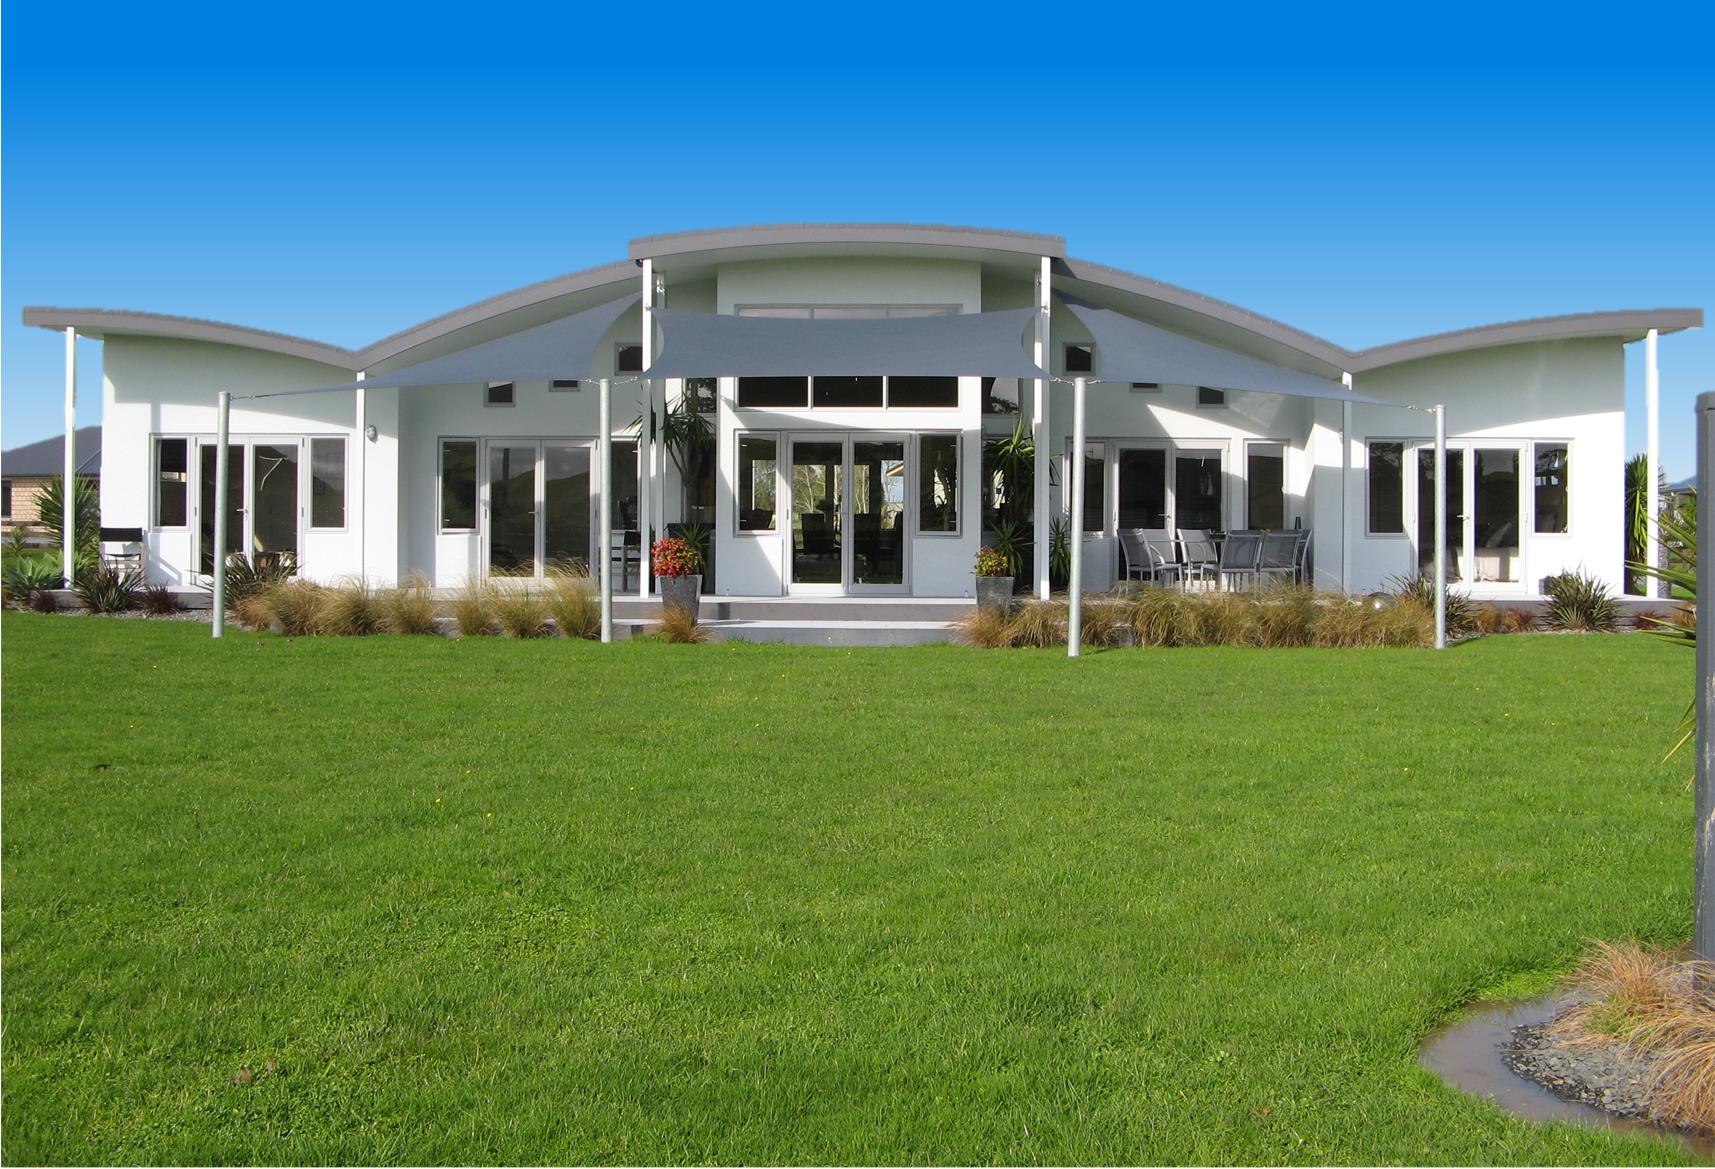
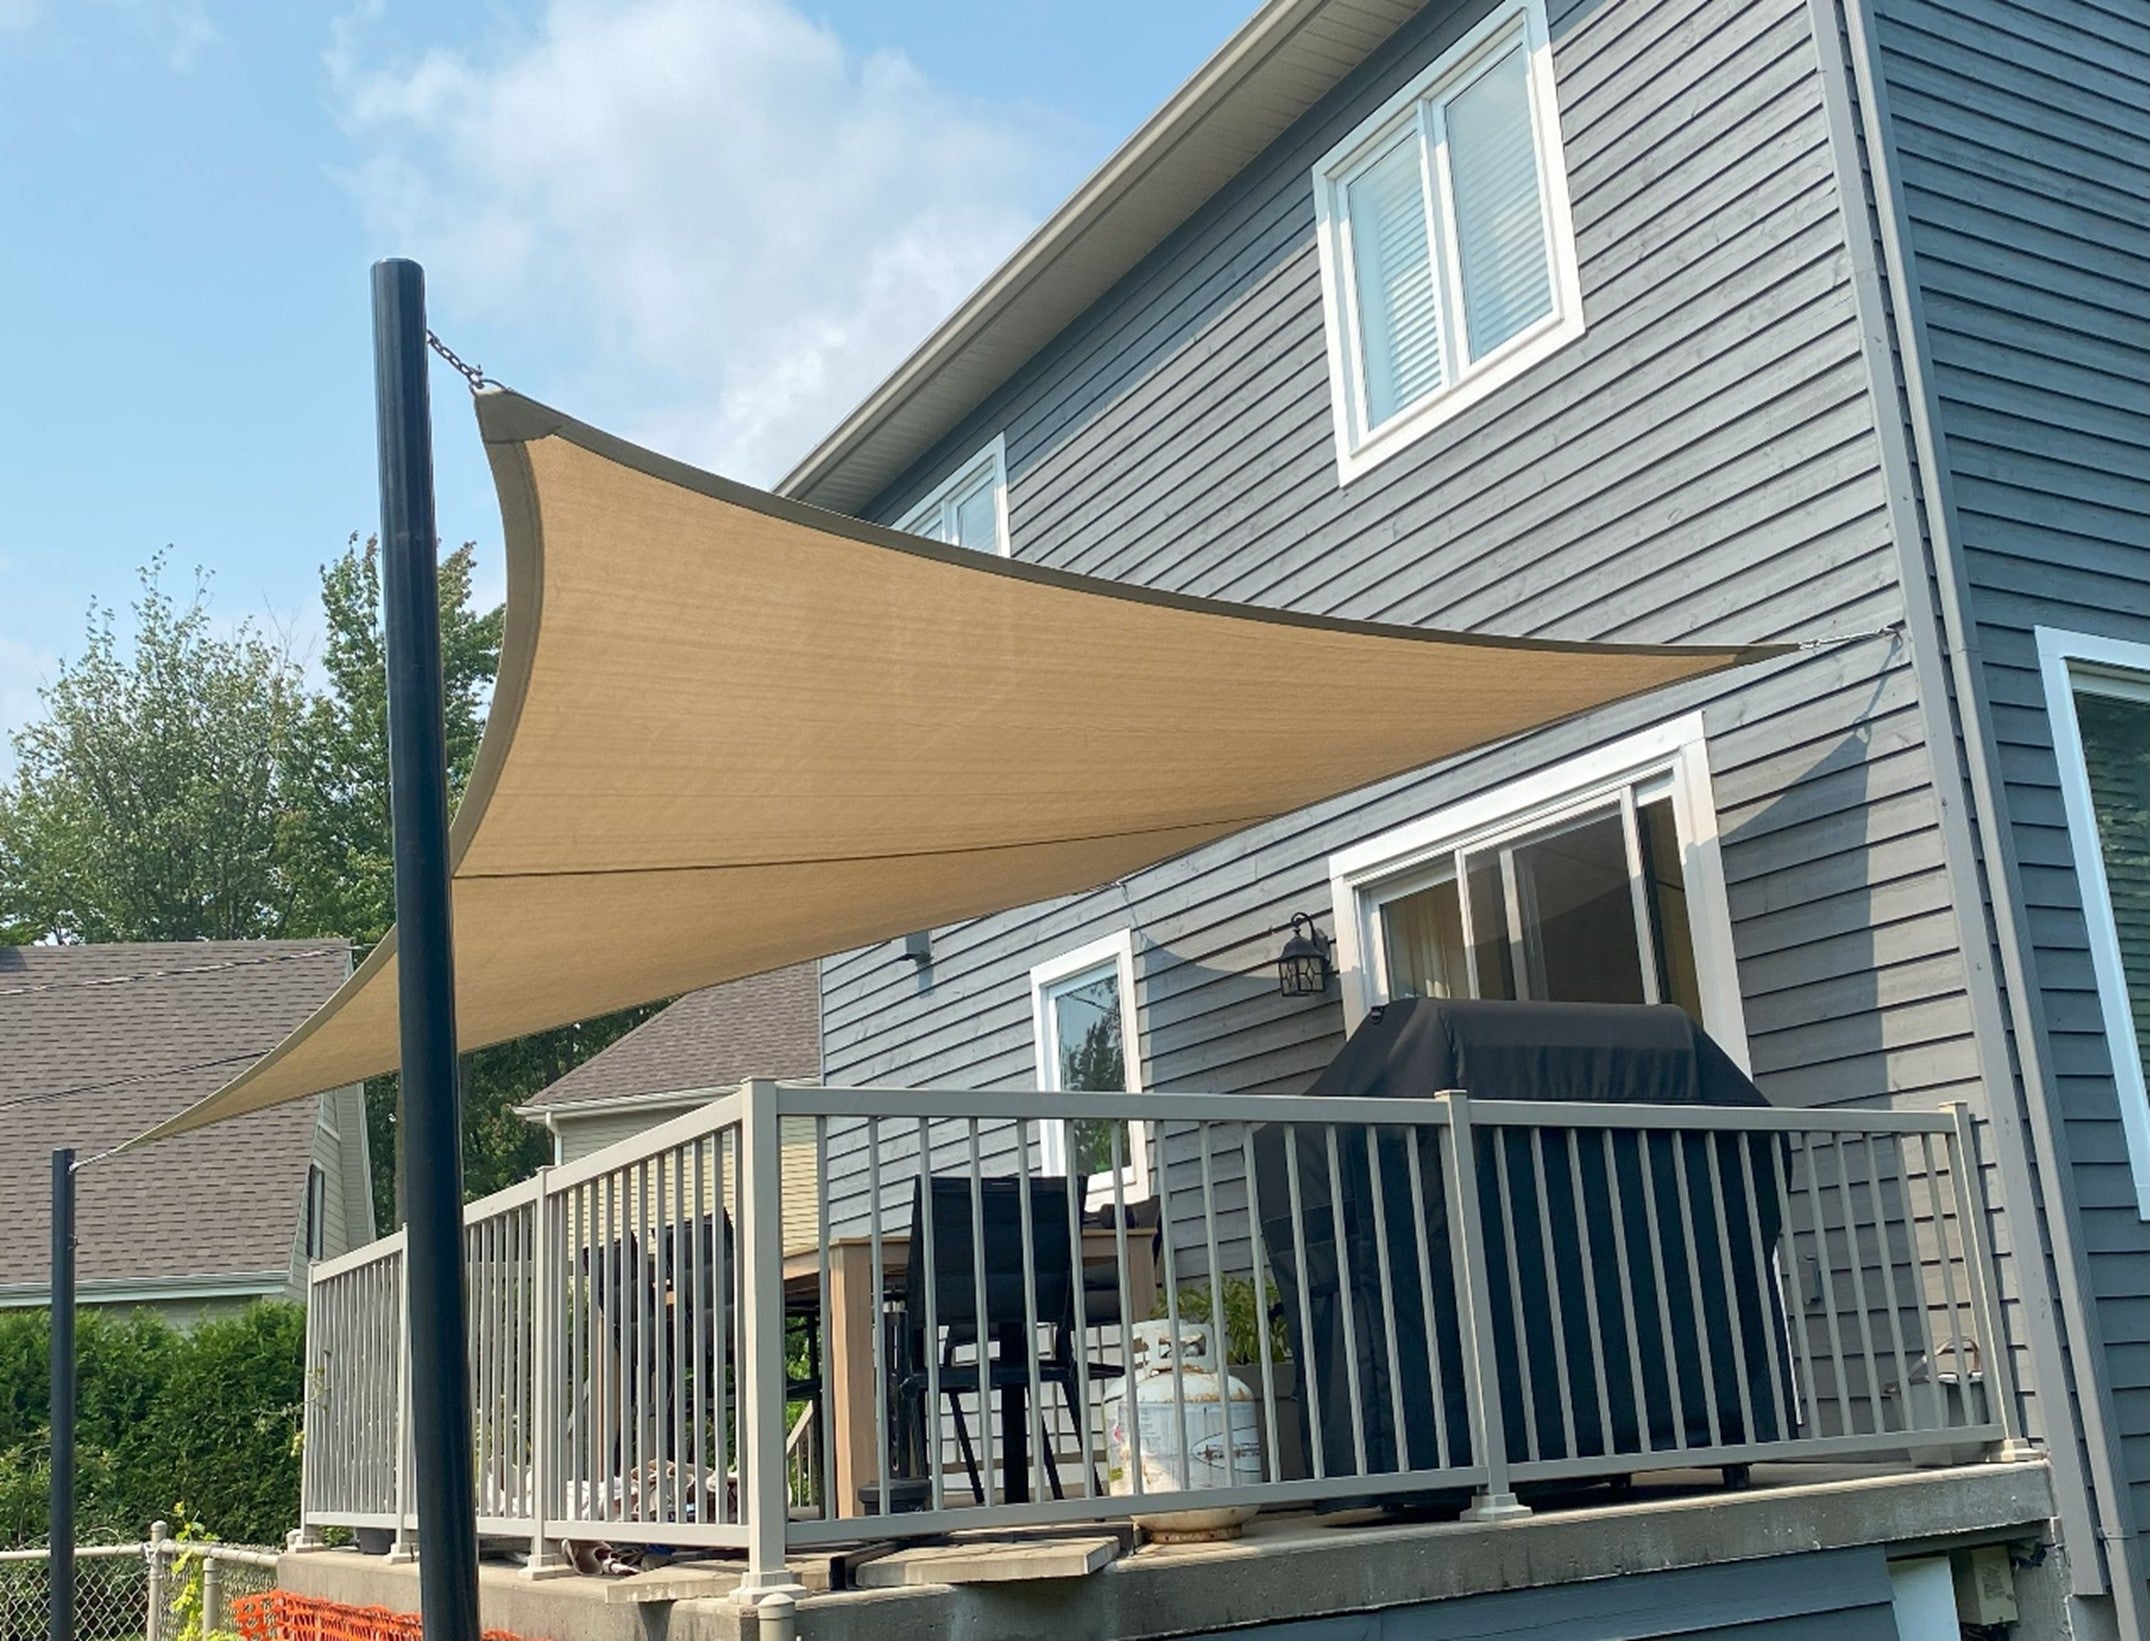
Why reinvent the wheel? If you’ve got trees, fences, or your home’s walls that are sturdy enough, consider using these as anchor points for your shade sails. Not only does this save you from installing additional posts, but it also gives your setup a more integrated look. Plus, it’s a great way to seamlessly blend your shade sails with the existing architecture of your home. And speaking of blending, have you seen our tips on choosing the best colour for your shade sails? Go on, have a look!
5. Mind the Gaps
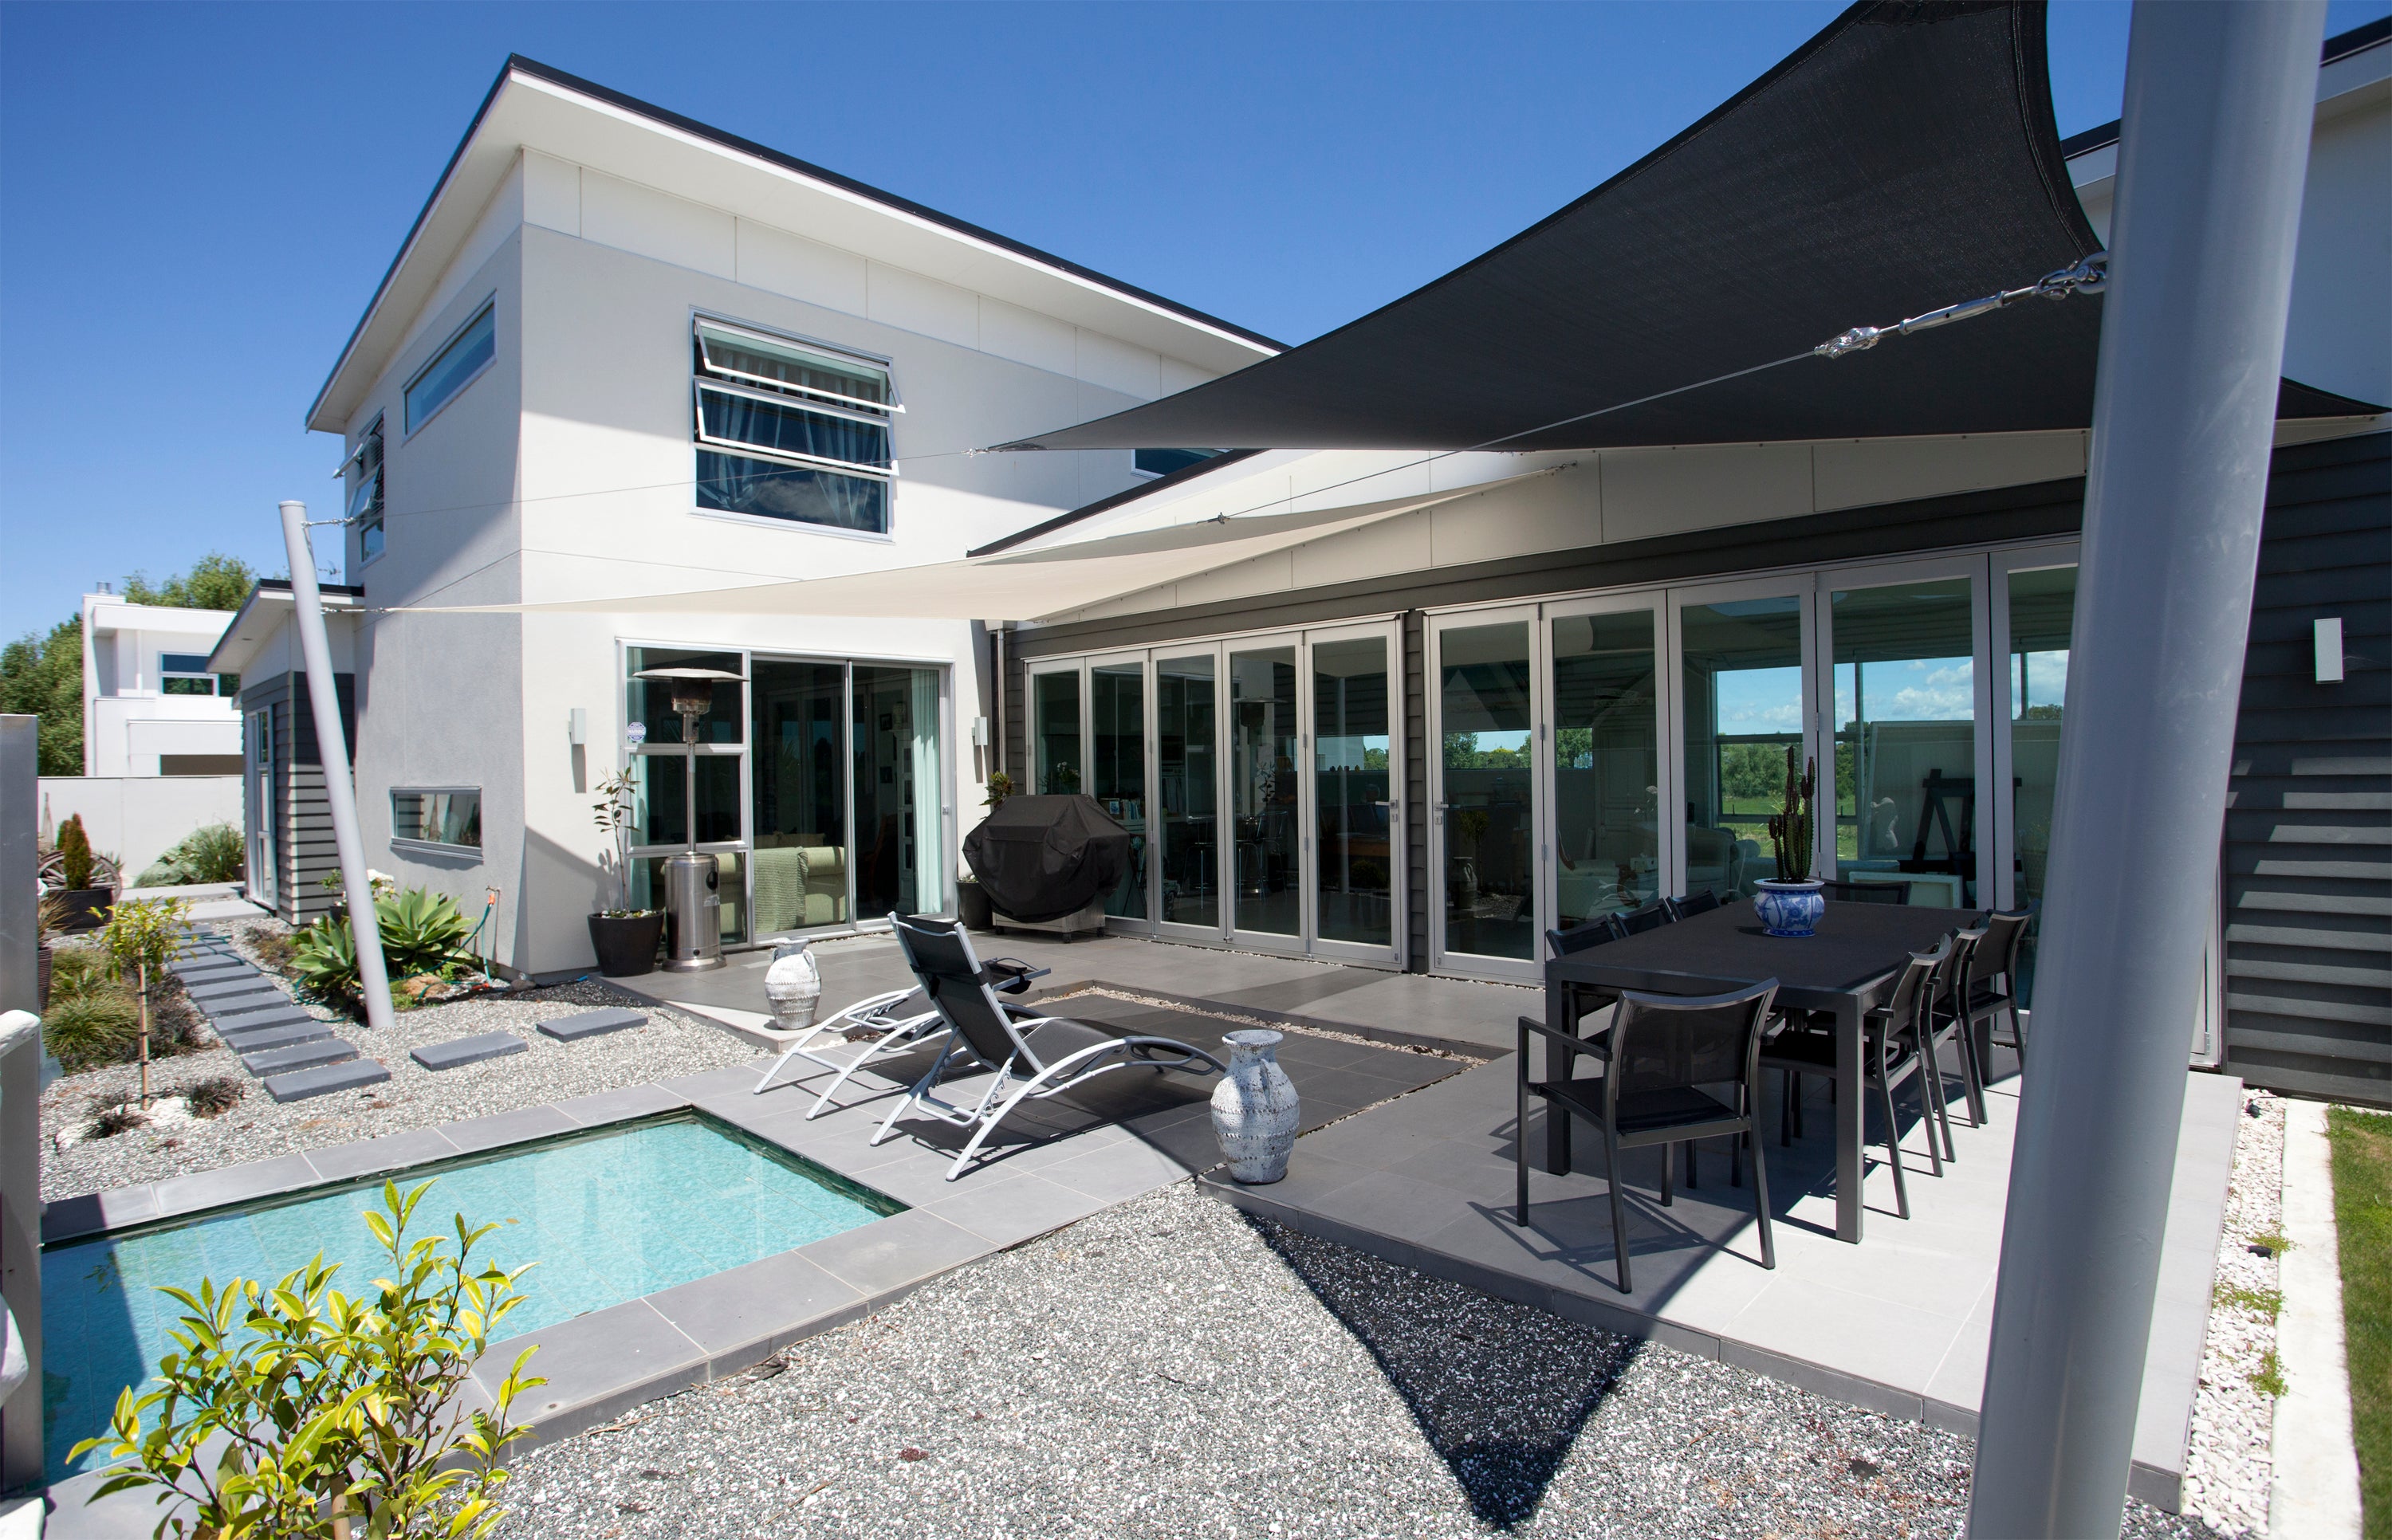
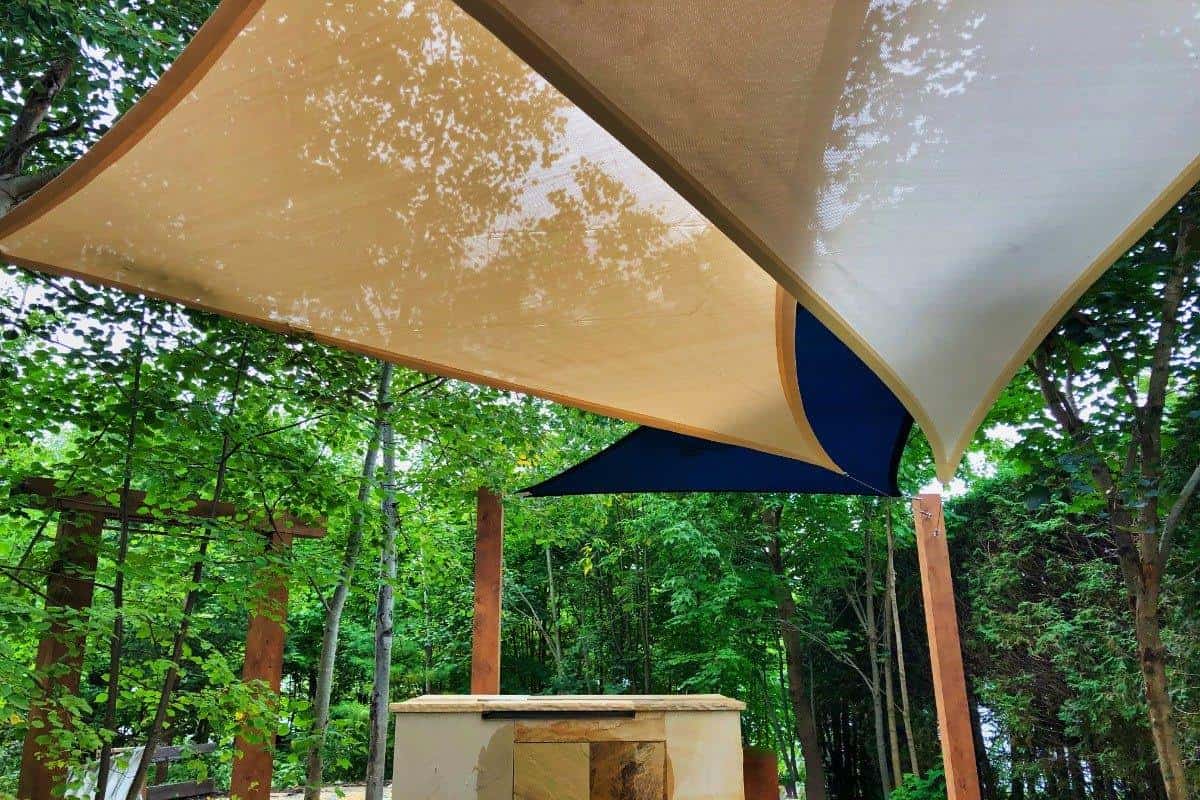
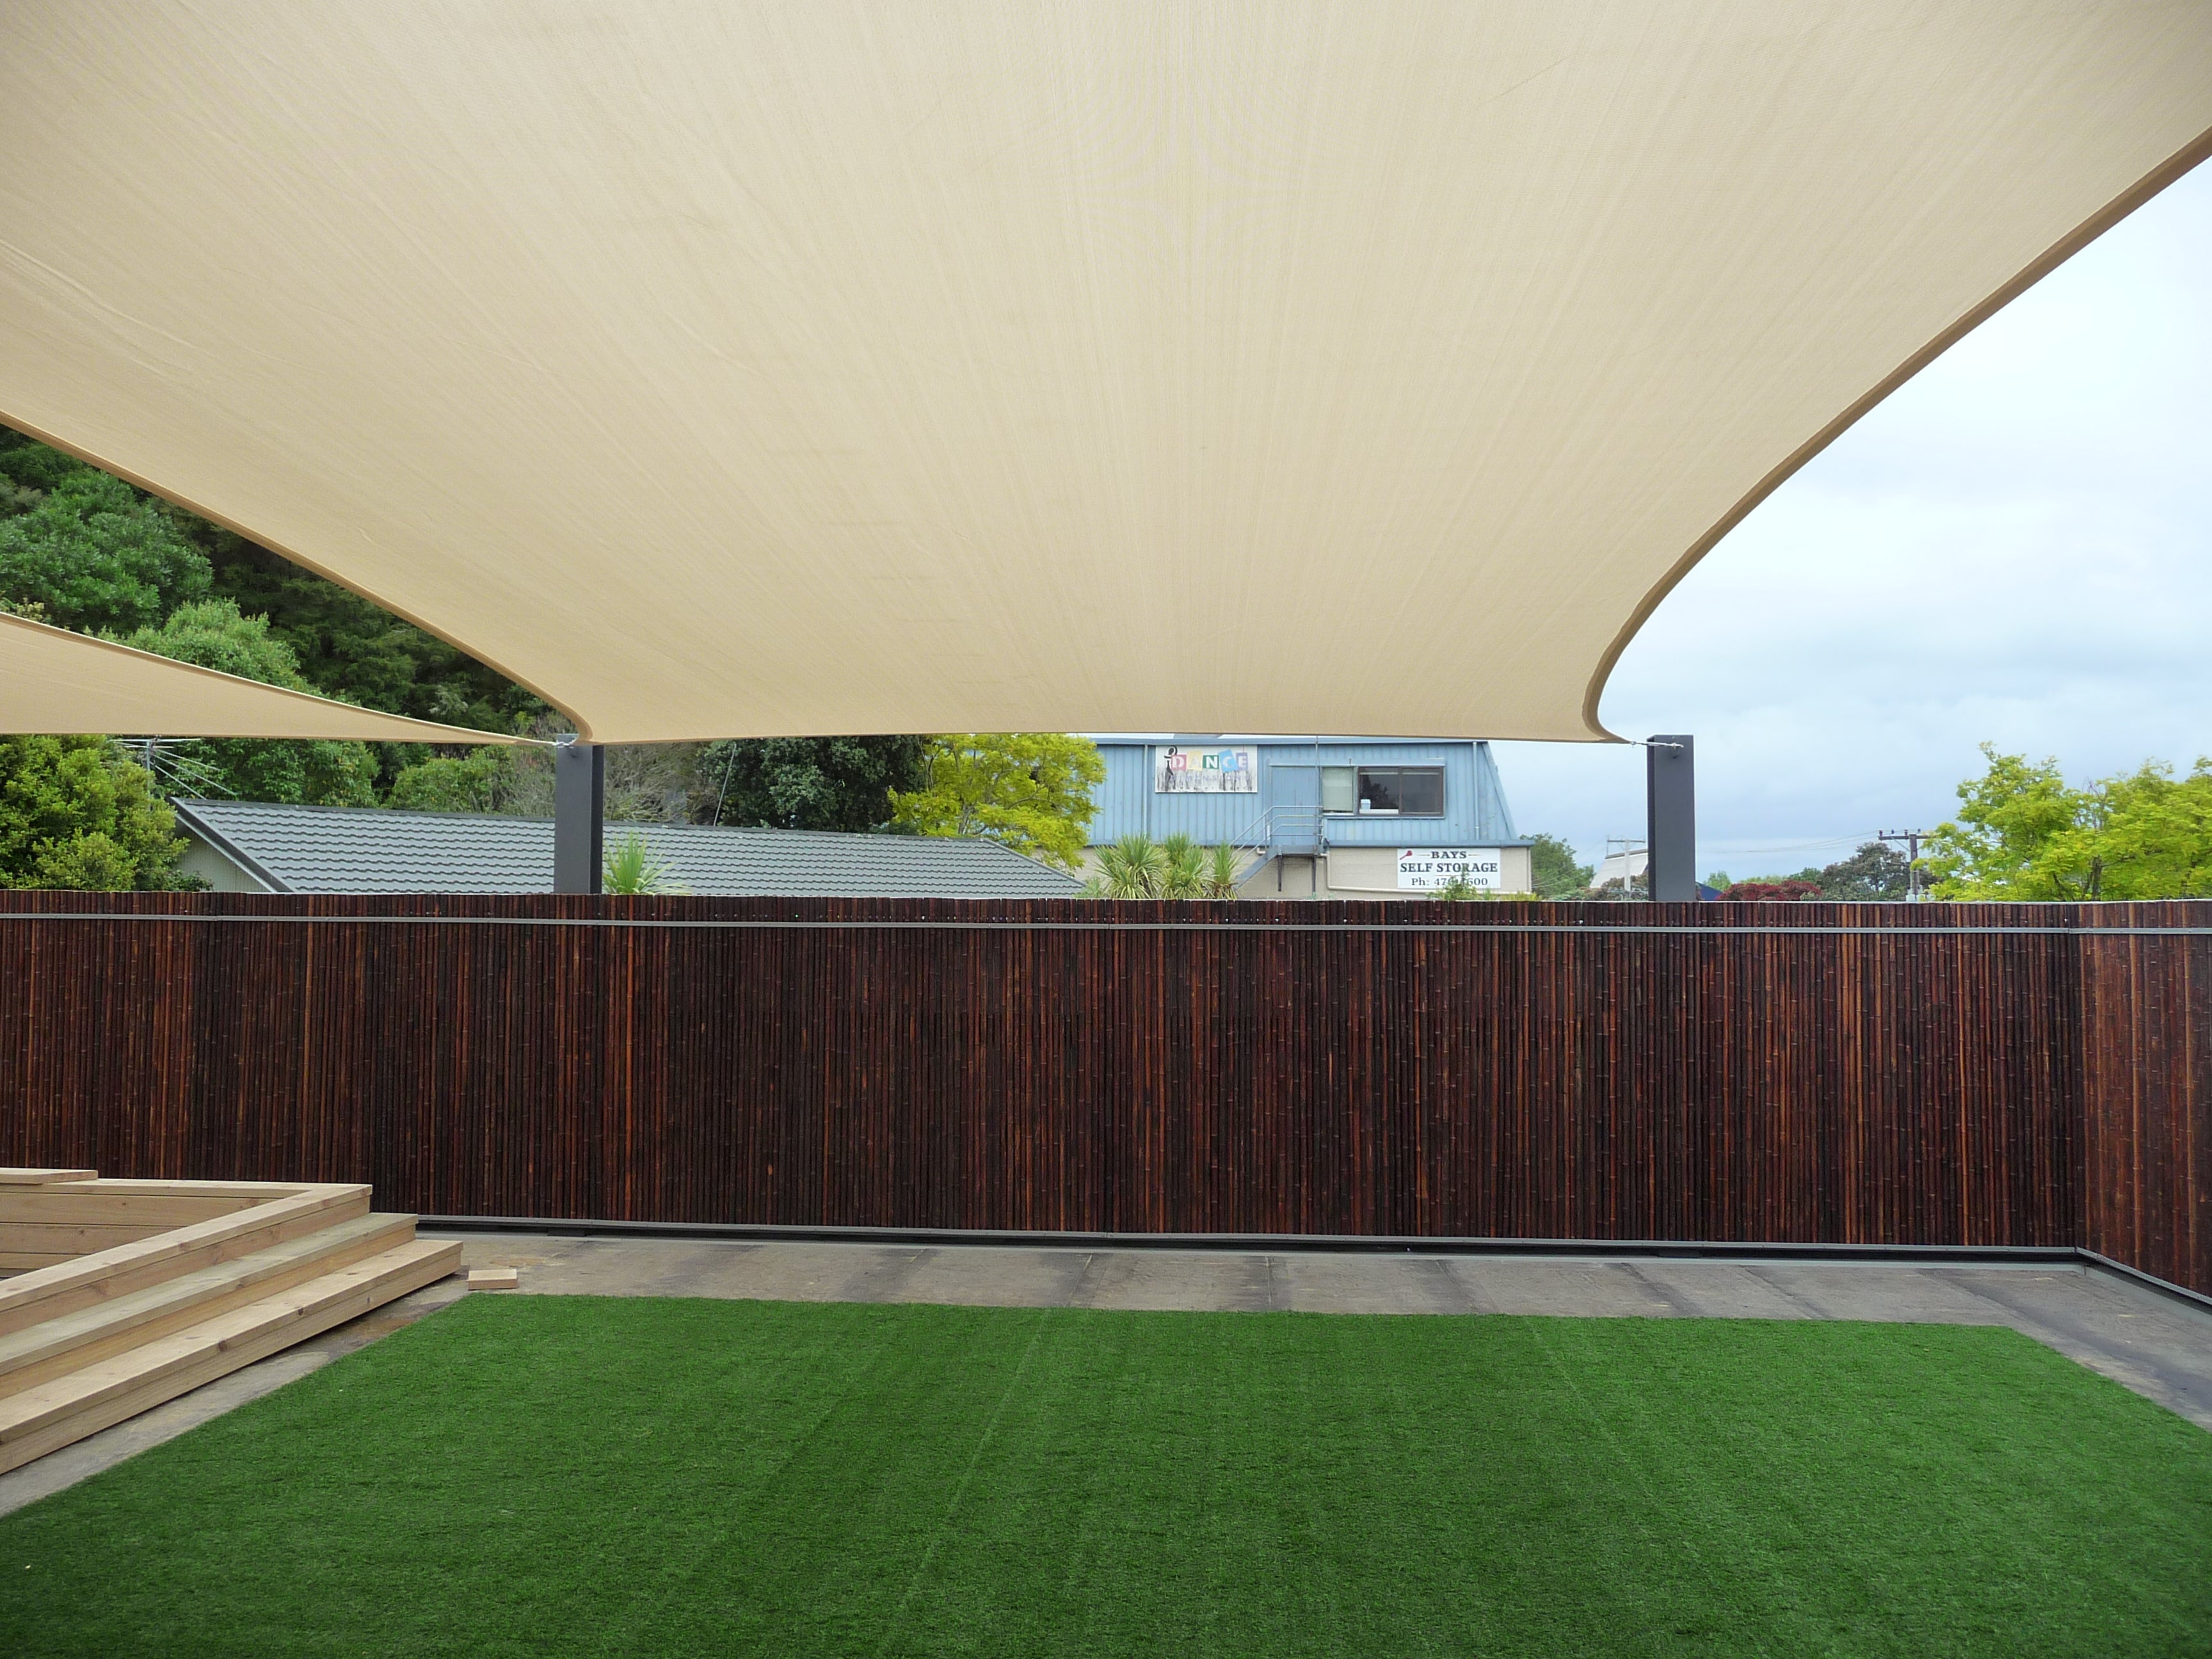
When positioning multiple shade sails, leaving gaps isn’t necessarily a bad thing—if done strategically. Small gaps can help in creating a layered, visually appealing setup, and they also allow for better air circulation. This is especially important in hotter climates where you want to block the sun but not trap heat under your sails. Pro tip: Keep those gaps tight enough to maintain shade but loose enough to let the breeze through. And if you’re worried about sagging sails, don’t miss our Ultimate Guide to Tensioning Shade Sails.
6. Consider Aesthetics
Let’s be honest, you want your shade sails to not only serve their purpose but also look good while doing it. The key to nailing the aesthetic game is to choose angles and anchor points that complement the shape of your outdoor space. Whether it’s a sleek, modern look you’re after, or something more natural and flowing, the positioning of your shade sails can make all the difference. Want to see some inspiration? Check out our Video Tutorials for some jaw-dropping shade sail setups.
7. Custom vs. Ready-Made—Make the Right Choice
Sometimes, off-the-shelf just won’t cut it. That’s where custom shade sails come in. If your space has unique angles, odd dimensions, or if you’re just particular (we get it), custom shade sails are your best bet. At ShadeSpace, we offer both custom and ready-made options to ensure you get the perfect fit, every time. And hey, if you need any help deciding, our friendly team is just a click away. Don’t be shy—reach out and let us help you create the ultimate shaded oasis.
Conclusion: Don’t Leave Your Shade to Chance
There you have it—seven genius ways to ensure you’re not only blocking the sun but doing it in style. Whether you’re a DIY enthusiast ready to tackle the job yourself or you’d prefer to leave it to the pros, positioning your shade sails correctly is key to creating a comfortable and cool outdoor space. And if you’re still on the fence, remember: ShadeSpace offers a range of custom-made and ready-made solutions that are just waiting to transform your backyard. What are you waiting for? Explore our range today and get ready to enjoy your outdoor space like never before.
This article is crafted to be informative, engaging, and perfectly optimized for SEO, ensuring you not only educate your audience but also capture their attention. By following these tips, you’ll have shade sails that not only function beautifully but also turn your outdoor area into the envy of the neighbourhood. Happy shading!



Share:
The Ultimate Guide to Choosing the Best Colour for Sunshade Sails
What Size Shade Sail Do You Really Need?