

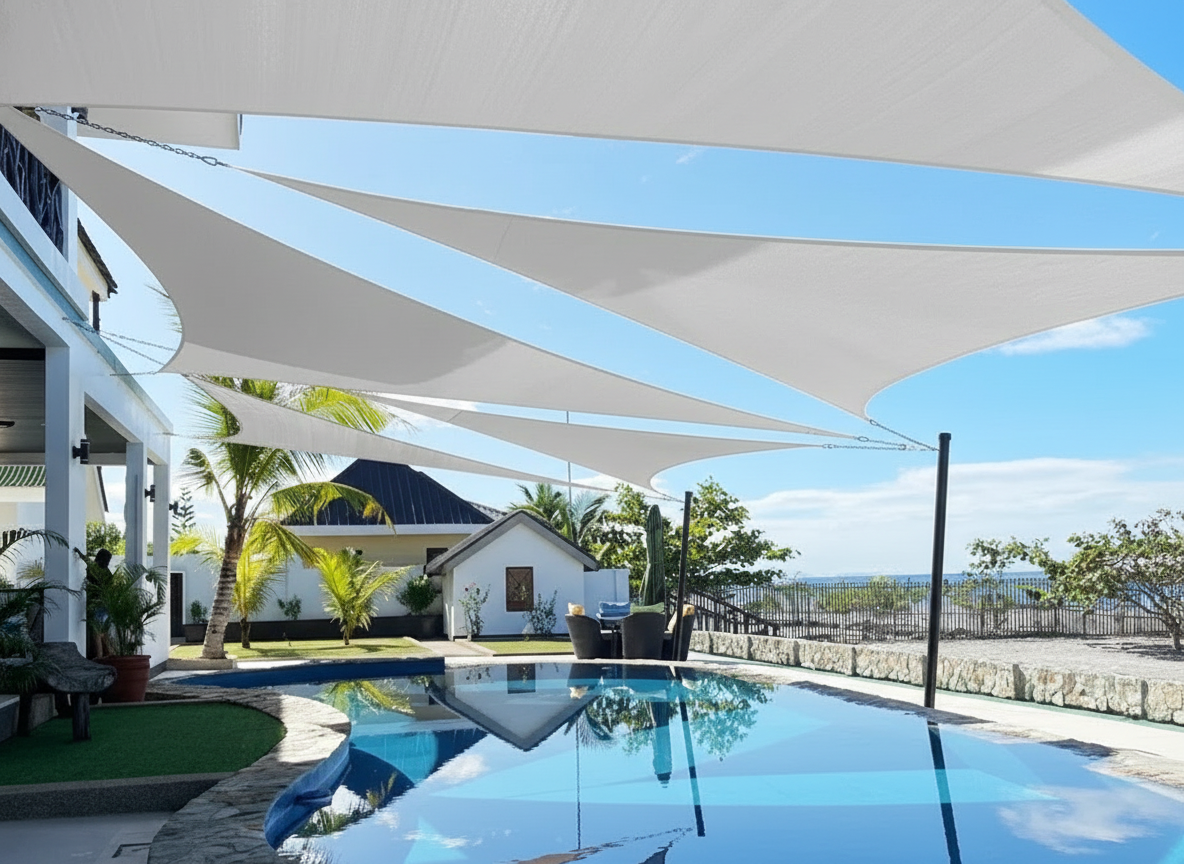
Installing rectangle or square Shade Sails is an excellent way to enhance your outdoor space with practical shade, modern style, and long-lasting comfort. Whether you're creating a relaxing backyard retreat or adding cover to a patio, driveway, or outdoor entertaining area, this guide will help you achieve a professional-looking Standard Sized Sail installation.
Setting Up Mounting Points
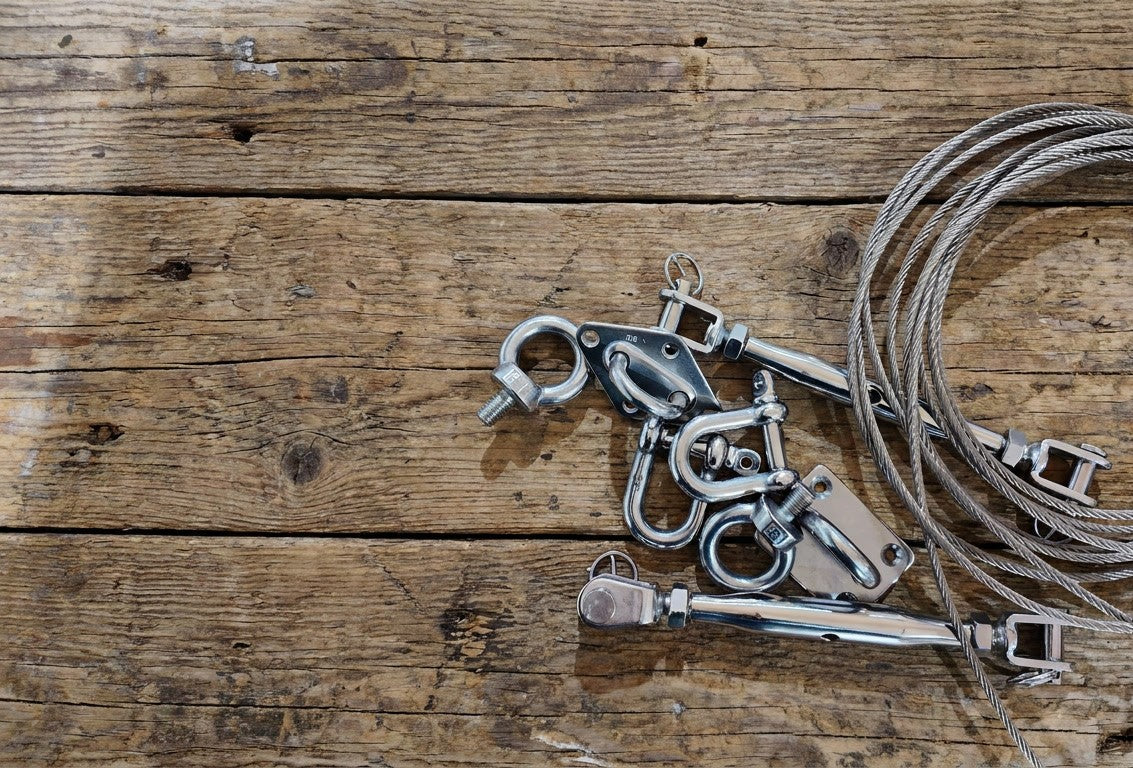
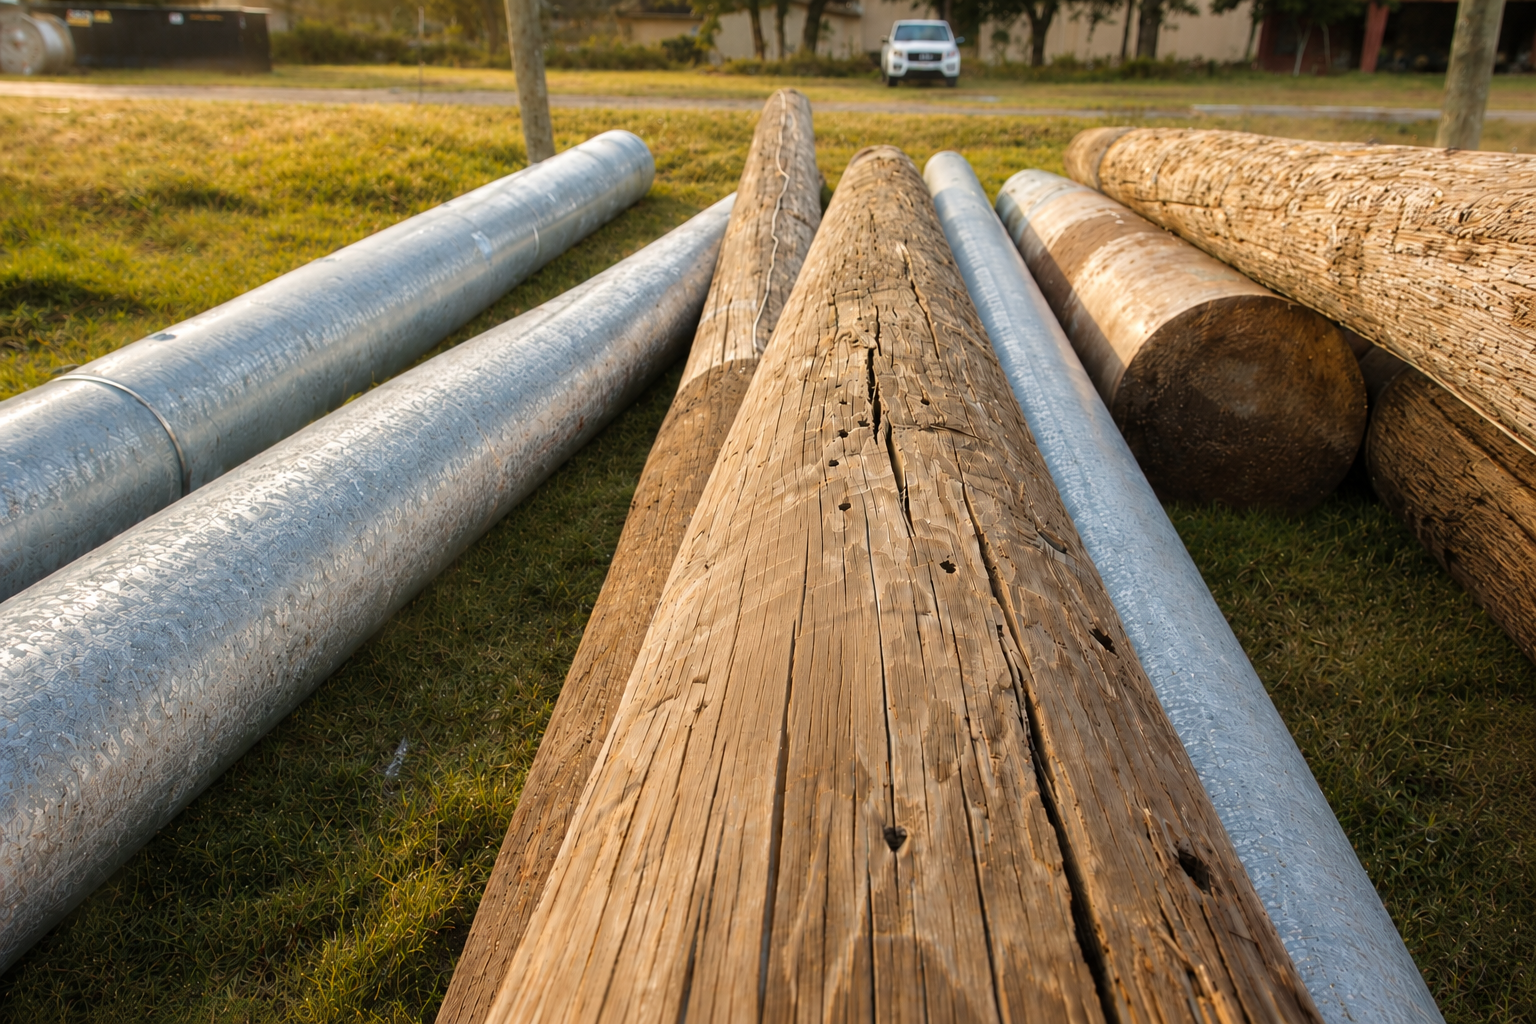
Strong and secure mounting points are essential for both safety and performance. Avoid any structure that cannot handle the required tension, and never rely on weak posts, fence posts, or undersized fixings for a permanent Shade Sail installation.
When installing mounting points ensure they are high grade stainless steel, suitable for outdoor use. Hardware quality is a big contributor to the longevity and performance of your Shade Sail.
Installing the Shade Sail
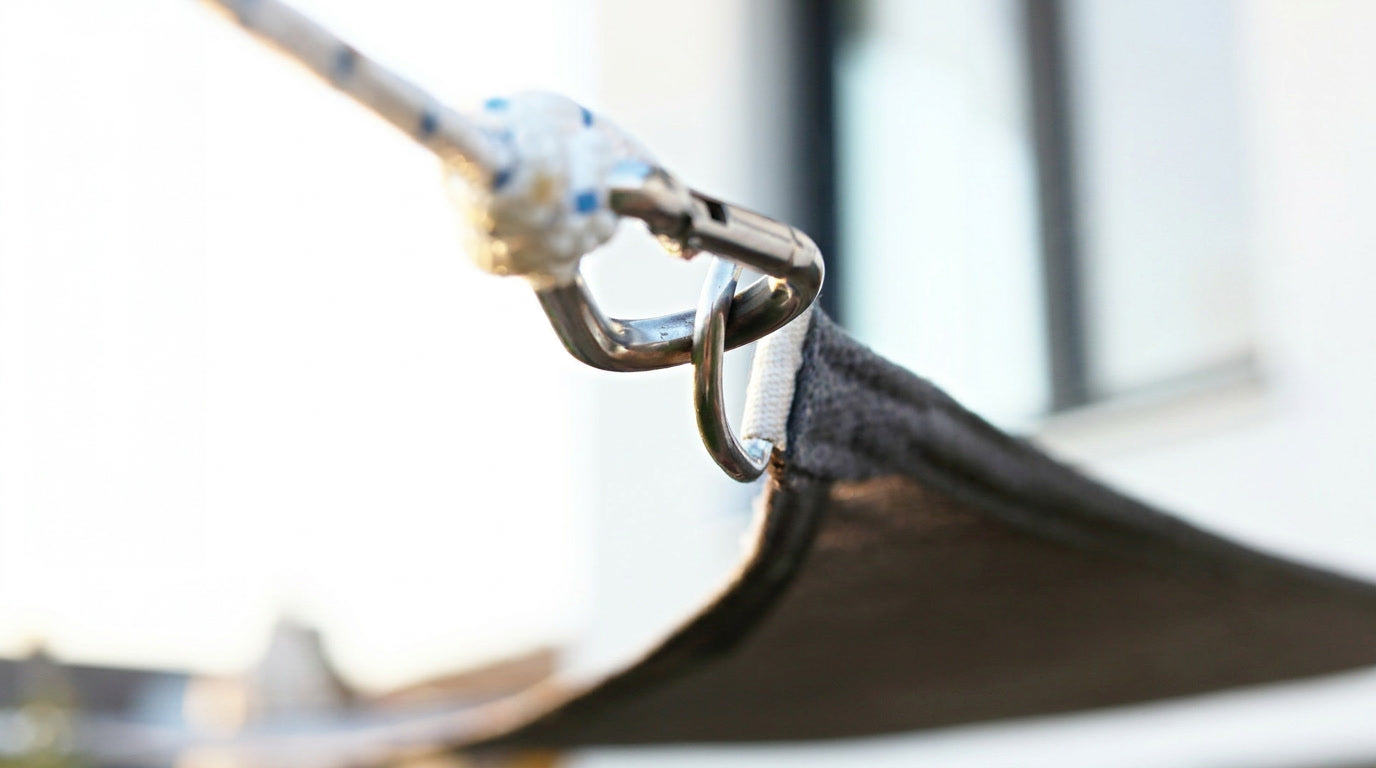
Now it’s time to attach your sail.
Begin by securing one corner first, then move diagonally to the opposite corner to create even tension across the sail. Repeat this for the remaining corners, checking alignment as you go. Working from corner to corner, gradually tighten each tensioner (Turnbuckles) until your sail is taut and free from sagging or creases. Use the turnbuckles to make small tension adjustments until the sail has a smooth and professional appearance that will stay in place even in windy conditions.
The same installation method applies whether you are learning how to install a Square or Rectangle Standard Sized Shade Sail. The goal is to create consistent tension throughout the fabric.
Ongoing Care and Maintenance
ShadeSpace Shade Sails are designed for low maintenance; however we do recommend having a regular maintenance routine as this will extend their lifespan.
To clean your sail, rinse it with water and use mild soap if necessary. Avoid harsh chemicals or abrasive cleaners, as these can damage the fabric.
Inspect your sail and fixings seasonally. Check for loose tension, corrosion on metal parts, or other signs of wear. ShadeSpace offers individual hardware items if you need to replace any of these to keep your installation in perfect condition year-round.
Find out more Maintenance Tips here.
A Rewarding Project with Lasting Results
Installing a Square or Rectangle Standard Sized Shade Sail is a rewarding DIY project that can significantly improve the look and function of your backyard. With secure mounting points, quality fixing hardware and the right sail for your space, you can create reliable shade that performs well over time.
Browse the full range of Standard Sized Shade Sails and Hardware Kits. If your space needs a more tailored fit, explore the Custom Shade Sail option today.


Share:
How to Properly Install Your Shade Sail: A Step-by-Step Guide
How to Tension Shade Sails Like a Pro: The Ultimate Guide